 how-to
Why Is My Refrigerator Leaking Water: 7 Causes & Fixes
Table of Contents
- Why Is My Refrigerator Leaking Water: Common Causes Explained
- How to Unclog a Fridge Drain Hole: Step-by-Step
- Refrigerator Leaking Water Inside: Door Gasket & Seal Issues
- Fridge Water Filter Leaking: Diagnosis & Replacement
- Other Critical Causes: Water Inlet Valve, Supply Lines & Drain Pan
- Refrigerator Repair Cost: When to DIY vs. Call a Professional
- Common Mistakes to Avoid When Troubleshooting a Leaking Fridge
- Conclusion: Resolve Your Refrigerator Leaking Water Issue
- External Sources
- Frequently Asked Questions
Last Updated: July 3, 2026
Why Is My Refrigerator Leaking Water: Common Causes Explained
Water pooling under your fridge or inside the unit is one of the most common appliance issues homeowners face. Most causes are fixable without major expense, but ignoring the problem can lead to food spoilage, water damage, and accelerated compressor wear.
Where the water is coming from matters enormously. A leak inside the fridge usually points to the defrost drain or water filter, while water pooling underneath suggests problems with the drain pan or supply line. Locating exactly where the moisture is appearing will cut your diagnostic time in half.
The most common culprits are a clogged defrost drain, a damaged door gasket, a faulty water filter, or an improperly leveled refrigerator. Less frequently, the water inlet valve fails, the drain pan cracks, or the water supply line develops a leak.
Where the water is coming from matters
Water inside the refrigerator compartment usually originates from the defrost cycle. If the drain is blocked, meltwater pools inside. Water in the freezer or on shelves suggests a faulty door seal letting warm air in, which then condenses.
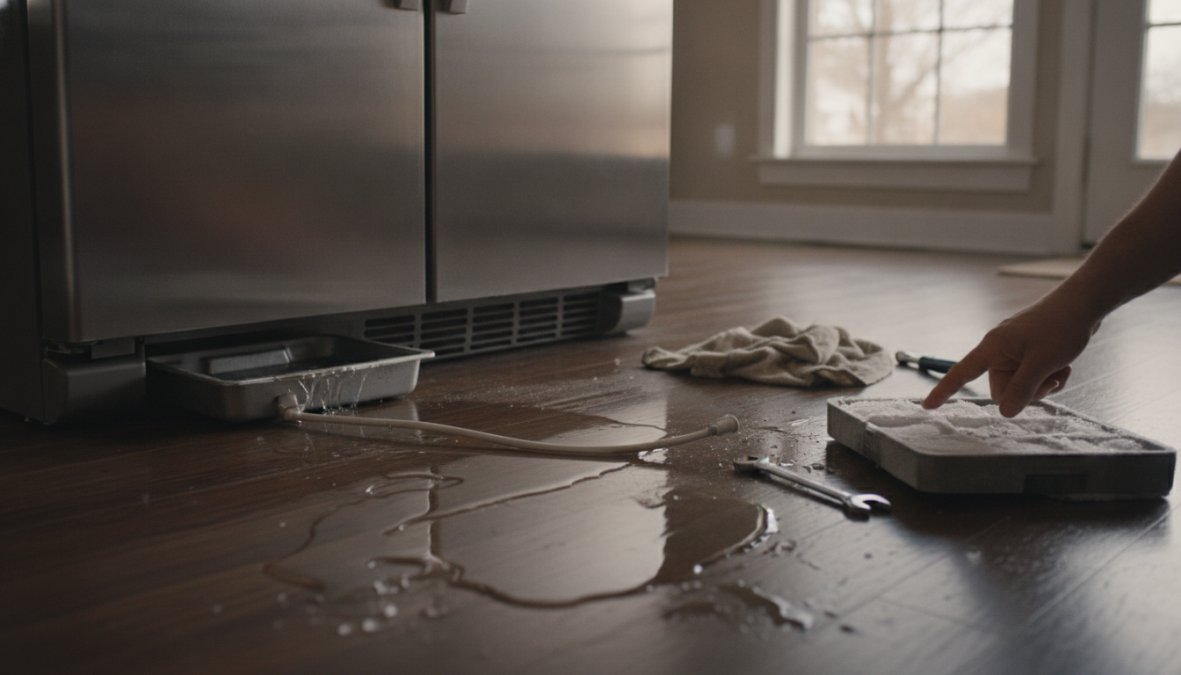
Water under the refrigerator typically comes from the drain pan or from a leak in the water supply line feeding the ice maker and water dispenser. A small puddle is often normal condensation overflow, but standing water means something is broken.
How to Unclog a Fridge Drain Hole: Step-by-Step
The defrost drain hole is a small opening, usually at the back or bottom front of the refrigerator, that allows meltwater from the evaporator coil to flow out. When clogged with food debris, mineral buildup, or ice, water backs up inside. This is the most common cause of refrigerator leaking water and one of the easiest to fix yourself.
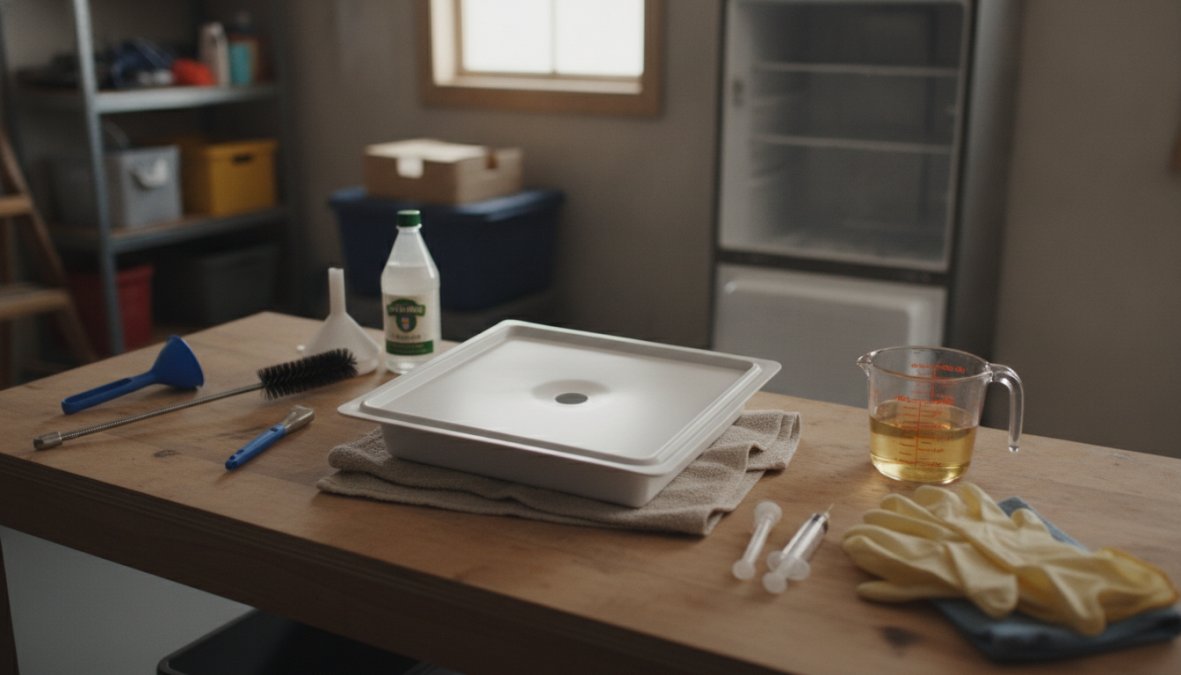
What you'll need
Gather a thin, flexible wire or pipe cleaner, a small cup to catch water, a flashlight, and a spray bottle filled with warm water. A bicycle spoke or straightened coat hanger works well.
The unclogging process
Unplug your refrigerator as a safety precaution. Remove food from the affected area and wipe away standing water. Use your flashlight to locate the drain hole clearly.
Insert your wire into the drain opening and gently push it through, working it back and forth carefully without forcing it. Once you've loosened the debris, pull the wire out and spray warm water into the drain hole. The water should flow freely if the clog is cleared.
If water still backs up, try flushing with warm water mixed with white vinegar (about 1 tablespoon per cup). Vinegar dissolves mineral deposits and kills mold spores that can regrow and clog the drain again. Repeat the wire insertion and flushing process 2-3 times until water flows smoothly.
Plug the refrigerator back in and monitor the area for 24 hours. If water reappears, the clog may have reformed or there's a secondary issue.
Refrigerator Leaking Water Inside: Door Gasket & Seal Issues
When warm air leaks into your refrigerator through a faulty door seal, it causes excessive condensation that drips inside or freezes on the evaporator coil and melts during defrost cycles. A bad door gasket is often the culprit when you see water pooling in the crisper drawer or on the bottom shelf, especially if the defrost drain is already clear.
The door gasket is the rubber seal running around the perimeter of your refrigerator door. Over time, it hardens, cracks, or warps. If the seal no longer makes full contact with the refrigerator frame, cold air escapes and warm air enters, creating a moisture problem.
How to inspect seal integrity
Close the refrigerator door on a dollar bill positioned at different points around the gasket. If you can pull the bill out easily without resistance, the seal is not making proper contact at that spot. Repeat this test all the way around. A good gasket should grip the bill firmly.
Look for visible cracks, tears, or areas where the rubber appears shiny or hardened. Run your fingers along the gasket, it should feel pliable and slightly tacky. If it feels hard and brittle, it's degraded and needs replacement.
When to replace the gasket
If your inspection reveals gaps, cracks, or hardened rubber, replacement is necessary. A new gasket typically costs $75-200 depending on your refrigerator model and takes 15-30 minutes to install with no special tools.
Order a replacement gasket specific to your model. Clean the gasket channel thoroughly with a damp cloth before installation. Snap the new gasket into place, starting at one corner and working around the entire door, ensuring it sits evenly in the groove.
After installation, repeat the dollar bill test to confirm the new seal makes proper contact everywhere.
Fridge Water Filter Leaking: Diagnosis & Replacement
If your refrigerator has an ice maker or water dispenser, it has a water filter. Over time, filters get clogged with sediment, minerals, and chlorine byproducts. A clogged filter creates back pressure that can crack the filter housing, cause leaks at connection points, or damage the water inlet valve. An old filter that hasn't been replaced in over six months can develop microcracks that allow water to seep out.
Identifying filter-related leaks
Water dripping from under the refrigerator or pooling near the rear wall often points to a filter issue. Locate your water filter, it's typically mounted inside the refrigerator or housed in a canister under the sink or in the basement.
Inspect the filter housing for visible cracks or water stains around connection points. If the filter cartridge itself is wet or dripping, it needs replacement.
A simple test: turn off the water supply to your refrigerator using the shut-off valve. Wait 30 minutes and see if the leak stops. If it does, the problem is upstream, likely the filter or inlet valve. If water continues to drip, the issue is downstream (the drain pan or defrost system).
Safe replacement steps
Most refrigerator filters need replacement every 6-12 months. Turn off the water supply first, never attempt to remove a filter with water pressure active. Locate your filter and note its model number. Purchase a replacement matching that exact model.
Turn the old filter counterclockwise by hand to remove it. Water will drip out, so have a towel ready. Wipe the connection point clean with a dry cloth. Screw the new filter in by hand until snug, don't over-tighten. Turn the water supply back on and run water through the dispenser for 30 seconds to flush air from the line. Check for leaks around the filter connection.
Other Critical Causes: Water Inlet Valve, Supply Lines & Drain Pan
Beyond the defrost drain, door gasket, and water filter, several other components can cause refrigerator leaking water.
Water inlet valve malfunction
The water inlet valve controls the flow of water to your ice maker and water dispenser. Over time, it can wear out, corrode, or get stuck partially open, allowing water to leak continuously. A leaking inlet valve typically causes water to drip from the back of the refrigerator or pool under it.
To diagnose an inlet valve leak, turn off the water supply and observe whether the leak stops within an hour. If it does, the problem is the inlet valve. Replacing it requires shutting off the water, disconnecting the water lines, and unscrewing the valve from its mounting bracket. A new inlet valve costs $100-200 and takes 20-30 minutes to install.
Damaged water supply line leaks
The water supply line carries water from your home's water line to the refrigerator. It can develop pinhole leaks, cracks, or loose connections over time. Supply line leaks often appear as a small puddle under the refrigerator or wet spots on the back wall.
Inspect the entire length of the supply line from where it enters your home to where it connects to the refrigerator. Look for visible cracks, kinks, or wet spots. If kinked or compressed, straighten it gently, this sometimes stops a leak caused by pressure buildup. If you see a pinhole or crack, the line must be replaced.
Shut off the water, disconnect the old line at both ends, and install a new one. Flexible supply lines cost $15-30 and take 15 minutes to swap.
Drain pan damage or overflow
The drain pan sits under your refrigerator and collects water from the defrost cycle and condensation. A cracked or warped pan will leak water onto your kitchen floor. If the defrost drain is clogged, water backs up and overflows the pan instead of flowing out.
Unplug your refrigerator and carefully pull it away from the wall. Look underneath for visible cracks or gaps. If the pan is plastic and warped, it needs replacement. If it's intact but overflowing, the problem is the clogged defrost drain.
A new drain pan costs $40-80 and takes 10 minutes to install.
Improper refrigerator leveling
Refrigerators must be tilted slightly backward (about 0.25 inches higher at the back than the front) so that condensation and defrost water flow toward the drain pan instead of pooling inside. If your refrigerator is level or tilted forward, water will collect in the bottom.
Check the leveling using a bubble level placed on the bottom shelf. If the bubble is centered or tilted forward, your fridge needs adjustment. Most refrigerators have adjustable front feet. Unplug the unit, then turn the front feet counterclockwise to raise the front slightly. Plug it back in and recheck with the level.
This is a free fix that takes five minutes and solves many water pooling problems.
Refrigerator Repair Cost: When to DIY vs. Call a Professional
Not every refrigerator leak requires a technician. Some repairs are simple enough for a homeowner with basic mechanical confidence. Others demand professional expertise.
Cost-benefit analysis: repair or replace
A refrigerator that's 7-10 years old and develops a major leak may not be worth fixing. Sealed-system repairs can cost $300-600, and if the compressor is failing, replacement costs $400-800. At that point, you're investing 40-60% of a new refrigerator's cost into an aging unit.
By contrast, a 3-5 year old refrigerator with a clogged drain or worn gasket is almost always worth repairing. Those fixes cost $50-200 and will extend the unit's life by several more years.
If the repair cost is less than 50% of the refrigerator's replacement cost, repair it. If it exceeds 50%, consider replacement. A new mid-range refrigerator costs $800-1500, so any repair exceeding $400-750 warrants serious consideration of replacement.
Safety precautions for DIY repairs
Never work on a refrigerator's sealed system (compressor, refrigerant lines, evaporator coil) without EPA 608 certification. Refrigerant is hazardous and requires proper handling. For any repair involving electrical components, unplug the refrigerator before working.
When working on water lines, always shut off the water supply first. Have towels ready for residual water. For drain cleaning and gasket replacement, the risk is minimal. These are safe DIY jobs for most people. If you're unsure at any point, stop and call a professional. A service call ($80-150) is far less than the cost of water damage or a broken component.
Common Mistakes to Avoid When Troubleshooting a Leaking Fridge
The biggest mistake is assuming the leak is always the defrost drain. While clogged drains are common, they're not the only cause. Take time to locate where the water is actually coming from before troubleshooting.
Another common error is ignoring the door gasket. Homeowners often assume they need a new drain or compressor when the real problem is simply a worn seal. Spend two minutes testing the gasket with the dollar bill method before investing in expensive repairs.
Many people also fail to check the refrigerator's level. A unit tilted forward will leak water inside no matter how clean the drain is. Leveling is free and takes five minutes, always check this before calling a technician.
Finally, don't delay filter replacement. A clogged water filter creates back pressure that damages the inlet valve and other components. Replacing the filter every 6-12 months is cheap prevention against expensive repairs.
Conclusion: Resolve Your Refrigerator Leaking Water Issue
A leaking refrigerator is frustrating, but most causes are fixable without major expense or expertise. Whether the problem is a clogged defrost drain, a worn door gasket, a failing water filter, or an improperly leveled unit, you now have the knowledge to diagnose and address it.
If you've worked through the troubleshooting steps and the leak persists, or if you've identified a problem requiring professional attention, Home Tech is here to help. Our EPA 608-certified technicians service all major refrigerator brands with same-day and next-day appointments throughout the Phoenix metro area. We handle sealed-system repairs, water inlet valve replacement, compressor diagnostics, and ice maker service. Call (602) 486-1901 or visit hometechappliancerepair.com to book your appointment.
External Sources
According to the U.S. Environmental Protection Agency's guidance on refrigerant safety, proper handling of sealed-system refrigerants requires EPA 608 certification, which covers the safe recovery, recycling, and disposal of refrigerants used in modern appliances.
Research from appliance manufacturer maintenance guides recommends replacing refrigerator water filters every 6 months to maintain water quality and prevent pressure buildup that can damage the inlet valve and related components.
[The National Association of Home Builders' appliance repair(/certified-appliance-repair-technicians-in-fountain-hills/) standards | nahb.org] indicate that door gasket replacement is among the most cost-effective preventive repairs, extending refrigerator lifespan by 2-3 years when performed during the unit's mid-life.
Frequently Asked Questions
How do I fix a leaking refrigerator quickly?
Start by identifying where the water originates, inside the fridge, underneath, or from the front. Check the defrost drain hole (often at the back or bottom) for clogs and clear it with warm water or a thin wire. Inspect the door gasket for cracks or misalignment. If the leak persists after these steps, the water inlet valve, water filter, or drain pan may need professional attention. Many simple clogs can be resolved in 15-30 minutes.
Can a clogged water filter cause my refrigerator to leak water?
Yes. A clogged or improperly installed water filter restricts water flow and can cause pressure buildup, leading to leaks around the filter housing or connection points. Check that your filter is seated correctly and not overdue for replacement. Most refrigerator water filters should be replaced every 6 months. If water pools near the filter cartridge or dispenser, replace the filter and inspect the housing for cracks.
When should I call a professional for a leaking refrigerator?
Call a service technician if the leak originates from the compressor area, sealed system, or water inlet valve; if the drain pan is cracked; or if water supply line connections are damaged. Also seek professional help if you're uncomfortable working with water shut-off valves or if the leak persists after clearing the defrost drain and checking the door gasket. A technician can diagnose model-specific issues and handle refrigerant-related repairs safely.
How much does refrigerator leak repair typically cost?
Simple repairs like clearing a clogged defrost drain or replacing a water filter run $50-$150 if DIY, or $150-$300 with a service call. Door gasket replacement averages $200-$400. More complex repairs, water inlet valve, supply line, or drain pan replacement, range from $300-$600 depending on the model and labor. A new refrigerator costs $800-$3,000+, so repair is usually cost-effective for units under 10 years old with isolated issues.