 how-to
Why Is My Oven Not Heating: 7 Fixes to Try
Table of Contents
- Why Is My Oven Not Heating: Quick Diagnostics
- Check Power Supply and Electrical Connection First
- How to Test Oven Bake Element with Multimeter
- Oven Igniter Replacement for Gas Ovens
- Oven Not Heating But Light Is On: Sensor and Control Issues
- Other Common Heating Problems
- DIY vs. Professional Repair: Cost and Risk Analysis
- Preventative Maintenance to Avoid Future Heating Problems
- Frequently Asked Questions
Why Is My Oven Not Heating: 7 Fixes to Try
Last Updated: July 8, 2026
Why Is My Oven Not Heating: Quick Diagnostics
An oven that won't heat demands immediate attention. Most heating failures follow predictable patterns and involve a single failed component: a heating element, igniter, sensor, or control board. Understanding which component has failed helps you decide whether DIY troubleshooting makes sense or you need professional help.
According to appliance repair industry data, approximately 60% of oven heating failures are resolved by addressing one of seven core issues. This guide walks you through diagnostics systematically, starting with the safest checks and progressing to more involved testing.
Electric vs. Gas Oven Differences
Electric ovens rely on resistance heating elements (typically a bake element at the bottom and broil element at the top) that glow red-hot when electricity flows through them. Gas ovens use an igniter to light a burner flame. The igniter serves the same critical role that the heating element does in an electric oven: no igniter, no heat.
Testing methods differ between types. An electric heating element can be tested with a multimeter to check for continuity. A gas oven igniter requires checking for a glow and listening for clicking sounds indicating ignition attempts. Knowing your oven type, electric, gas, convection, or combination, narrows which components to check first.
When to DIY vs. Call a Professional
DIY testing makes sense if you're comfortable with electrical work and your oven is out of warranty. Testing a heating element with a multimeter takes 15 minutes and costs nothing. If the element fails the test, you've confirmed the problem and can order a replacement confidently.
Professional repair makes sense if you're uncertain about electrical safety, if your oven is under warranty, or if the diagnosis points to a control board failure. A service call typically runs 1-2 hours and includes diagnostics, parts, and labor.
Check Power Supply and Electrical Connection First
Before testing any oven components, verify that power is reaching the oven. A tripped circuit breaker or blown thermal fuse can make an oven appear broken when the real issue is upstream.
Tripped Circuit Breaker or Blown Fuse
Locate the breaker labeled "Oven" or "Range" in your home's electrical panel and check whether it's in the ON position. If it has tripped, switch it fully OFF, then back ON. If it immediately trips again, you have a short circuit requiring professional diagnosis. If it stays ON, try turning on the oven.
Some ovens use a thermal fuse, a one-time-use safety device that blows if the oven overheats. A blown fuse looks cracked, blackened, or has a broken wire inside. Replacement fuses cost $10-30 and take 10 minutes to swap. However, investigate why the fuse blew before replacing it, repeated failures indicate an underlying heating problem.
Verifying Voltage with a Multimeter
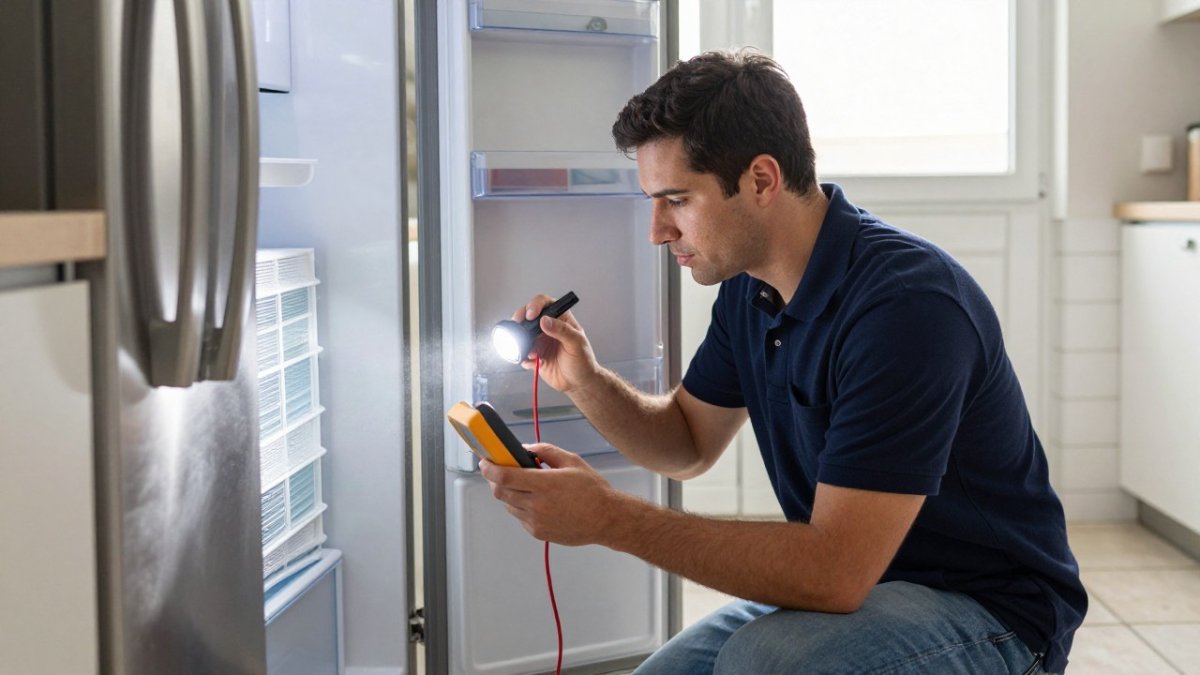
If the breaker is on and the oven still won't heat, use a multimeter to verify that 240V (or 230V) is reaching the oven's power terminals.
Set your multimeter to AC voltage. Locate the oven's power terminals (usually at the back) and touch the probes to the two main power terminals. You should read approximately 240V. If you read 0V or significantly less, the problem is a tripped breaker, blown fuse, or wiring issue. If you read 240V but the oven won't heat, proceed to testing the heating element or igniter.
How to Test Oven Bake Element with Multimeter
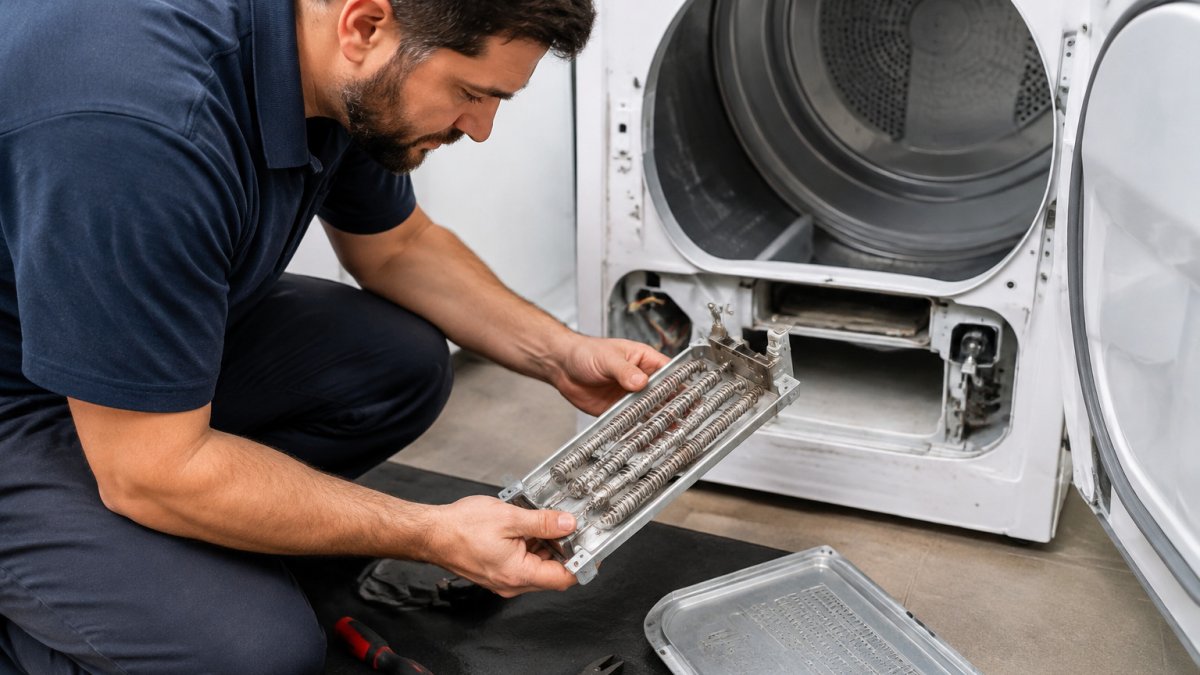
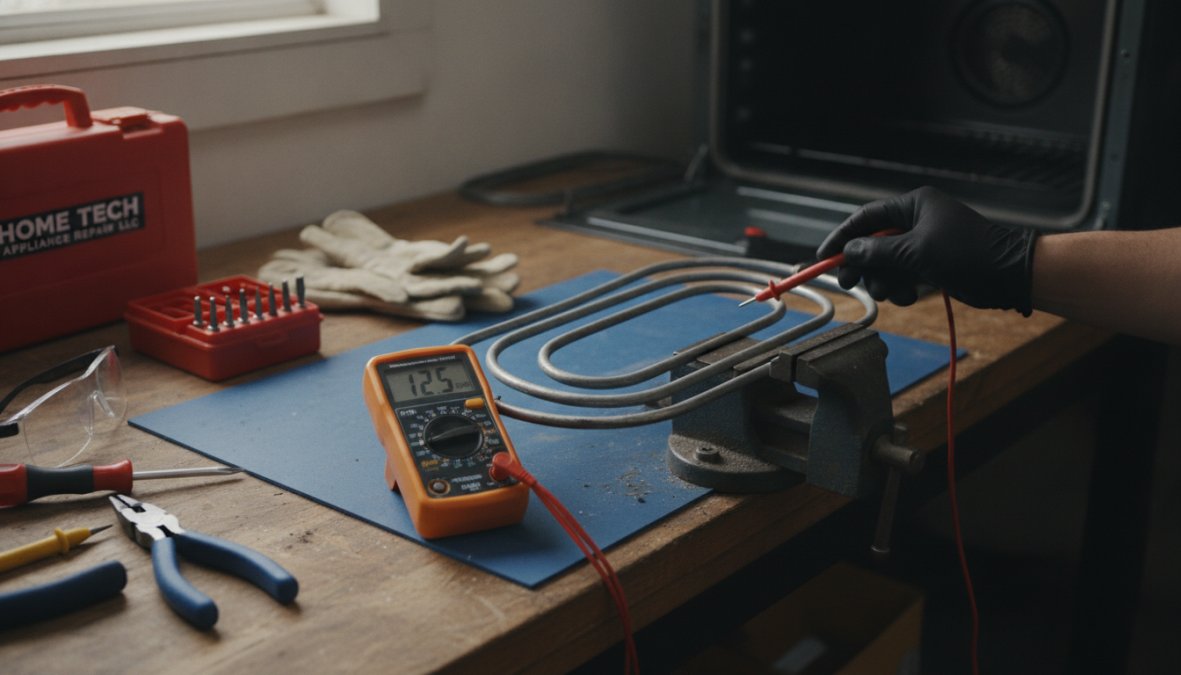
Testing an electric oven's bake element is the most common diagnostic step for electric oven heating failures. The bake element is the coil at the bottom of the oven cavity that glows red when operating.
Step-by-Step Testing Process
Remove the oven racks to access the bake element, typically held by two or three screws at the back of the cavity. Before touching the element, switch off the circuit breaker and confirm it's in the OFF position.
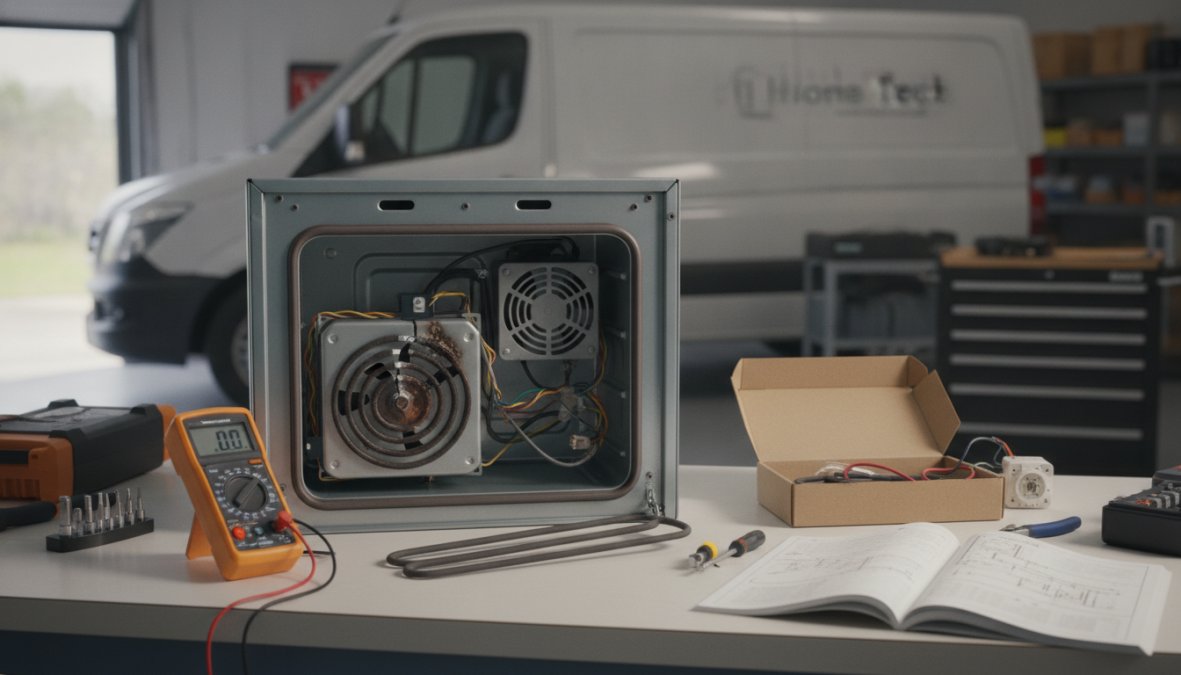
Set your multimeter to the ohm (Ω) setting. Touch one probe to each terminal of the heating element. A working element shows resistance between 10-50 ohms. If your multimeter shows 0 ohms, the element has a short circuit. If it shows infinite resistance (∞) or "OL" (overload), the element has an open circuit and must be replaced.
If the element tests good but the oven still won't heat, the problem lies elsewhere: thermostat, control board, or wiring.
Oven Igniter Replacement for Gas Ovens
Gas ovens use an igniter, a ceramic or metal component that glows red-hot when electricity passes through it, igniting the gas burner. When the igniter fails, the gas won't light and the oven won't heat.
How to Identify a Defective Igniter
Turn on the oven and listen and watch for 30-60 seconds. You should hear a clicking sound and see the igniter glow bright orange or red inside the oven cavity. If you see no glow and hear no clicking, the igniter is dead. If you hear clicking but see no glow, the igniter element has failed internally.
The igniter is located at the bottom of the oven cavity on a bracket. Replacement requires removing a cover panel, unbolting the old igniter, disconnecting the wire connector, and installing a new one. The process takes 20-30 minutes. Replacement igniters cost $50-150 depending on the oven brand.
When to Replace the Glow Bar
Some gas ovens use a glow bar instead of a traditional igniter. A glow bar is a flat ceramic or metal heating element that works on the same principle. If it doesn't glow when the oven is turned on, it needs replacement. The replacement process is identical to igniter replacement.
Oven Not Heating But Light Is On: Sensor and Control Issues
An oven that won't heat but has a working light tells you power is reaching the oven. This narrows the problem to the heating circuit: the temperature sensor, thermostat, or control board.
Malfunctioning Temperature Sensor or Thermistor
The temperature sensor measures the oven's internal temperature and sends data to the control board. If the sensor fails, the control board may refuse to activate the heating element as a safety precaution. A faulty sensor typically causes the oven to not heat at all or heat erratically.
Some ovens display an error code when the sensor fails. Check your manual for the code meaning. Common codes include "F1" (sensor error) or "E0" (communication failure). Testing a temperature sensor requires a multimeter and knowledge of your oven's specific sensor type. Most sensors show a resistance value that changes with temperature. If your sensor shows a static resistance reading that doesn't change as temperature increases, it's faulty.
Replacement sensors cost $40-100 and take 15-30 minutes to install. If you're not confident with multimeter testing, professional diagnosis is worth the investment.
Oven Control Board Failures
The control board is the oven's "brain", it receives input from the temperature sensor and sends power to the heating element or igniter. A failed control board can prevent heating even if the heating element or igniter is functional.
Signs of a control board problem include: the oven won't respond to temperature adjustments, error codes appear on the display, the heating element receives no power (verified with a multimeter), or the oven heats inconsistently despite a working sensor.
Replacing a control board typically requires professional service. Boards cost $150-400 depending on the oven model, and installation involves removing panels, disconnecting multiple wire connectors, and sometimes reprogramming.
Other Common Heating Problems
Several secondary issues can prevent an oven from heating properly.
Door Gasket and Seal Issues
The door gasket is the rubber or silicone seal around the oven door frame. A cracked, warped, or missing gasket allows heat to escape, causing the oven to reach temperature slowly or fail to maintain the set temperature. Inspect the gasket visually by opening the oven door and looking at the seal. If you see cracks, tears, gaps, or areas where the gasket has pulled away from the frame, it needs replacement. Replacement gaskets cost $20-60 and typically require removing the door and unbolting the old gasket.
Thermostat Calibration Problems
Older ovens with manual thermostat dials can become miscalibrated over time. Check your manual for thermostat calibration instructions. Modern digital ovens don't have this issue, but they can develop software glitches. If your digital oven won't heat, try unplugging it for 5 minutes, then plugging it back in. This resets the control board's memory and sometimes resolves temporary glitches.
Convection Fan Malfunction
Convection ovens have a fan that circulates hot air throughout the oven cavity. If the fan motor fails, the oven may still heat but won't circulate heat effectively. You'll notice uneven cooking or longer cooking times. A faulty convection fan typically makes noise, grinding, squealing, or rattling sounds. Replacement requires removing a panel to access the fan motor and installing a new one.
DIY vs. Professional Repair: Cost and Risk Analysis
When DIY Testing Makes Sense
DIY testing and simple part replacement makes sense when the repair is straightforward and low-risk. Testing a heating element with a multimeter costs nothing and takes 15 minutes. If the test confirms the element is faulty, ordering a replacement and installing it yourself typically saves $100-150 compared to a service call. The same logic applies to replacing a door gasket or thermal fuse.
However, DIY repair doesn't make sense if you're uncertain about your diagnosis. Ordering the wrong part wastes money and time.
Why Professional Service Saves Time and Money
Professional service makes sense for complex repairs, warranty-covered ovens, and situations where you're unsure of the diagnosis. A technician brings specialized tools, diagnostic experience, and the ability to identify secondary problems you might miss. Professional repairs typically include a warranty on parts and labor.
For ovens over 10 years old, professional service provides clarity on the repair-versus-replacement decision. A technician can assess the oven's overall condition and advise whether spending $300 on a control board replacement makes sense or whether a new oven is the better investment.
EPA guidelines on appliance energy efficiency and repair decisions
Preventative Maintenance to Avoid Future Heating Problems
Regular maintenance extends your oven's lifespan and prevents many heating failures.
Regular Inspection Checklist
Check your oven's door gasket quarterly for visible cracks, tears, or areas where the seal has pulled away from the frame. Inspect the heating element (electric ovens) or igniter (gas ovens) visually every 6 months. For electric elements, look for visible cracks or blistering. For igniters, check that it glows brightly when the oven is turned on.
Clean the oven interior regularly to prevent debris buildup. Crumbs and spilled food can accumulate on the heating element or igniter, causing them to work harder and fail prematurely. Check the circuit breaker for your oven monthly. If it trips frequently, you have an underlying electrical problem requiring professional attention.
Cleaning and Care Tips
Use the self-cleaning feature sparingly. The extreme heat generated during self-cleaning cycles puts stress on heating components. If your oven has this function, use it no more than once every 3-6 months.
Wipe spills immediately after the oven cools. Hardened food residue on the heating element or igniter reduces efficiency. For gas ovens, ensure the burner ports are clear of debris. Use a small brush to gently clear any blockages.
Avoid harsh chemicals or abrasive cleaners inside the oven cavity. These can damage the heating element coating or interior enamel, leading to corrosion. Stick with mild soap and water or oven-specific cleaners.
When your oven stops heating, the problem is almost always one of seven components: the heating element, igniter, temperature sensor, control board, door gasket, thermostat, or convection fan. By following this diagnostic guide, you can identify the issue yourself or provide a technician with the information they need to repair it quickly. [Home Tech appliance repair(/local-experts-for-fast-and-affordable-appliance-repair-tempe/) services | hometechappliancerepair.com] offers same-day diagnostics and repair for all major oven brands. Our EPA 608-certified technicians handle everything from simple element replacement to complex control board diagnostics, with no hidden fees and a 100% satisfaction guarantee. Call (602) 486-1901 or visit our website to book your appointment.
Frequently Asked Questions
How do I know if my oven igniter is bad?
A defective igniter typically fails to glow or glows weakly when the oven cycles on. In gas ovens, you may hear clicking sounds but smell no gas igniting, or the oven takes much longer than normal to preheat. Some igniters glow briefly then dim. You can visually inspect the igniter for cracks or discoloration. If you suspect a bad igniter, testing with a multimeter or consulting a technician is recommended before replacement.
Why is my electric oven not heating but the light is on?
When your oven light works but heating fails, the issue usually involves the temperature sensor, control board, or bake element rather than the main power supply. The light circuit often operates independently. Check if the bake element glows red when set to bake mode, if not, the element may be broken. If it glows but doesn't produce heat, the control board may not be sending proper voltage. A faulty thermistor can also prevent the oven from reaching temperature even if components appear functional.
Can a blown fuse cause an oven not to heat?
Yes, a blown thermal fuse or tripped circuit breaker can completely prevent heating. Check your home's electrical panel for a tripped breaker labeled for the oven circuit. If the breaker has flipped to the 'off' position, switch it back on. If it trips repeatedly, there may be a wiring issue or short circuit requiring professional inspection. A thermal fuse protects the oven from overheating; if blown, it must be replaced by a technician.
What's the difference between DIY testing and professional repair for oven heating problems?
DIY testing with a multimeter can identify obvious failures like broken bake elements or blown fuses, saving you diagnostic fees. However, control board issues, sensor problems, and gas valve repairs typically require professional expertise and specialized tools. Professional technicians have service manuals, diagnostic equipment, and safety certifications (like EPA 608 for gas systems). If you're uncomfortable with electrical work or gas appliances, professional repair prevents safety risks and often includes warranties on parts and labor.