 how-to
Why Your Dryer Stops Heating: 8 Common Causes
Table of Contents
- Why Heating Failure Happens
- Thermal Fuse Failure: The Most Common Culprit
- How to Test Your Dryer Thermal Fuse with a Multimeter
- Broken Heating Element: Electric Dryer Issues
- Dryer Heating Element Replacement Cost & DIY Considerations
- Clogged Dryer Vent and Lint Screen Problems
- Why Dryer Vent Cleaning Is Critical to Heating Performance
- Gas Supply and Igniter Issues in Gas Dryers
- Other Common Heating Failure Causes
- Frequently Asked Questions
Why Your Dryer Stops Heating: 8 Common Causes
Last Updated: July 5, 2026
Understanding why your dryer stops heating is essential for anyone who relies on their dryer daily. When your dryer runs but produces no heat, the problem typically traces to one of several predictable components rather than requiring a complete replacement.
Why Heating Failure Happens
Most heating failures show warning signs weeks before stopping entirely: clothes taking longer to dry, slightly warm air instead of hot, or moisture lingering in the drum.
Electric dryers generate heat through a resistance coil that glows red-hot when electricity passes through it. Gas dryers ignite propane or natural gas using an igniter and valve system. Both depend on working thermostats, sensors, and the thermal fuse to regulate temperature and prevent fires.
The thermal fuse is the single most important safety device in your dryer. When your dryer overheats due to restricted airflow, the thermal fuse melts intentionally, cutting power to the heating element. Once blown, it cannot be reset and must be replaced.
Thermal Fuse Failure: The Most Common Culprit
The thermal fuse accounts for roughly 40-50% of all dryer heating failures. It's also the most misunderstood component because homeowners often treat it as a simple replacement when it's actually a symptom of a deeper problem.
The thermal fuse is a one-time safety device that melts at approximately 240-250°F (116-121°C). When your dryer overheats, the fuse melts and breaks the circuit to the heating element, cutting power instantly. This prevents fires and protects your home. Unlike a circuit breaker, the thermal fuse cannot be reset. Once melted, it must be physically replaced.
A blown thermal fuse produces specific symptoms: your dryer will run, the drum will tumble, and you'll hear the motor and fan operating normally, but no heat will be generated. The air coming out of the vent will be cold or barely warm. If the thermal fuse has blown, your dryer stopped heating suddenly, not gradually, which distinguishes it from a failing heating element.
The thermal fuse blows for one reason: your dryer is overheating because airflow is restricted. Common causes include a clogged lint screen, blocked dryer vent, or kinked exhaust duct. Lint buildup forces hot air to recirculate inside the drum instead of venting outside, raising internal temperatures until the fuse melts.
How to Test Your Dryer Thermal Fuse with a Multimeter
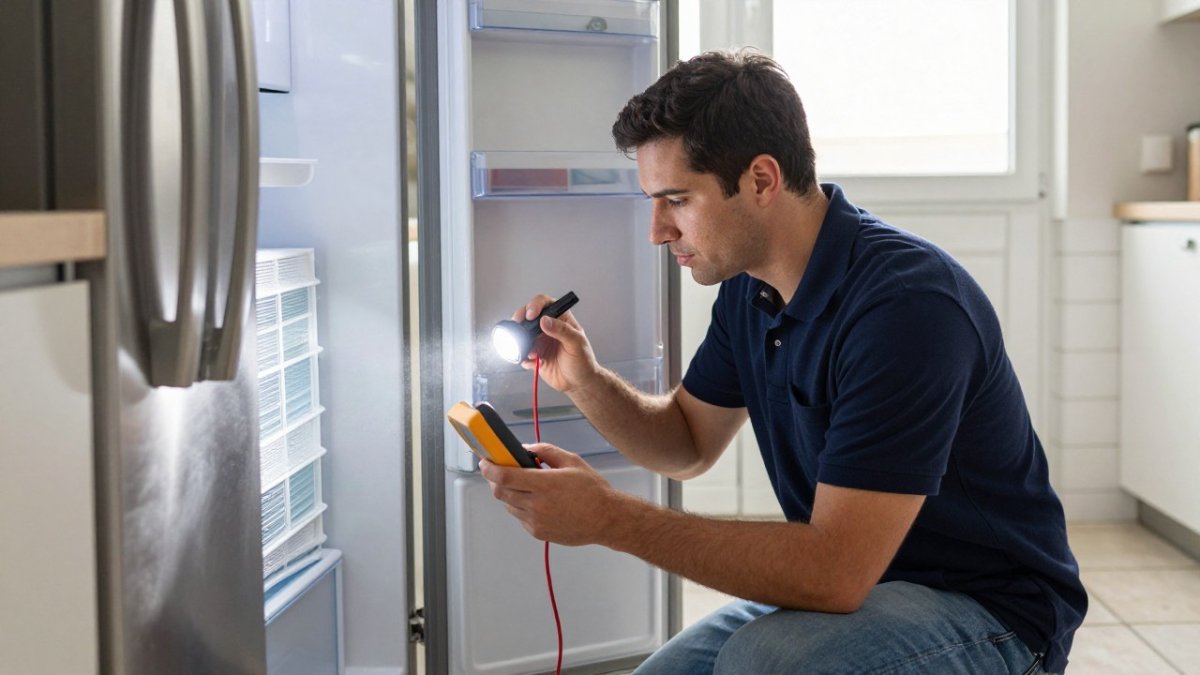
Testing the thermal fuse with a multimeter is straightforward and takes about 10 minutes. A basic digital multimeter costs $15-30.
First, unplug your dryer completely. Locate the thermal fuse, typically mounted on the blower housing or near the heating element assembly. You may need to remove the front or rear panel to access it. Consult your dryer's manual for the exact location, as it varies significantly between brands.
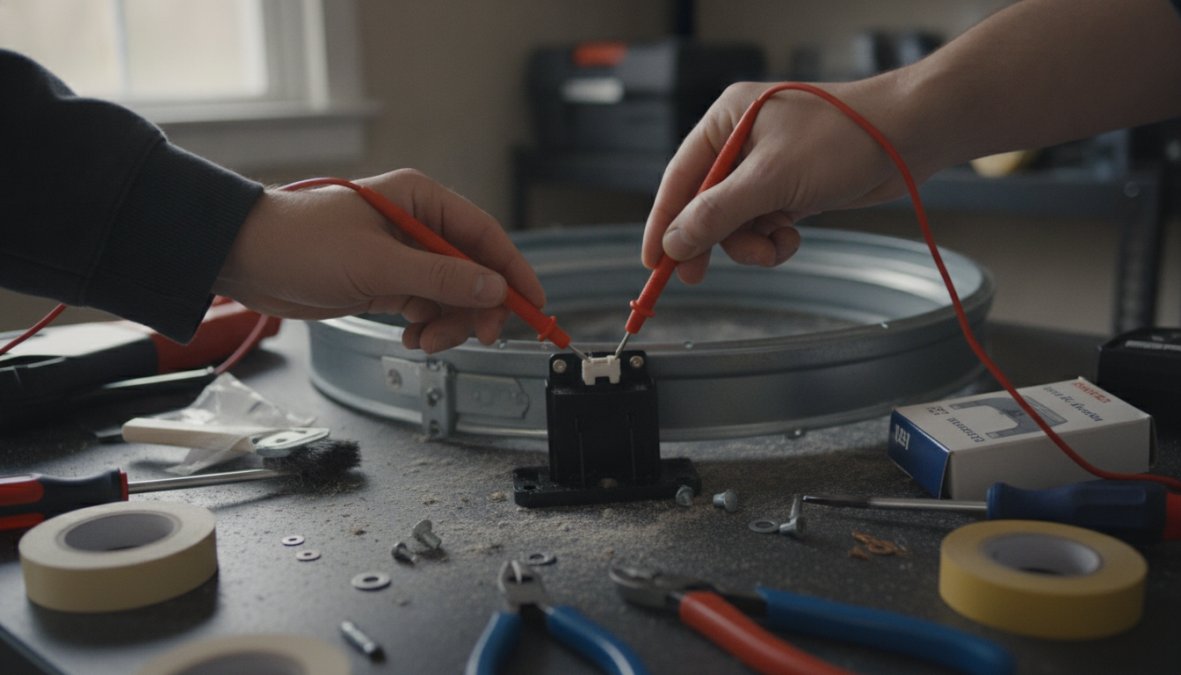
Set your multimeter to the ohms setting (resistance measurement). Touch one probe to each terminal of the thermal fuse. A working thermal fuse will show low resistance, typically 0-5 ohms. A blown fuse will show infinite resistance or "OL" (overload) on your multimeter display.
If the fuse reads infinite resistance, it's blown and must be replaced. Before reinstalling, clean your dryer vent and lint screen thoroughly. If it reads low resistance, the fuse is intact and your heating problem lies elsewhere.
What Your Results Mean
Low resistance (0-5 ohms) = Fuse is good. Your heating issue is not the thermal fuse. Test the heating element next (for electric dryers) or the gas valve and igniter (for gas dryers).
Infinite resistance or "OL" = Fuse is blown. Replace it immediately and clean your dryer vent and lint screen thoroughly.
Broken Heating Element: Electric Dryer Issues
The heating element is the second most common cause of heating failure in electric dryers. Unlike the thermal fuse, the heating element fails gradually. You'll notice your dryer producing less and less heat over several weeks before it stops heating entirely.
A failing heating element typically shows these signs: your dryer runs normally, the drum rotates, and the fan operates, but clothes come out damp or barely warm. The problem worsens over time until no heat is produced at all.
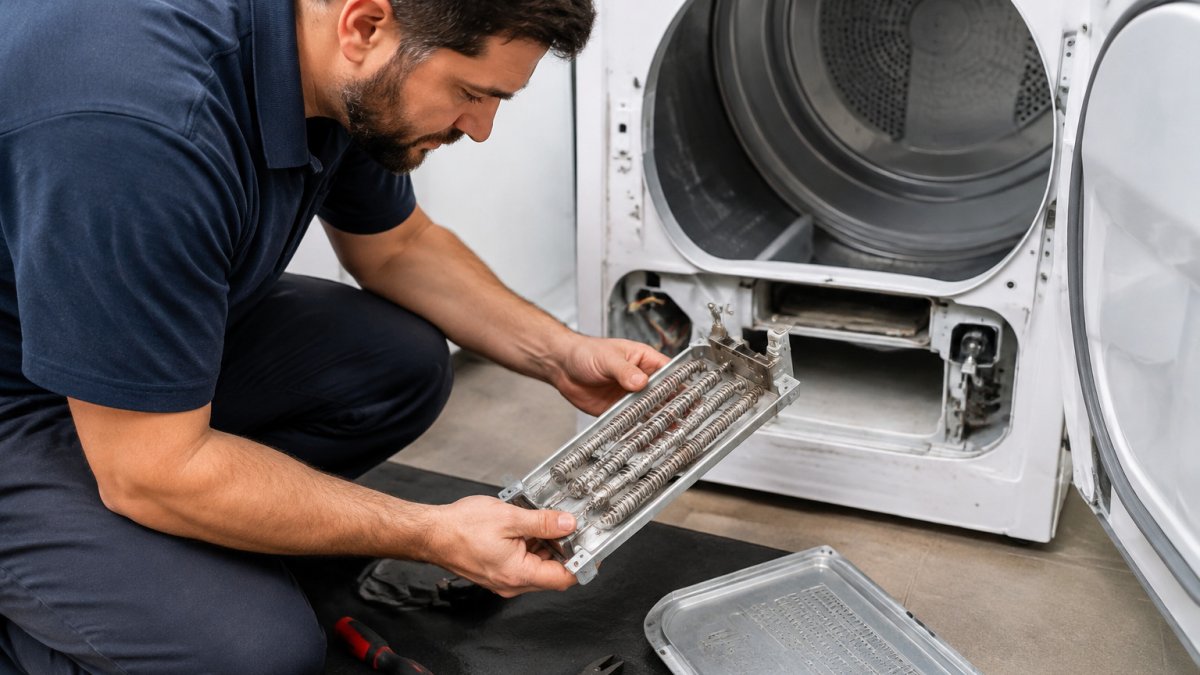
The heating element is a coil of nichrome wire wound around a ceramic or fiberglass core. When electricity flows through the wire, it glows red-hot and heats the air passing through the drum. Over years of use, the wire weakens, develops micro-fractures, and eventually breaks. When the wire breaks, the circuit opens and no current flows, so no heat is generated.
Testing the heating element requires a multimeter. Unplug your dryer and locate the heating element assembly, usually mounted at the bottom or rear of the dryer cabinet. Set your multimeter to ohms and touch the probes to the element's terminals. A working element will show 10-25 ohms of resistance. An open or failed element will show infinite resistance.
Dryer Heating Element Replacement Cost & DIY Considerations
Replacing a heating element yourself can save $150-250 in labor costs, but it requires mechanical skill and comfort working with electrical components.
Consider your dryer's age first. If it's under 5 years old and the heating element is the only problem, repair is almost always the better choice. If your dryer is 10+ years old and showing multiple failures, replacement may be more cost-effective long-term.
A heating element replacement typically costs $200-400 including parts and labor. If your dryer costs $600-800 new, you're looking at a 25-50% replacement cost. If repair brings your total out-of-pocket spend to $300-400 and your dryer is reliable otherwise, repair wins.
| Decision Factor | Repair Makes Sense | Replace Makes Sense |
|---|---|---|
| Dryer age | Under 7 years | 10+ years |
| Repair cost | Under 40% of replacement | Over 50% of replacement |
| Prior repairs | First or second repair | Three or more repairs |
| Condition of other parts | Thermal fuse, vent clean | Multiple components failing |
For DIY replacement, the heating element itself costs $50-120 depending on your dryer model. You'll need a multimeter, a screwdriver set, and about 2-3 hours. If you're mechanically inclined and comfortable with basic electrical work, DIY is feasible. If you're uncertain, professional installation is worth the labor cost for safety and warranty protection.
Clogged Dryer Vent and Lint Screen Problems
Restricted airflow is the root cause of most heating failures. When lint clogs your vent or lint screen, hot air can't escape the drum. Internal temperatures rise, the thermal fuse melts, and heating stops.
Your dryer's heating system depends on continuous airflow. Hot air is generated by the heating element or gas burner, forced through the drum by the blower, and exhausted outside through the vent. When lint blocks the lint screen or vent duct, airflow restriction increases. Hot air recirculates inside the drum instead of venting outside, raising internal temperatures until the thermal fuse melts.
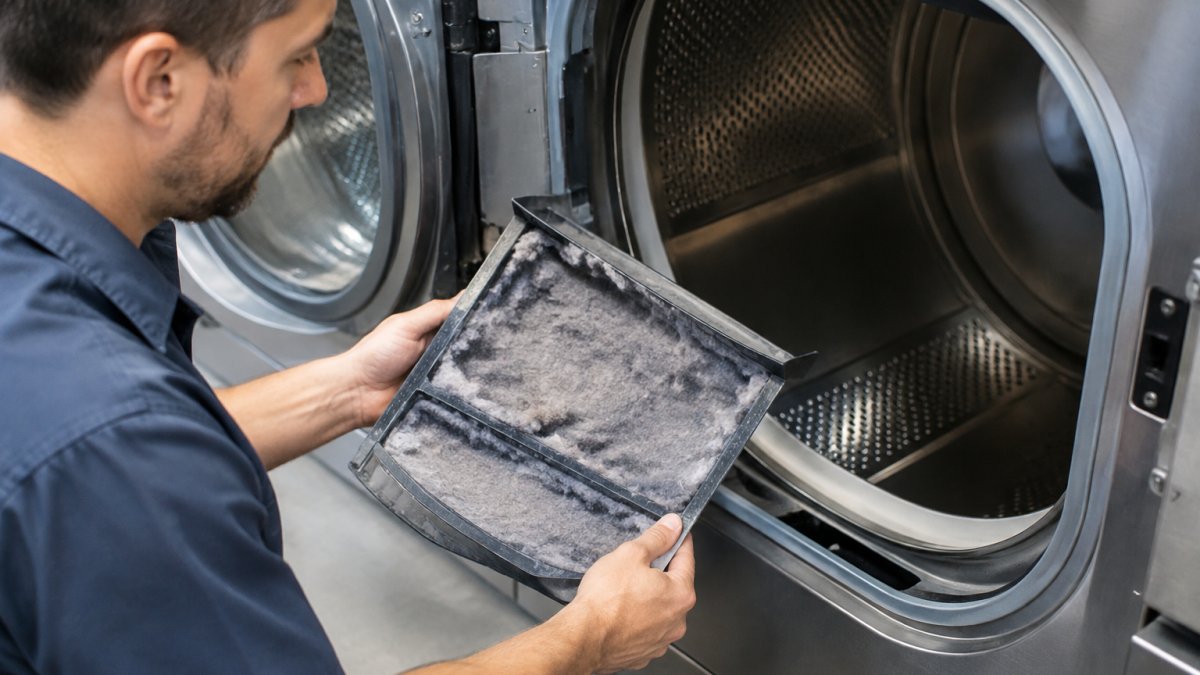
The lint screen is the first defense. Lint accumulates on the screen's surface with every load. If not cleaned, lint builds up to 1-2 inches thick, reducing airflow by 30-50%. The screen should be cleaned before every load. A quick swipe with your hand takes 10 seconds and prevents most airflow problems.
The dryer vent is the second defense. Lint also accumulates inside the vent duct, especially if the duct is flexible, has kinks, or runs a long distance from the dryer to the outside. Over months, lint buildup inside the duct restricts airflow significantly.
Why Dryer Vent Cleaning Is Critical to Heating Performance
A clogged dryer vent is the most preventable cause of heating failure. Regular vent cleaning eliminates the leading reason thermal fuses blow and heating elements fail prematurely.
Clean your lint screen before every load. This is the single most important maintenance step. A clean screen allows maximum airflow and prevents lint from entering the vent duct.
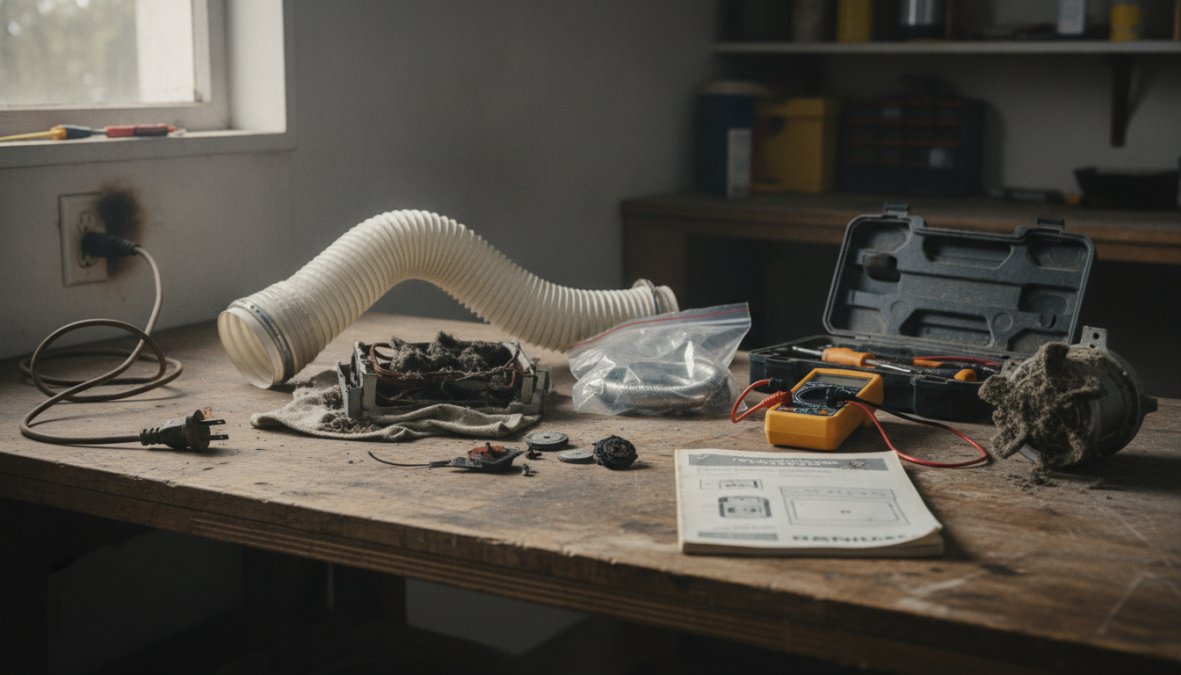
Inspect your dryer vent duct quarterly. Disconnect the duct from the back of your dryer and look inside with a flashlight. If you see lint accumulation, use a dryer vent brush or shop vacuum to remove it. For flexible ducts, straighten any kinks that restrict airflow. Replace damaged or kinked ducts with rigid metal ducting, as flexible ducts accumulate lint more readily.
Have your dryer vent professionally cleaned annually if you do 4+ loads per week. Professional vent cleaning uses powered brushes and high-pressure air to remove lint from the entire duct run. This typically costs $100-200 and takes 30-60 minutes.
Check your dryer's exhaust termination outside. The vent hood should have a damper that opens when air flows out and closes when the dryer stops. If the damper is stuck shut or blocked by lint, air backs up into the duct.
Gas Supply and Igniter Issues in Gas Dryers
Gas dryers generate heat differently than electric models. Understanding how gas heating works helps you diagnose failures specific to gas dryers.
Electric dryers use a heating element, a resistive coil that glows hot when electricity passes through it. Gas dryers use a burner assembly that ignites propane or natural gas. The igniter sparks to light the gas, which burns and heats air passing through the drum.
The gas supply system includes the gas valve (which controls gas flow), the igniter (which sparks to light the gas), and the flame sensor (which detects whether the gas ignited successfully). If any of these components fails, the dryer won't heat.
A failing gas valve produces specific symptoms: you'll hear the igniter spark (a clicking sound) but smell no gas and see no flame inside the burner area. The igniter fires, but no gas reaches the burner, so combustion never occurs. Gas valves typically cost $150-300 and require professional replacement due to gas line safety concerns.
A failing igniter produces similar symptoms but with a different root cause. You won't hear the characteristic clicking spark sound. The igniter may glow faintly but fail to produce a strong spark. Without a strong spark, the gas doesn't ignite. Igniters cost $50-150 and are more accessible for DIY replacement than gas valves, though professional installation is still recommended.
The flame sensor detects the presence of flame. If the sensor is dirty or failed, it may tell the control board that no flame is present, even when the burner is actually lit. Cleaning the flame sensor with a soft brush often restores function. If cleaning doesn't work, the sensor must be replaced (typically $100-200).
Gas dryer repairs involving the gas supply system should be performed by qualified technicians.
Other Common Heating Failure Causes
Beyond the thermal fuse and heating element, several other components can stop your dryer from heating.
Broken Thermostat
The cycling thermostat regulates heating by turning the heating element on and off to maintain target temperature. A failed thermostat may stay open (preventing the heating element from receiving power) or stuck closed (causing overheating). A working thermostat shows continuity when cold and opens as temperature rises. Replacement costs $75-150.
Defective Timer Motor
The timer motor advances the dial that controls dryer functions. If the motor fails, the timer may not advance, preventing the heating circuit from activating. Timer motor replacement costs $100-200.
Control Board Failure
The control board is the dryer's computer. It manages power delivery to the heating element, gas valve, and other components. A failed control board may not send power to the heating circuit, even though all other components are functional. Control board replacement costs $200-400. Diagnosis requires professional testing to rule out other causes first.
Lack of Power or Electrical Supply
Check that your dryer is plugged in and the outlet has power. Test the outlet with another appliance. If the outlet is dead, check your home's circuit breaker panel. A tripped breaker can cut power to the dryer without any obvious signs. Reset the breaker and test again. If the breaker trips immediately, there's an electrical fault; stop using the dryer and call a professional.
For gas dryers, also verify that the gas supply valve (at the wall or meter) is open.
When your dryer stops heating, the problem is almost always one of the components covered above. The thermal fuse and heating element account for the majority of failures. Restricted airflow is the leading cause of both. At Home Tech, we diagnose and repair dryer heating failures across all major brands, GE, Whirlpool, LG, Samsung, and more, with same-day service availability in the Phoenix metro area. Our EPA 608-certified technicians handle everything from simple vent cleaning to complex control board replacement. If you're experiencing heating failure, contact Home Tech for professional dryer repair to get your dryer working again and avoid costly water damage from wet clothes sitting in the drum. Call (602) 486-1901 to book your appointment today.
Frequently Asked Questions
What is the thermal fuse on a dryer and what does it do?
The thermal fuse is a one-time safety device that melts and cuts power to the heating element if your dryer overheats. Unlike a reset-able thermostat, once a thermal fuse blows, it cannot be reset, it must be replaced. A blown thermal fuse is the most common reason a dryer stops heating. It protects against fire risk from excessive heat buildup, often caused by restricted airflow or lint accumulation in the vent system.
How do I know if my dryer heating element is bad?
A failed heating element typically shows these signs: the dryer runs but produces no heat, the drum rotates normally, and the air inside stays cold. You can test the heating element with a multimeter to check for continuity. If the multimeter shows no continuity (infinite resistance), the element is broken and needs replacement. Heating element failure is most common in electric dryers and usually requires professional installation due to high-voltage electrical work involved.
Can a clogged vent cause a dryer to stop heating?
Yes, absolutely. A clogged dryer vent or lint-filled lint screen restricts airflow, causing the dryer to overheat and trigger the thermal fuse to blow. This cuts power to the heating element, stopping heat production. Even partial blockages reduce efficiency and can eventually damage heating components. Regular lint screen cleaning after every load and annual vent duct inspection prevent this common problem and extend your dryer's lifespan.
Is it worth fixing a dryer that won't heat?
The answer depends on your dryer's age and repair cost. If your dryer is under 7 years old and the repair (thermal fuse, heating element, or vent cleaning) costs less than 50% of a replacement unit, repair is usually worthwhile. However, if your dryer is 10+ years old with a failed heating element or control board, replacement may be more cost-effective long-term. A professional technician can assess whether your specific issue justifies repair or replacement based on parts availability and warranty options.