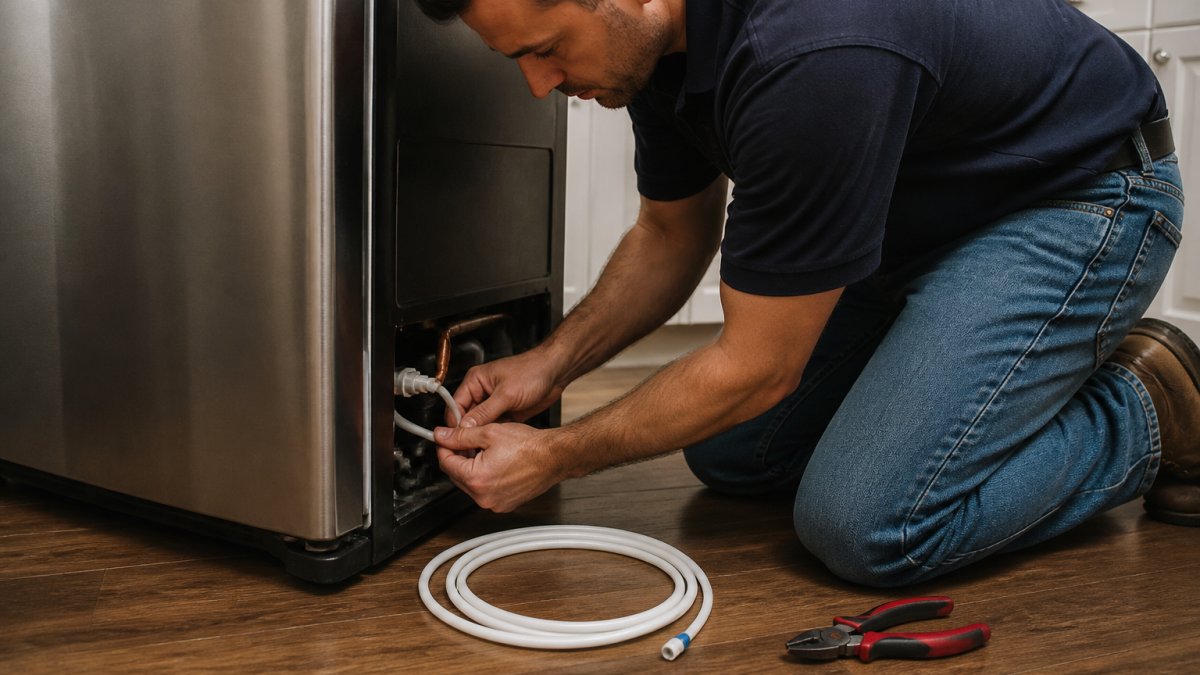
 how-to
When to Replace Refrigerator Water Supply Line
Table of Contents
- Signs of Refrigerator Water Line Failure
- Recommended Replacement Frequency for Your Water Line
- Braided Stainless Steel vs Plastic Water Line: Material Comparison
- How to Disconnect and Install a Refrigerator Water Supply Line
- Refrigerator Water Line Installation Cost and Professional vs DIY
- Preventative Maintenance to Extend Water Line Life
- Frequently Asked Questions
Last Updated: October 1, 2026
Signs of Refrigerator Water Line Failure
Refrigerator water line failures cause thousands of dollars in damage because homeowners miss early warning signs.
The refrigerator water supply line connects your water source to the ice maker and water dispenser, degrading over time from pressure, temperature changes, and mineral buildup. Early detection prevents emergency repairs.
Visible Leaks and Drips
Water pooling under your refrigerator is the most obvious sign. Small drips become big leaks quickly.
Look for these specific indicators:
- Water on the kitchen floor near the fridge
- Moisture inside the fridge compartment or freezer
- Wet spots on the wall behind the appliance
- Puddles in the drip tray under the unit
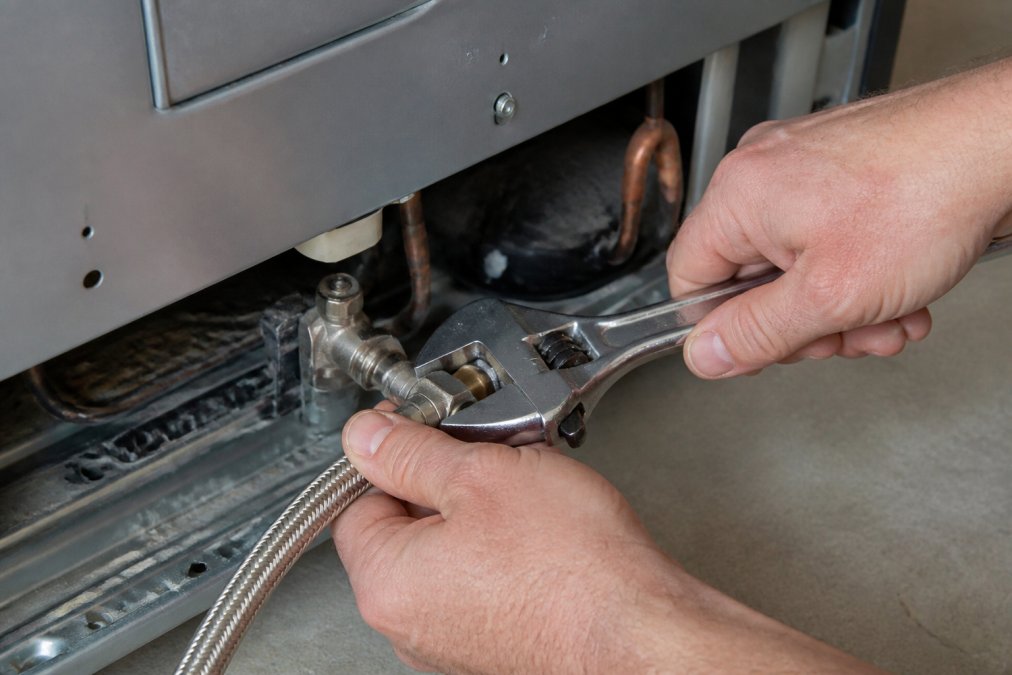
Even braided stainless steel lines can fail at connection points; a loose or corroded compression fitting weeps water slowly at first.
Water Quality Issues
Discolored, off-tasting, or foul-smelling water indicates internal line degradation and mineral or bacterial buildup. Cloudy ice cubes confirm the problem. Replace the line promptly to protect your health.
Recommended Replacement Frequency for Your Water Line
Most manufacturers recommend replacing your refrigerator water supply line every 3 to 5 years. Hard water areas, high water pressure (above 80 PSI), extreme temperature swings, and plastic tubing all shorten this interval.
Plastic lines need replacement at 3 years; braided stainless steel lasts 5-7 years. Preventative replacement costs far less than water damage repair.
Braided Stainless Steel vs Plastic Water Line: Material Comparison
Material choice directly impacts replacement frequency. Understanding degradation mechanisms helps you predict failure and choose wisely.
Braided Stainless Steel: Lifespan and Failure Modes
Braided stainless steel lines last 5-7 years, with the outer mesh protecting against kinks, punctures, and UV damage. They resist corrosion, handle pressure spikes, and tolerate temperature extremes. When they fail, it's typically at compression fittings, weeping slowly and giving you time to act.
Braided lines cost 40-60% more upfront but justify the investment through extended lifespan and lower failure risk, especially in hard water areas (above 120 mg/L) or high-pressure homes (above 80 PSI). The outer braid prevents mineral deposits from weakening the line.
Plastic Tubing: Degradation Mechanisms and Timeline
Plastic tubing (polyethylene or PEX) is cheaper and easier to install but fails within 3-5 years, with failures accelerating in years 4-5.
Plastic degrades through multiple mechanisms:
Plastic degrades through heat exposure (above 120°F), UV light, mineral buildup in hard water areas, pressure spikes, and kinking. Each mechanism weakens the material and creates failure points.
Plastic lines in hard water areas fail by year 3; in soft water homes, they may last 5 years. Replacement is frequent and inconvenient.
PEX vs. Standard Polyethylene: A Nuance
PEX tubing lasts 4-6 years, longer than standard polyethylene but still shorter than braided stainless steel. Upgrading to braided stainless steel during replacement extends intervals and reduces water damage risk.
Material Choice: When to Upgrade
Choose braided stainless steel for hard water (above 120 mg/L), high pressure (above 80 PSI), under-cabinet lighting, or older homes. Plastic or PEX is acceptable only in soft water, low-pressure homes without UV exposure, but plan for 3-4 year replacement. Preventative replacement with braided stainless steel every 5-7 years costs far less than water damage repair.
How to Disconnect and Install a Refrigerator Water Supply Line
Replacing a refrigerator water supply line is manageable DIY if you have the right tools and patience.
Tools You'll Need
Gather: adjustable wrench, bucket or towels, pliers, new braided stainless steel line, Teflon tape, flashlight, and saddle valve kit if needed. Complete kits from hardware stores include all fittings and ensure compatibility.
Step-by-Step Disconnection Process
Shut off the water supply at the valve behind the refrigerator. Dispense water and ice for 30 seconds to relieve pressure. Loosen the compression fitting at the refrigerator inlet counterclockwise. Remove the old line and inspect connection points for mineral buildup or corrosion. Check the shut-off valve for leaks or corrosion.
Step-by-Step Installation Process
Unroll the new braided stainless steel line and verify all fittings are included. Wrap male threads with Teflon tape and hand-tighten to the water source, then snug with wrench. Route the line behind the refrigerator, avoiding kinks and heat sources. Insert the compression fitting into the refrigerator inlet and tighten clockwise. Open the shut-off valve slowly and run water for 30 seconds to flush debris. Let the system run 5 minutes and inspect both connection points for leaks.
Refrigerator Water Line Installation Cost and Professional vs DIY
DIY installation saves money on labor, but mistakes carry real costs. Understanding when DIY is safe prevents expensive failures.
DIY Installation: When It Is Safe
DIY is safe if: (1) your refrigerator has an existing shut-off valve, (2) water is already plumbed to it, (3) water pressure is below 80 PSI, (4) connection points are accessible, and (5) you have the right tools and a braided stainless steel kit. If all five conditions are met, the process takes 30-45 minutes with low failure risk.
DIY Installation: Real Risks
If any of the above conditions are not met, the risks increase significantly:
Over-tightening compression fittings. This is the most common DIY mistake. Over-tightening strips threads on the fitting or cracks the ferrule (the small ring that seals the connection). A stripped fitting leaks immediately or fails within days. Replacement requires disconnecting and purchasing a new fitting.
Under-tightening compression fittings. A loose fitting drips water slowly. The leak may not be obvious for days or weeks. By then, water has pooled behind the refrigerator, soaking drywall, flooring, and subflooring. Mold growth begins within 48 hours of moisture exposure. Remediation costs $2,000-$6,000 depending on the extent of damage.
Kinking the water line during installation. A kinked line looks fine on the surface but may have internal fractures.
Professional Installation: When It Pays
Call a professional plumber or appliance technician if any of these apply:
- Your refrigerator does not have a shut-off valve (older models).
- The water source is a copper line in the wall and you need a saddle valve installed.
- Your water pressure is above 80 PSI and you don't have a pressure regulator.
- You cannot access the connection points without moving the refrigerator or removing cabinetry.
- You are unsure about your water pressure or the type of tubing in your home.
- You have experienced a water leak before and want to avoid a repeat.
- Your home is in a flood-prone area or has a history of water damage.
Insurance and Liability Implications
Homeowners insurance policies often include coverage for sudden, accidental water damage from appliances. However, coverage may be denied if the damage results from negligence or failure to maintain the appliance.
Risk Assessment Checklist
Before deciding on DIY, answer these questions:
- Do I have an existing shut-off valve behind the refrigerator? (Yes = safer for DIY)
- Is my water pressure below 80 PSI? (Unknown = call a plumber to measure)
- Have I installed compression fittings before? (No = higher risk of over-tightening)
- Can I access the connection points without moving the refrigerator? (No = professional recommended)
- Do I have the correct tools and materials? (No = purchase or borrow before starting)
- Is my home in a flood-prone area or do I have a history of water damage? (Yes = professional recommended)
- Am I comfortable troubleshooting a leak if one develops? (No = professional recommended)
If you answered "No" to more than two questions, professional installation is the safer choice.
The Bottom Line
DIY replacement saves $150-$300 in labor if you have the right conditions and confidence. Professional installation costs more upfront but eliminates the risk of improper connection, protects your insurance coverage, and comes with a warranty. For most homeowners, the peace of mind is worth the cost.
Preventative Maintenance to Extend Water Line Life
Regular maintenance extends your refrigerator water supply line lifespan significantly. Small actions prevent expensive failures.
Frequently Asked Questions
What are the main signs your refrigerator water supply line needs replacement?
Watch for visible leaks or pooling water under or behind your refrigerator, discolored or cloudy water from the dispenser, reduced water pressure, or a hissing sound when the ice maker fills. Kinked hoses, cracks in plastic tubing, or corrosion on fittings are also clear indicators. If you notice moisture damage to cabinets or flooring, your water line may be leaking inside walls or under the appliance.
How often should you replace a braided stainless steel refrigerator water line?
Braided stainless steel water lines typically last 5 to 10 years with proper maintenance, though some can last longer. Plastic polyethylene tubing should be replaced every 3 to 5 years. However, replacement frequency depends on water pressure, quality, and usage. Hard water, high pressure, or frequent ice maker use can shorten the lifespan. Inspect your line annually for signs of degradation, and replace it sooner if you notice wear, kinks, or leaks.
What's the difference between braided stainless steel and plastic refrigerator water lines?
Braided stainless steel offers superior durability, resists kinking, and handles higher water pressure without degrading. It costs more upfront but lasts longer and reduces leak risk. Plastic polyethylene tubing is cheaper and easier to install but degrades faster under UV light, high pressure, or temperature fluctuations. It's more prone to kinking and hose degradation over time. For long-term reliability and water damage mitigation, braided stainless steel is the better choice, especially in hot climates.
Should you hire a professional or replace the water line yourself?
DIY installation is possible if you're handy, but professionals reduce risk of improper fittings, incorrect water pressure settings, and water damage. A poorly installed line can leak inside walls, causing costly moisture damage. Professionals ensure compression fittings are tight, the shut-off valve works properly, and the line is routed safely away from heat sources. If you're unsure about your skills or your refrigerator is under warranty, professional installation is worth the investment.


