 how-to
Troubleshooting Samsung Refrigerator Ice Maker: A Step-by-Step Guide
Table of Contents
- Understanding Common Samsung Ice Maker Problems
- What You'll Need Before Starting Troubleshooting
- Step 1: Locate the Samsung Ice Maker Reset Button Location
- Step 2: Check Water Supply and Inlet Valve Function
- Step 3: Address Samsung Refrigerator Ice Maker Freezing Up Issues
- Step 4: How to Defrost Your Samsung Ice Maker Safely
- Step 5: Inspect Door Gasket and Water Filter Condition
- Common Mistakes to Avoid When Troubleshooting
- Frequently Asked Questions
Last Updated: July 4, 2026
When your Samsung refrigerator stops making ice, troubleshooting doesn't always require a service call. Many common issues stem from simple blockages, water supply problems, or frozen components you can diagnose and fix yourself. This guide walks you through five effective troubleshooting steps, starting with the quickest fixes and moving toward more involved repairs.
Understanding Common Samsung Ice Maker Problems
Your Samsung ice maker stops working for predictable reasons: a clogged defrost drain, frozen evaporator coil, low water pressure, faulty water inlet valve, or damaged door gasket. Each creates different symptoms, no ice at all, small cubes, slow production, or ice buildup inside the maker. Understanding which symptom you're seeing cuts troubleshooting time in half.
Why your Samsung ice maker stops producing ice
Complete lack of ice production usually points to three issues: no water reaching the ice maker, a frozen water line, or a tripped reset mechanism. Samsung ice makers shut down automatically if they detect a problem, a safety feature that sometimes requires manual reset. Water supply failure is the second most common cause. Samsung ice makers require at least 20 PSI to function properly; most homes sit at 30-80 PSI, so low pressure is less common but worth ruling out.
Water supply and drainage issues affecting ice production
Two water systems affect your ice maker: the supply line bringing fresh water in, and the defrost drain removing meltwater. A clogged defrost drain creates a backup that freezes and blocks ice production. The defrost drain is particularly vulnerable because it's small and sits at the bottom of your freezer where food debris accumulates. When the evaporator coil defrosts every 8-12 hours, meltwater flows down the drain toward the pan at the refrigerator's base. If blocked, water pools inside the ice maker and freezes solid.
What You'll Need Before Starting Troubleshooting
Gather these items before opening your refrigerator:
- Flashlight or headlamp
- Adjustable wrench or socket set
- Plastic or silicone tubing (never metal)
- Towels and small bucket
- Hairdryer on low heat
- Your Samsung refrigerator model number
Optional: a multimeter and your refrigerator's manual.
Step 1: Locate the Samsung Ice Maker Reset Button Location
The reset button is your fastest troubleshooting tool. It clears error states and signals the ice maker to start a new cycle.
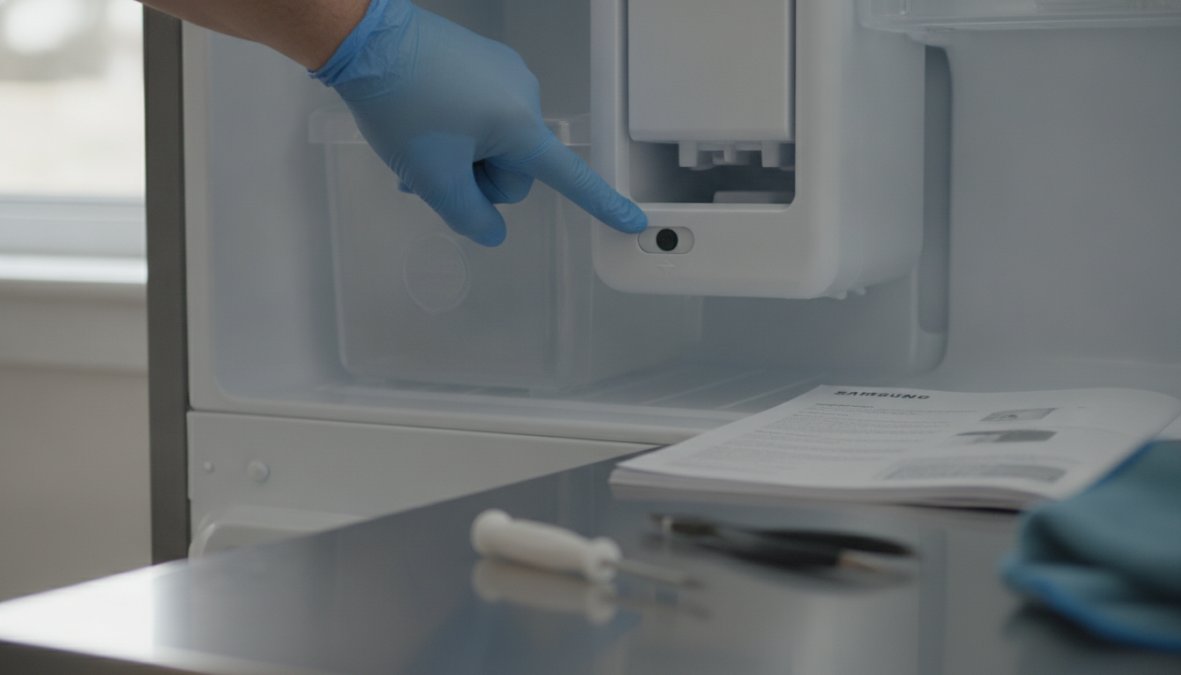
Finding the reset button on your specific model
In most Samsung French-door and side-by-side refrigerators, the reset button is on the ice maker assembly itself, usually on the right side inside the freezer. Look for a small red or black button labeled "RESET" or "TEST." For bottom-freezer models, you may need to remove the freezer drawer. If you can't locate it visually, search "Samsung [your model number] ice maker reset button" online.
How to perform a proper reset
Press and hold the reset button for 3-5 seconds. You should hear a mechanical click. Release it and wait 10-15 seconds. The ice maker may make a buzzing sound as it initializes. After reset, the ice maker typically takes 6-24 hours to produce its first batch. If ice appears within 24 hours, your problem was a temporary glitch. If not, move to Step 2.
Step 2: Check Water Supply and Inlet Valve Function
A Samsung ice maker needs constant, pressurized water supply. Start by checking the water supply line itself for visible kinks, cracks, or frozen sections. If the line runs through an unheated space, it may have frozen solid in winter.
Inspecting the water inlet valve for blockages
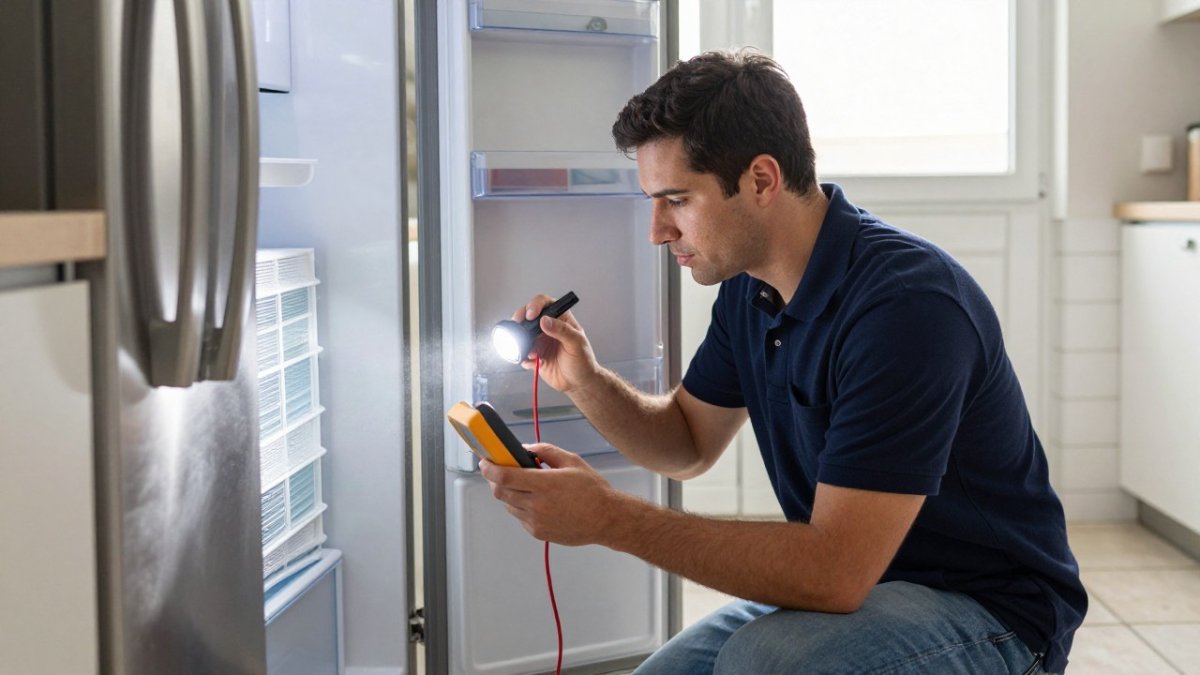
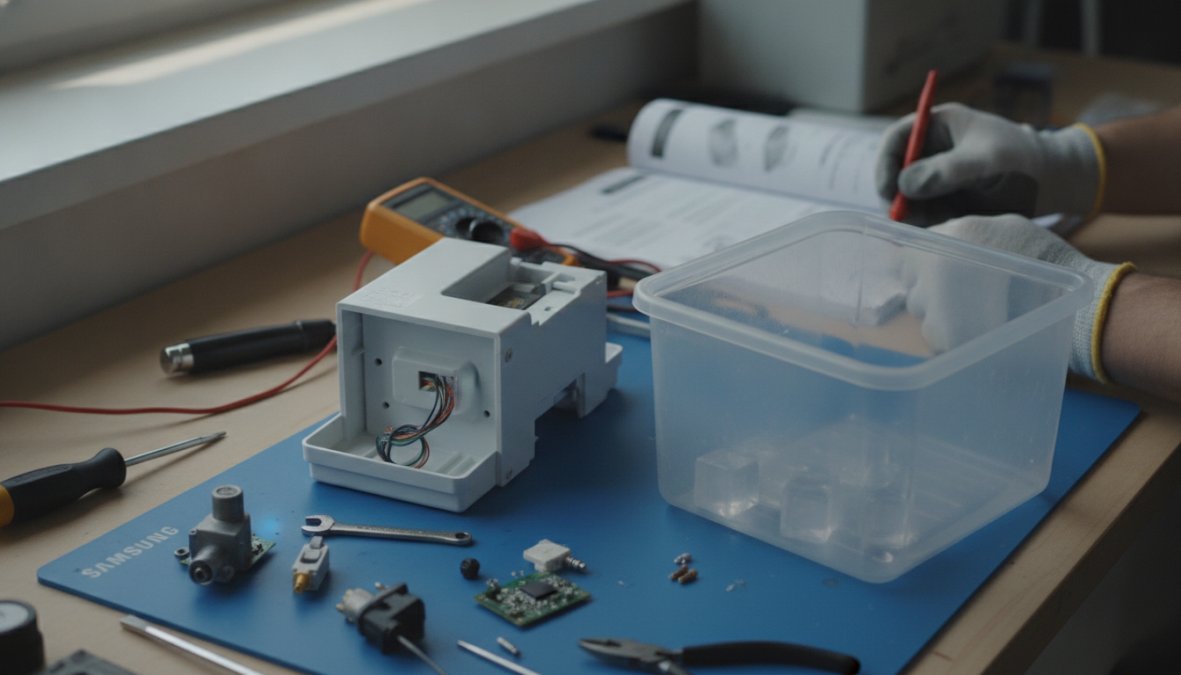
The water inlet valve is typically located at the back of the refrigerator near the water supply connection. Listen carefully: if you hear water trickling when the ice maker should be filling, the valve may be stuck partially open. If you hear nothing, the valve isn't opening. A clogged valve usually contains mineral deposits. Test the valve's electrical connection using a multimeter set to continuity mode. If the meter shows no continuity, the valve's solenoid coil has failed and needs replacement, not a DIY fix.
Testing water pressure and supply line integrity
Turn on your refrigerator's water dispenser and observe the flow. It should be a steady stream, not a trickle. Check your water filter first; most Samsung refrigerators have one in the upper right corner or beneath the sink. A filter more than 6 months old can choke water flow to both the dispenser and ice maker. Replace it now.
If water pressure is still low, check your home's main water supply valve. It should be fully open (turned counterclockwise). For frozen water lines, gently warm them with a hairdryer on low heat over 10-15 minutes. Never use high heat or direct flame.
Step 3: Address Samsung Refrigerator Ice Maker Freezing Up Issues
If your ice maker produces ice but it's stuck in place, or if you see ice buildup inside the maker, you're dealing with a freezing problem. The most common cause is a frozen evaporator coil. In a properly functioning refrigerator, this coil goes through regular defrost cycles where warm refrigerant melts any frost. If the defrost cycle fails, frost builds up until it blocks airflow and water flow.
Identifying ice buildup and frost accumulation
Open your freezer and look inside the ice maker compartment. If you see thick white or clear ice coating the inside walls, or if ice cubes are stuck together in a solid block, frost accumulation is your problem. Check your freezer door seal by closing the door on a piece of paper and trying to pull it out. If it slides out easily, the seal is weak and needs replacement. A damaged gasket lets moisture in continuously, causing frost buildup.
Why evaporator coil problems cause freezing
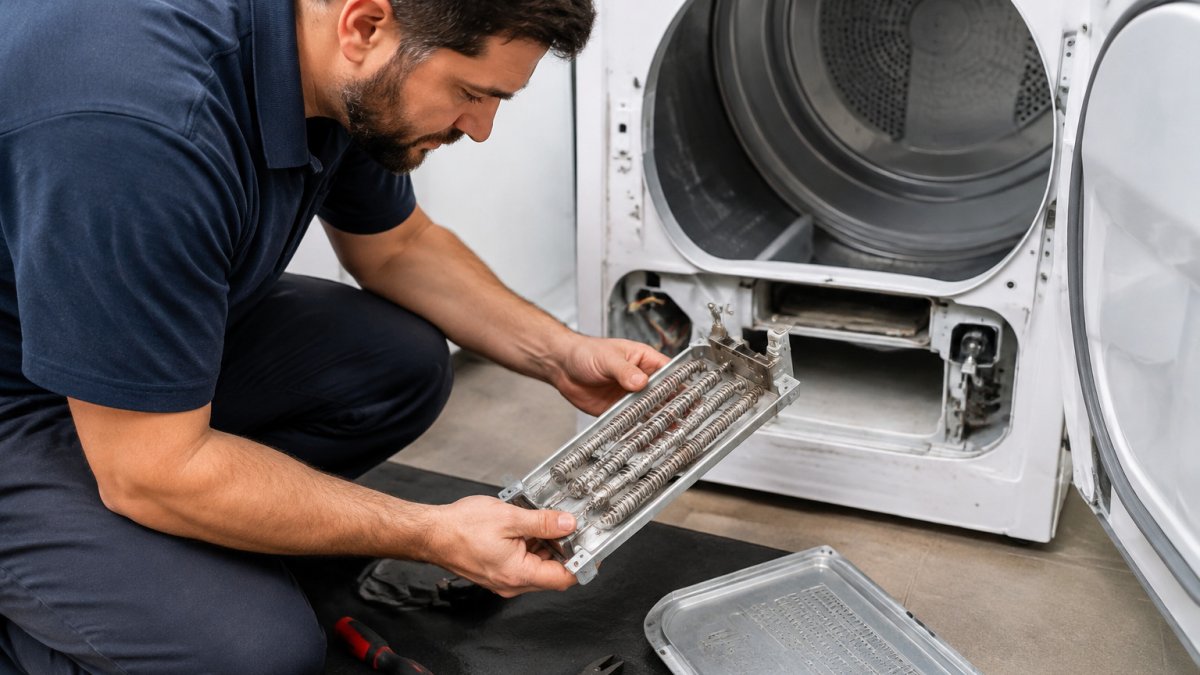
The evaporator coil sits behind the back wall of your freezer. Samsung refrigerators have a defrost cycle running every 8-12 hours. During this cycle, a heating element warms the coil just enough to melt frost. If this heater burns out, frost accumulates until it blocks water flow. Testing the defrost heater requires a multimeter and comfort with electrical testing. If you're not comfortable, this is a good point to call a professional.
Step 4: How to Defrost Your Samsung Ice Maker Safely
If you've identified frost or ice buildup, use a hairdryer to defrost without damaging components. Never use a heat gun, boiling water, or sharp implements.
Safe defrosting methods without damaging components
Unplug your refrigerator. Remove the ice bucket and any removable parts. Set your hairdryer to low heat and direct warm air at the ice buildup from 6-8 inches away. Work slowly over 20-30 minutes. Place towels underneath to catch dripping water. Once ice has melted completely, let the ice maker air dry for 30-60 minutes before plugging back in.
Clearing the defrost drain and drain tube
The defrost drain runs from the bottom of the ice maker toward the drain pan at the refrigerator's base. This small drain (often 1/4 inch) clogs easily with debris or mineral deposits. Locate the drain opening at the bottom of the ice maker. Use flexible plastic tubing to gently probe and dislodge blockages. You can also use a turkey baster filled with warm water to flush the drain. For stubborn mineral deposits, flush with a 50/50 mixture of white vinegar and warm water. Let it sit 15-20 minutes, then flush with plain water.
Step 5: Inspect Door Gasket and Water Filter Condition
If previous steps haven't fixed your ice maker, the problem is likely a damaged seal or clogged filter, both easy to spot and fix.
Checking seal integrity and moisture leaks
A damaged door gasket lets warm air leak into the freezer, causing the freezer to work harder and moisture to freeze on cold surfaces. Inspect the gasket visually for tears, cracks, or hardened rubber. Run your finger along it; it should feel pliable and smooth. Test the seal with a dollar bill test: close the door on a dollar bill and try to pull it out. If it slides out easily, the seal is weak. A damaged gasket typically costs $50-$150 and takes 10-15 minutes to install.
Water filter maintenance and replacement timing
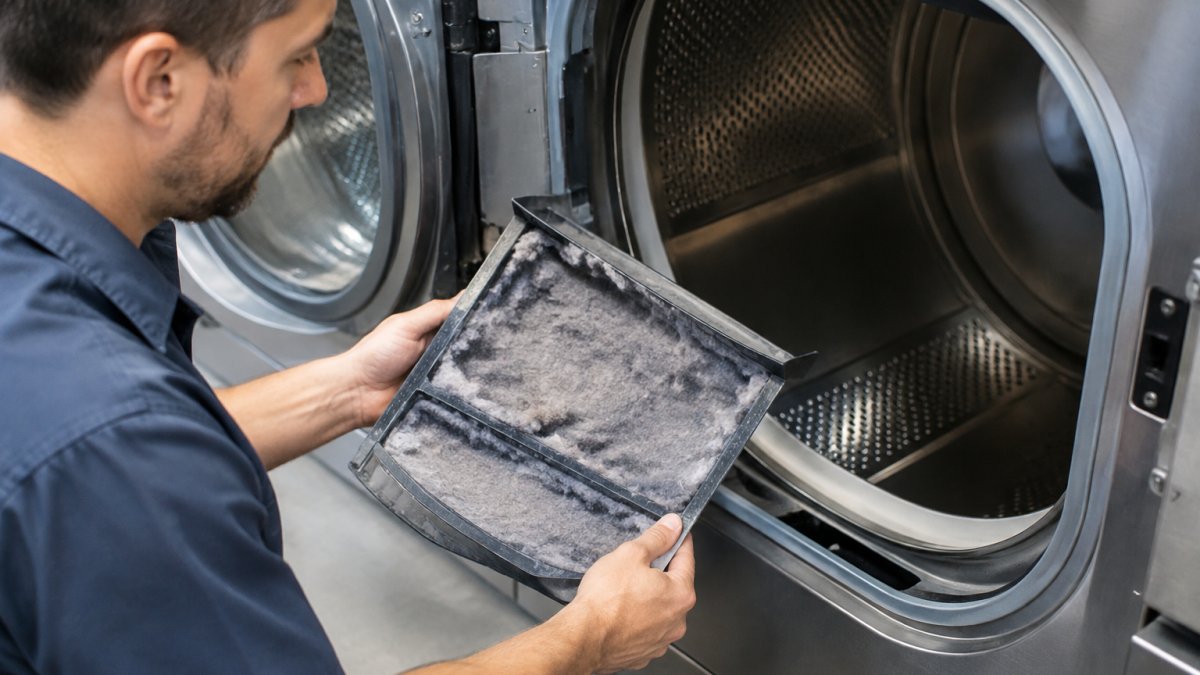
Your refrigerator's water filter removes sediment and chlorine. Over time, it becomes saturated and stops working. A clogged filter chokes water flow to both the ice maker and dispenser. Most Samsung refrigerators use a filter in the upper right corner inside the refrigerator or beneath the sink. Replace it every 6 months or sooner if you notice slow water flow or cloudy ice.
To replace, locate the filter housing and twist counterclockwise to remove the old filter. Flush the new filter under cold running water for 10 seconds before installing. Insert it straight and twist clockwise until it seats firmly. Run water through the dispenser for 3-5 seconds to flush the system.
| Maintenance Task | Frequency | Impact on Ice Maker |
|---|---|---|
| Replace water filter | Every 6 months | Restores water flow, fixes slow production |
| Flush defrost drain | Every 6 months | Prevents clogs and ice buildup |
| Inspect door gasket | Every 12 months | Prevents frost accumulation |
| Reset ice maker | As needed | Clears error states |
| Check water pressure | Annually | Ensures adequate supply |
Common Mistakes to Avoid When Troubleshooting
Mistake 1: Skipping the reset. Always start with a reset; it fixes temporary glitches that mimic serious problems.
Mistake 2: Using high heat to defrost. A hairdryer on low heat takes longer but is infinitely safer than heat guns or boiling water.
Mistake 3: Ignoring the door gasket. A weak seal is one of the most overlooked causes of ice maker problems.
Mistake 4: Not replacing the water filter. A clogged filter restricts water flow so gradually that people assume the ice maker has failed.
Mistake 5: Testing the water inlet valve without unplugging. Always unplug before testing electrical components.
Mistake 6: Forcing stuck components. If something won't budge, consult your manual or a video specific to your model.
If you've worked through all five troubleshooting steps and your Samsung ice maker still isn't producing ice, the problem likely requires professional replacement of a water inlet valve, defrost heater, or compressor. A service call typically costs $150-$250 for diagnosis and repair. A new refrigerator ranges from $800 to $3,000+. If your unit is over 10 years old, replacement may make financial sense. If it's newer, a repair is almost always worth it.
Frequently Asked Questions
Why is my Samsung refrigerator ice maker not making ice?
Your Samsung ice maker may not be producing ice due to several common issues: a clogged water inlet valve restricting water flow, a frozen or blocked defrost drain preventing proper drainage, a faulty water filter reducing water pressure, or improper refrigerator leveling affecting water distribution. Start by checking if water is reaching the ice maker and inspect the water supply line for kinks or leaks. If the ice maker appears frozen or has excessive condensation, the evaporator coil may need defrosting.
How do I reset my Samsung ice maker using the reset button?
Locate the reset button on your specific Samsung model, typically found inside the ice maker compartment or on the front panel near the ice bucket. Press and hold the button for 3-5 seconds until you hear a chime or see a light indicator. Wait 24 hours for the ice maker to cycle and begin producing ice again. If your model uses a diagnostic mode, pressing the button may display error codes that help identify underlying issues with water supply or component function.
What should I do if my Samsung ice maker keeps freezing up?
Ice buildup in your Samsung ice maker typically indicates high humidity, warm air intake, or a malfunctioning defrost drain. First, check that the door gasket seals properly to prevent warm air from entering. Inspect the defrost drain for clogs caused by food debris or mineral deposits. If the evaporator coil is frosted over, safely defrost it by turning off the refrigerator and allowing it to thaw for several hours. Ensure proper refrigerator leveling, the front should be slightly higher than the back to aid drainage.
When should I replace my Samsung ice maker instead of repairing it?
Consider replacement if your ice maker is over 8-10 years old, the compressor is failing, or repair costs exceed 50% of a new unit's price. If troubleshooting reveals a faulty water inlet valve, damaged door gasket, or internal component failure requiring sealed-system work, professional repair assessment is essential. Newer Samsung models often have better energy efficiency and improved reliability, making replacement cost-effective for older units with multiple failing components.