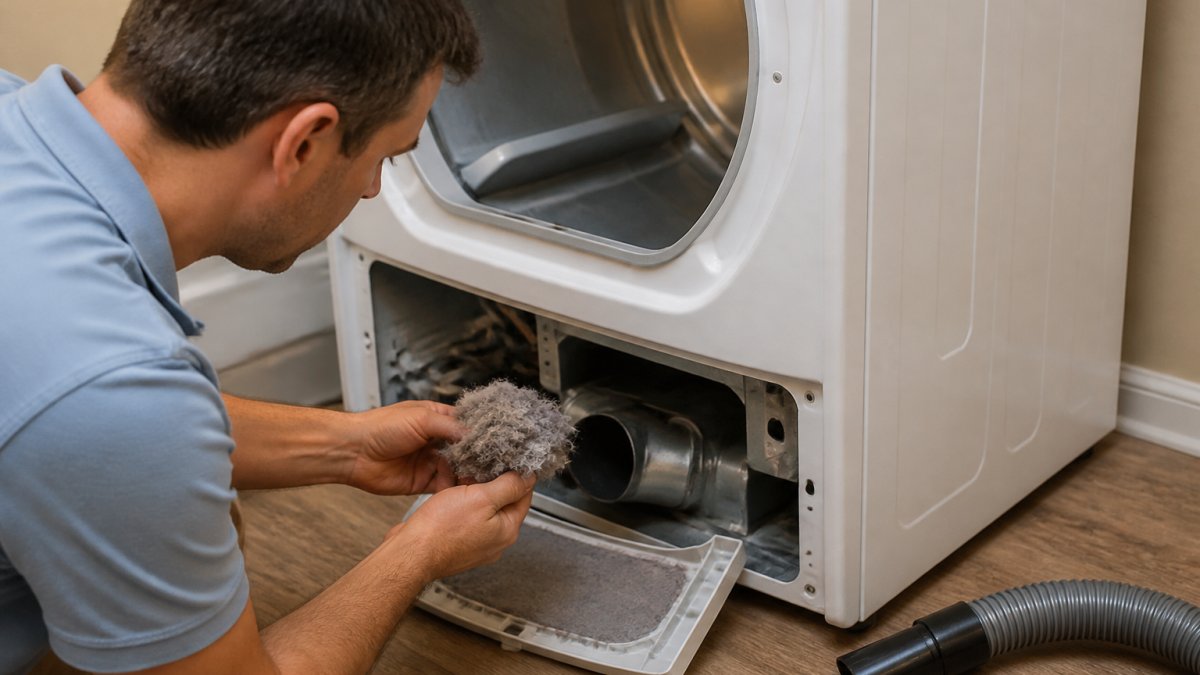
 how-to
Can Regular Dryer Maintenance Prevent Fires?
Last Updated: October 26, 2026
Quick Summary
Regular dryer maintenance prevents fires by removing the lint that fuels them and keeping airflow strong. Clean the lint filter before every load, wash the screen monthly, and clean the full vent run every 6 to 12 months. Households with heavy volume, pets, or long duct runs should clean closer to every 6 months.
- Clean the lint filter before every load, not after, and replace torn screens instead of taping them.
- Wash the lint screen with soap and water monthly to remove waxy residue left by dryer sheets.
- Clean the full vent run every 6 to 12 months, or every 6 months with heavy volume, pets, or long ducts.
- Stop using the dryer if airflow at the outside flap stays weak after cleaning both ends.
- Use rigid or semi-rigid metal duct, since flexible foil or plastic ducts sag and trap lint.
Table of Contents
- How Lint Buildup Turns a Dryer Into a Fire Hazard
- Your Dryer Maintenance Checklist for Every Load and Every Season
- How Often to Clean Dryer Vent Runs and Ductwork
- Clogged Dryer Vent Symptoms You Should Never Ignore
- Step-by-Step: Cleaning the Lint Screen, Dryer Interior, and Vent System
- Gas vs. Electric Dryers: Maintenance Differences That Matter
- Vent Materials, Routing, and Installation Problems That Raise Fire Risk
- When to Call a Professional for Dryer Vent Cleaning
- Frequently Asked Questions
How Lint Buildup Turns a Dryer Into a Fire Hazard
Preventing dryer fires through regular maintenance starts with understanding one fact: lint is fuel.
Lint buildup is the accumulation of combustible fibers inside your dryer and its vent system. When airflow drops, heat buildup rises.
The U.S. Fire Administration's residential fire data points to clothes dryers as a recurring source of home fires, most tied to lint and vent blockages.
Your Dryer Maintenance Checklist for Every Load and Every Season
A dryer maintenance checklist works best when it is split into daily habits, monthly tasks, and annual service, then adjusted to how your household actually uses the machine. The baseline schedule below is the starting point; the adjustment rules after it are what most guides leave out.
Before Each Load: The 30-Second Filter Check
Clean the lint filter before every load. Pull it out, peel off the lint sheet, and slide it back in. Thirty seconds.
- Clean before each load, not after
- Check that the screen sits flat with no tears
- Never run a load without the filter in place
A torn screen lets lint pass straight into the ductwork. Replace it, don't tape it.
The Baseline Schedule
| Task | How Often | Time Needed |
|---|---|---|
| Clean lint filter | Every load | 30 seconds |
| Wash lint screen with soap and water | Monthly | 5 minutes |
| Vacuum lint trap housing and dryer base | Monthly | 10 minutes |
| Inspect exhaust duct for kinks, crushing, or sag | Every 3 months | 5 minutes |
| Clean the full vent run | Every 6-12 months | 30-60 minutes |
| Professional vent cleaning and inspection | Yearly (or per adjustment rules) | Varies |
How Usage and Duct Length Change the Schedule
The baseline assumes roughly four to six loads a week, a short straight metal duct, and no shedding pets. Move tasks earlier when any of these apply:
- Heavy volume (10+ loads per week): halve the interval for washing the lint screen and vacuuming the trap housing, and clean the vent run every 6 months rather than yearly.
- Pets in the home: pet hair bypasses the lint screen more easily than fabric lint. Vacuum the trap housing every two weeks and inspect the duct every other month.
- Long or bending duct runs (over about 25 feet, or more than two 90-degree elbows): lint settles at every bend. Clean the run every 6 months and have a professional inspect annually.
Monthly and Yearly Tasks Most Homeowners Skip
Monthly, wash the lint screen with soap and water. Dryer sheets leave a waxy screen residue that blocks airflow even when the screen looks clean.
Yearly, do these:
- Vacuum inside the lint trap housing
- Pull the dryer out and vacuum behind it
- Inspect the exhaust duct for kinks or crushing
If any annual task turns up a crushed duct, a disconnected joint, or a vent that ends inside the house, stop and fix it before running another load. Those are installation problems that routine lint removal cannot solve.
How Often to Clean Dryer Vent Runs and Ductwork
The short answer: clean the full vent run every 6 to 12 months. Households with heavy laundry volume, pets, or long duct runs should lean toward every 6 months.
How often to clean dryer vent runs depends on four things:
- How many loads you run each week
- Whether you have pets shedding hair
- How long and how bendy the duct run is
A short, straight duct clears itself better than a long, twisting one. Roof vents and long runs collect lint faster and need closer attention.
Clogged Dryer Vent Symptoms You Should Never Ignore
Clogged dryer vent symptoms are easy to miss because they build slowly. Watch for clothes that stay damp after a full cycle, or a dryer that feels hot to the touch on top.
Other warning signs:
- Drying time creeping up load after load
- A burning or musty smell in the laundry room
- The outside vent flap barely moving
If you notice these and your dryer is also acting up mechanically, it may be time for professional washer and dryer repair to rule out a failing part.
Step-by-Step: Cleaning the Lint Screen, Dryer Interior, and Vent System
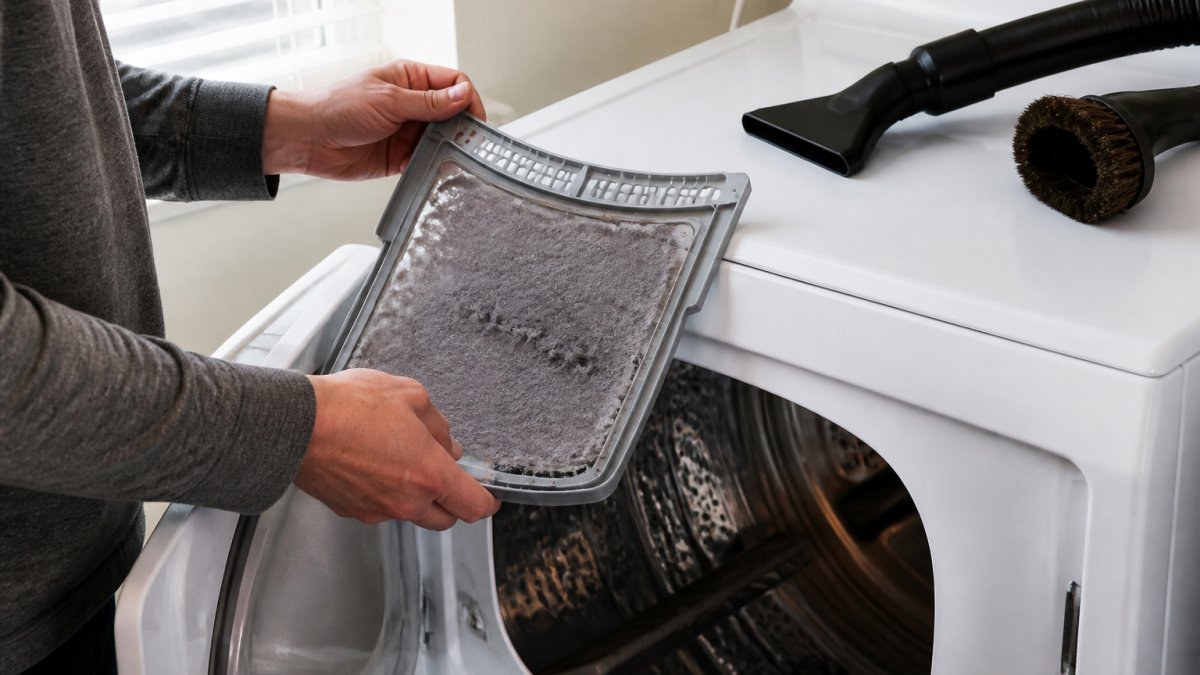
Cleaning takes about an hour and needs no special skills, but the order matters: cut the power and fuel first, work from the trap outward, and confirm airflow before you push the dryer back.
Step 1: Make the Machine Safe
- Electric dryers: unplug the cord from the wall outlet. If the cord is hard-wired, switch off the dedicated breaker at the panel.
- Gas dryers: unplug the cord and close the shut-off valve on the gas supply line. The valve is usually a small lever on the pipe behind the dryer; turn it so it sits across the pipe.
- Let the machine cool if it has run recently. The drum and heating area stay hot for a while after a cycle.
Step 2: Clean the Lint Screen and Trap Housing
- Pull the lint screen out and peel off the lint sheet.
- Wash the screen with soap and warm water, then dry it fully before reinstalling.
- Vacuum the trap housing with a vacuum attachment, reaching down into the slot on both sides.
- Brush the screen with a nylon brush to loosen residue that soap misses.
Step 3: Clean the Dryer Interior and Surrounding Area
- Vacuum the dryer interior drum, the door seal, and the floor and wall behind the machine.
- Wipe down the area around the vent connection, where lint tends to collect.
Step 4: Access and Clean the Duct
- Pull the dryer out far enough to reach the duct connection at the back. Most connections are held by a clamp or foil tape; loosen the clamp or cut the tape carefully.
- Disconnect the duct from the dryer outlet and from the wall or floor boot if the run is short enough to reach both ends.
- Feed a flexible vent brush through the duct from the dryer side, then from the outside. Work the brush in and out to pull debris loose, and vacuum as you go.
- Vacuum the vent outlet outside and check that the flap opens and closes freely.
If the run has sharp bends, check that the duct is not crushed. If DIY cleaning reveals damage or the dryer still underperforms, you can find trusted washer and dryer repair to step in. A crushed or kinked duct traps lint and cuts airflow no matter how often you clean. If the duct is damaged, replace it rather than cleaning it.
Step 5: Reconnect and Confirm Airflow
- Reconnect the duct with a clamp or foil tape, making sure the joint is snug and the duct is not pinched against the wall.
- Plug the dryer back in and reopen the gas valve if you closed it.
- Run the dryer on air-only (no heat) for a few minutes and check the outside vent flap. It should open with a steady, strong flow. Weak or fluttering airflow means a remaining blockage or a crushed duct.
- Push the dryer back, leaving a few inches of clearance so the duct is not kinked.
Tools That Make the Job Easier
You do not need much. A shop vacuum with a long crevice tool, a flexible vent brush, a nylon brush, and a screwdriver or nut driver for the duct clamp cover most of the job. A dryer vent cleaning kit with flexible rods handles long runs. Work gloves and a dust mask are worth having if the duct has not been cleaned in a year or more.
Gas vs. Electric Dryers: Maintenance Differences That Matter
Gas and electric dryers share the same lint and vent chores.
Gas dryers burn fuel to make heat. Keep the area around the burner and the exhaust vent clear, and never block the vent.
Electric dryers use a heating element. Lint near the element is a real fire hazard, so keep the interior clean.
If your gas or electric unit needs service, washer and dryer repair can help you sort it out.
Vent Materials, Routing, and Installation Problems That Raise Fire Risk
The wrong vent material is one of the biggest hidden risks. Flexible foil or plastic ducts sag, trap lint, and can fail. Use rigid or semi-rigid metal duct instead.
Common installation problems:
- Long runs with too many bends
- Duct routed through a wall or ceiling with no support
- Crushed duct behind the dryer
Each one raises heat buildup and cuts airflow. Short, straight, metal duct is the goal.
When to Call a Professional for Dryer Vent Cleaning
Call a pro when the vent run is long, hard to reach, or roof-vented, or when you notice warning signs that will not clear. Readers in West Phoenix Communities can book same-day dryer repair service. Homeowners in Cave Creek can find reliable washer and dryer repair for the machine itself.
If DIY cleaning turns up damage, washer and dryer repair can help.
Frequently Asked Questions
How often should you clean a dryer vent?
Clean the lint filter before or after every load, scrub the screen with soap and water monthly, and clean the full vent run at least once a year. Households with heavy laundry volume, long duct runs, or pets should clean the vent every six months. If drying times stretch past one cycle or the dryer feels hot to the touch, clean it right away rather than waiting for the calendar.
What are the warning signs of a clogged dryer vent?
Common clogged dryer vent symptoms include clothes that take two cycles to dry, a dryer that feels hot on the outside, a burning or musty smell, lint collecting around the vent outlet, and the laundry room feeling unusually humid. A damper flap outside that no longer opens fully is another sign. Any of these means airflow is restricted and the vent needs cleaning before the next load.
Can a clogged dryer vent cause a fire?
Yes. Lint is highly combustible, and when it builds up in the filter, ductwork, or around the heating element, it can ignite from ordinary operating heat. Restricted airflow also raises internal temperatures, which makes ignition more likely. Regular dryer maintenance, including filter checks and annual vent cleaning, removes the fuel and keeps temperatures where they belong.
When should you call a professional to inspect or clean a dryer vent?
Call a professional when the duct run is longer than a few feet, routes through a wall or roof, or you cannot reach the full length with a brush kit. Also call if you notice warning signs like overheating, burning smells, or repeated long dry times after cleaning the filter. A technician can clear blockages, check the vent material and routing, and confirm airflow is restored.
Preventing dryer fires through regular maintenance comes down to small habits done consistently. If your dryer is running hot, taking too long, or showing warning signs you cannot clear, do not wait. Home Tech offers same-day and next-day appointments, experienced technicians who clean up after themselves, and a 100% satisfaction guarantee on every repair. Get started with Home Tech and keep your laundry room safe.



