 how-to
Replace Refrigerator Door Gasket Seal: DIY Guide
Table of Contents
- Why Your Refrigerator Door Gasket Matters
- How to Tell If Your Fridge Seal Is Leaking
- Tools Needed for Fridge Seal Replacement
- Step-by-Step Gasket Replacement Process
- How Long Does a Fridge Gasket Replacement Take
- Refrigerator Door Gasket Maintenance Tips
- Troubleshooting Common Installation Issues
- When to Call a Professional
- Frequently Asked Questions
Last Updated: September 3, 2026
Why Your Refrigerator Door Gasket Matters
A refrigerator door gasket is the rubber seal running around your fridge door's perimeter, creating an airtight closure when shut. When it fails, cold air escapes continuously, forcing your compressor to work harder, consuming more energy and driving up utility costs while food spoils faster and ice builds up in the freezer.
This guide walks you through identifying whether your seal is failing, gathering tools, and installing the new gasket properly.
How to Tell If Your Fridge Seal Is Leaking
Start with the dollar bill test. Close your refrigerator door on a crisp dollar bill positioned half inside, half outside the frame. If it slides out easily, your seal isn't holding. A good gasket should grip the bill firmly with significant tension. Repeat this test around all four sides and corners, where leaks often develop first.
Inspect the rubber seal for visible cracks, tears, hardening, or loss of flexibility. Over time, rubber becomes brittle and loses its ability to compress and form a tight seal. If the gasket feels hard and inflexible, replacement is overdue.
Check for frost buildup inside the freezer compartment, especially around door edges, or condensation on interior walls. These indicate warm air is leaking in. A compressor running almost continuously with only brief rest periods is another sign the gasket isn't working properly.
Tools Needed for Fridge Seal Replacement
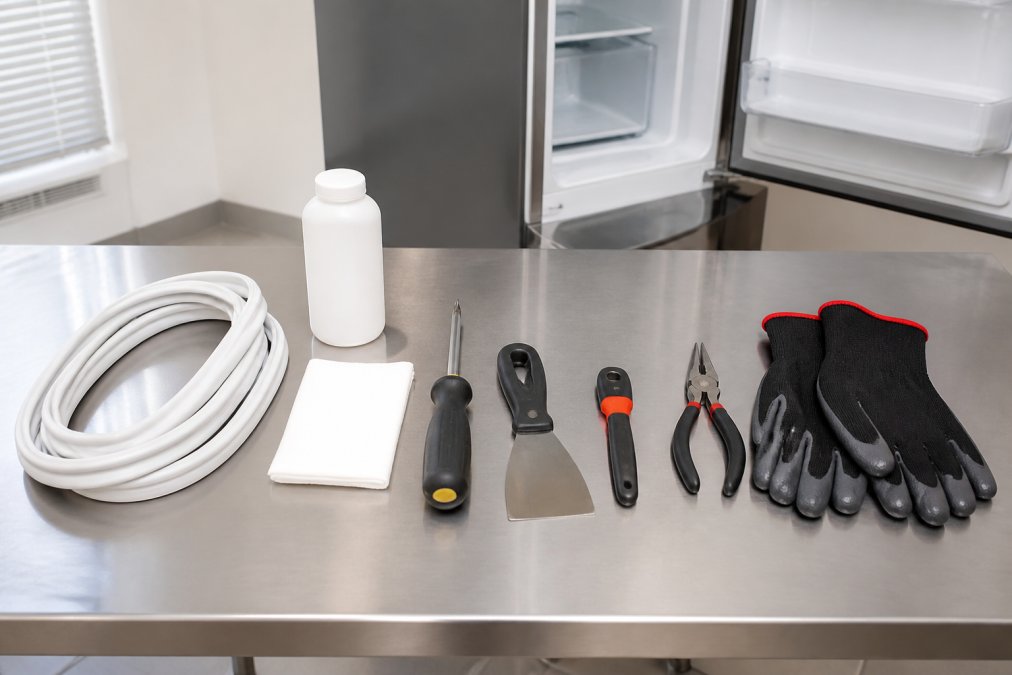
A flathead screwdriver is essential for prying the old gasket out of the door frame channel. A Phillips head screwdriver may be necessary if your model requires removing door panels or trim pieces.
A hair dryer or heat gun makes installation easier by warming the new gasket, making the rubber more pliable so it fits smoothly without bunching. Hot water in a bowl serves the same purpose if you prefer soaking the gasket briefly.
A pry tool or plastic spoon can substitute for a screwdriver if you're concerned about scratching the door frame. Silicone grease or refrigerator gasket lubricant is optional but helpful for smooth installation.
Most importantly, you need the exact OEM (original equipment manufacturer) replacement gasket for your specific refrigerator model. Compatibility matters for proper fit and seal integrity.
Step-by-Step Gasket Replacement Process
Safety Precautions Before You Start
Unplug your refrigerator from the electrical outlet before beginning work. Allow it to sit unplugged for at least 5 minutes so the compressor stops and the system depressurizes safely.
Clear the area around your refrigerator to provide full door access. Wear work gloves if available to protect your hands from sharp edges on the deteriorated gasket.
Removing the Old Gasket
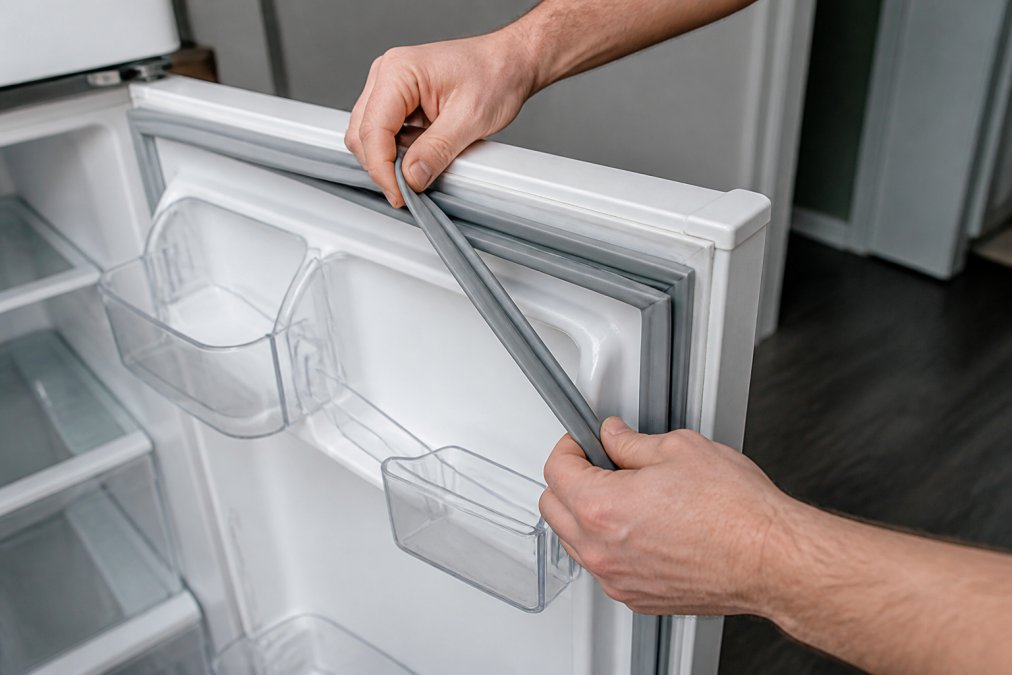
Open your refrigerator door fully and locate the gasket channel, the groove where the rubber seal sits. Some models have a removable trim ring or panel you may need to remove first using your Phillips head screwdriver.
Starting at a corner, use your flathead screwdriver to gently pry one end of the old gasket up and out of the channel. Once lifted, grab the gasket and pull it out in one continuous motion around the entire door frame.
Inspect the channel for debris, old adhesive residue, or damage. Use a damp cloth to wipe it clean, ensuring nothing prevents your new gasket from seating properly.
Preparing and Installing the New Gasket
Remove your new gasket from packaging. Warm it for 2-3 minutes with a hair dryer on medium heat, flexing it gently, or soak it in hot water for 3-5 minutes to make the rubber more pliable. Dry it thoroughly before installation.
Starting at the top center of the door, insert one end of the gasket into the channel and push it firmly into place. Work your way along one side, then around all four sides until you return to where you started. At corners, work slowly to prevent bunching or twisting.
Once fully installed, close the door gently and check the fit. The door should close smoothly with moderate resistance, not requiring excessive force.
Testing the Seal for Air Leaks
Use the dollar bill test again at various points around the perimeter. The bill should be significantly harder to pull out than before replacement. Test all four sides and corners carefully.
In a darkened room, look for light coming through gaps between door and frame. If you spot light, open the door and reseat the gasket in that area, ensuring it's fully pushed into the channel.
Monitor the refrigerator over 24-48 hours. Check for frost buildup inside the freezer and condensation on interior walls, which should improve noticeably. The compressor should also run less frequently.
How Long Does a Fridge Gasket Replacement Take
Most homeowners complete a refrigerator door gasket replacement in 30-60 minutes. Simple models with easily accessible gaskets typically take 20-30 minutes, while complex models with trim rings requiring removal can take 45-60 minutes.
Removal usually takes 10-15 minutes, warming and installing the new gasket takes 15-20 minutes, and testing adds 5-10 minutes. Budget extra time if doing this for the first time to consult your appliance manual and work carefully.
Refrigerator Door Gasket Maintenance Tips
Clean the gasket monthly with warm soapy water and a soft cloth. Dirt and food particles in the rubber's folds prevent proper compression. A quick wipe-down extends gasket life significantly.
Inspect the gasket visually every few months for cracks, hardening, or loss of flexibility. Keep the door frame clean and free of debris. Avoid slamming the door, as repeated hard closes stress the gasket and hinges.
Apply a light coat of silicone grease designed for refrigerator gaskets annually to keep the rubber flexible and prevent brittleness. Check door alignment periodically, as misalignment stresses certain gasket areas while leaving others loose.
Troubleshooting Common Installation Issues
If the new gasket doesn't seal properly, the most common issue is incomplete seating. Open the door and inspect the entire gasket, reseating any loose areas.
If the gasket twists or bunches at corners, it's too stiff. Warm it more thoroughly. A new gasket may feel harder to close initially since it creates a better seal than the worn old one, requiring slightly more compression force.
Frost buildup that doesn't improve after a few days suggests the gasket still isn't sealing properly. Perform the dollar bill test at suspected leak locations and reseat the gasket in those areas.
When to Call a Professional
If you've replaced the gasket and the seal still isn't working, the door frame itself may be damaged or bent, requiring professional repair and often a complete door assembly replacement.
If your refrigerator has a sealed-system refrigerant issue, no gasket replacement will fix it. Signs include the compressor running constantly even with a new gasket, persistent frost buildup, or the refrigerator not cooling at all. These problems require EPA-certified technician expertise.
At Home Tech, we handle refrigerator repairs beyond simple gasket replacement. Our EPA 608-certified technicians service all major brands, GE, Whirlpool, LG, Samsung, Bosch, Amana, Frigidaire, Jenn-Air, and Maytag, with same-day appointments throughout the greater Phoenix area.
Call us at (602) 486-1901 or visit hometechappliancerepair.com to book your appointment.
Replacing your refrigerator door gasket is one of the most cost-effective repairs you can make. A new seal typically costs far less than wasted food or excess energy consumption. Most homeowners find the process straightforward and satisfying. Home Tech has over 10 years of experience repairing refrigerators for families throughout the Phoenix metro area, with same-day service and a 100% satisfaction guarantee.
| Task | Time Required | Difficulty |
|---|---|---|
| Remove old gasket | 10-15 minutes | Easy |
| Prepare new gasket | 5-10 minutes | Easy |
| Install new gasket | 15-20 minutes | Easy |
| Test and adjust | 5-10 minutes | Easy |
| Total | 30-60 minutes | Easy |
EPA guidance on refrigerant handling and appliance maintenance
Consumer Reports on appliance repair and maintenance
American Home Appliance Manufacturers Association standards for refrigerator efficiency
Frequently Asked Questions
Q: How do I know if my refrigerator door seal is bad?
A: A failing refrigerator door gasket shows several warning signs. Check for visible cracks, tears, or hardening in the rubber seal. Perform the dollar bill test: close the door on a dollar bill and try to pull it out. If it slides out easily, the seal is compromised. You may also notice frost buildup inside the fridge, condensation on the exterior, or your compressor running constantly as it works harder to maintain temperature. Food may spoil faster than normal, indicating air leaks around the door frame.
Q: Can you replace a fridge door gasket yourself?
A: Yes, replacing a refrigerator door gasket is a manageable DIY project for most homeowners. The process typically involves unplugging the appliance, removing the old magnetic seal from the door track, and installing a new gasket. You'll need basic tools like a screwdriver and pry tool. However, if your refrigerator has a sealed-system issue or the door alignment is off, professional help may be necessary. Always verify you have the correct OEM or compatible replacement part for your specific model before starting.
Q: How long does a fridge gasket replacement take?
A: A straightforward refrigerator door gasket replacement typically takes 30 minutes to 1 hour for most homeowners. If the gasket requires soaking in hot water to soften it for easier installation, add an additional 15-20 minutes. Troubleshooting door alignment issues or dealing with stubborn old gaskets can extend the time. Professional technicians usually complete the job faster due to experience and familiarity with various door types and track configurations.
Q: What's the difference between OEM and aftermarket refrigerator door gaskets?
A: OEM (original equipment manufacturer) gaskets are made by your refrigerator's brand and guarantee perfect fit and compatibility with your specific model. Aftermarket gaskets are third-party replacements that cost less but may vary slightly in fit quality. OEM parts offer better long-term reliability and seal integrity, while aftermarket options work well for many users at a lower price point. Always check your refrigerator's model number to ensure the replacement gasket matches your door type and track configuration.


