 how-to
How to Perform Basic HVAC System Diagnostics
Table of Contents
- What You'll Need Before Starting
- Common HVAC System Issues to Recognize
- Step-by-Step HVAC System Diagnostics Process
- Essential Diagnostic Tools for Homeowners
- Signs Your AC Needs Refrigerant
- When to Call an HVAC Technician
- Common Mistakes to Avoid During Diagnostics
- Preventative Maintenance to Reduce Future Issues
- Frequently Asked Questions
Last Updated: August 27, 2026
What You'll Need Before Starting
Before attempting basic HVAC system diagnostics, gather essential tools and prioritize safety. Working with electrical components, refrigerant systems, and moving parts requires respect for the equipment and awareness of your limitations.
You'll need a digital multimeter for testing electrical connections, a flashlight or headlamp, a thermometer, and potentially a pressure gauge if you plan to check refrigerant levels. Keep your system's model number and documentation handy, usually found on the nameplate attached to the outdoor condenser or indoor air handler.
Safety comes first. Turn off power to your HVAC system at the breaker before touching any electrical components. Wear work gloves and safety glasses. If your system uses refrigerant, understand that handling it without proper certification is illegal in most cases. The EPA requires technicians to hold an EPA 608 certification to work with refrigerant systems, and that's a boundary worth respecting as a homeowner (the EPA). At Home Tech, we remind customers that basic diagnostics means identifying problems, not necessarily fixing them.
Common HVAC System Issues to Recognize
The most common residential HVAC issues fall into a few categories: airflow problems, electrical failures, refrigerant leaks, and thermostat malfunctions.
Airflow issues often stem from clogged air filters, blocked vents, or problems with the blower motor. Restricted airflow causes your system to work harder, use more energy, and deliver less cooling or heating. You'll notice uneven temperatures throughout your home or weak air from registers.
Electrical problems range from tripped breakers to failed capacitors. A capacitor stores energy and helps start the compressor and blower motor. When a capacitor fails, the system may not start at all or struggle to reach full capacity.
Refrigerant leaks prevent the cooling cycle from working properly. The system may run but produce warm air, or it might shut down due to low pressure safety switches. Refrigerant doesn't get "used up" like gasoline; if levels are low, there's a leak somewhere in the sealed system.
Thermostat problems can masquerade as system failures. A faulty thermostat might not signal the system to turn on, or it might cause constant cycling. Sometimes it's simply a dead battery or incorrect settings.
Step-by-Step HVAC System Diagnostics Process
Performing basic HVAC system diagnostics follows a logical sequence: check settings, verify airflow, inspect visible components, and test electrical connections. This methodical approach helps you identify where the problem lies.
Step 1: Check Your Thermostat and System Settings
Your thermostat is the command center for your HVAC system. Start here because many apparent system failures are actually thermostat issues.
Verify the thermostat is set to the correct mode: cooling, heating, or auto, depending on the season. Check that the temperature setting is actually calling for heating or cooling. A thermostat set to 68 degrees in summer won't trigger cooling if the current temperature is already below 68.
If the display is blank, the batteries may be dead. Replace them and wait a few minutes for the system to respond. Check the fan setting: "auto" runs the fan only during heating or cooling cycles, while "on" runs it continuously. If the fan is set to "on" but the system isn't cooling or heating, you've isolated the problem beyond the thermostat.
Step 2: Inspect Airflow and Ventilation
Airflow problems are among the easiest to diagnose yourself. Restricted airflow reduces system efficiency and can cause the system to shut down due to safety switches.
Check your air filter first. A clogged air filter is the single most common cause of reduced airflow. Hold it up to a light source; you should see light through it. If it's dark and clogged, replace it immediately. Walk through your home and feel the air from supply registers. Weak airflow suggests either a clogged filter, blocked duct, or failing blower motor. Check for obvious obstructions like furniture blocking vents or closed dampers.
Go outside to the condenser unit and ensure vegetation, debris, or dirt isn't blocking the fins. The condenser needs clear airflow to reject heat. If heavily blocked, gently clean the exterior with a soft brush or low-pressure water spray.
Step 3: Examine the Air Filter and Condenser
The air filter and outdoor condenser are the two components you can safely inspect and maintain without specialized tools.
When replacing your air filter, match the size and MERV rating exactly. Most residential systems use filters that are 1 inch, 4 inches, or 5 inches thick. At the outdoor condenser, look for visible damage: bent fins, corrosion, or refrigerant oil stains. Refrigerant oil leaks appear as dark, oily residue around connection points and indicate a refrigerant leak requiring professional repair.
Feel the refrigerant lines running from the condenser into your home. The larger line (suction line) should be cold to the touch during operation. The smaller line (liquid line) should be warm. If both lines are the same temperature, refrigerant flow may be restricted or the system isn't running properly.
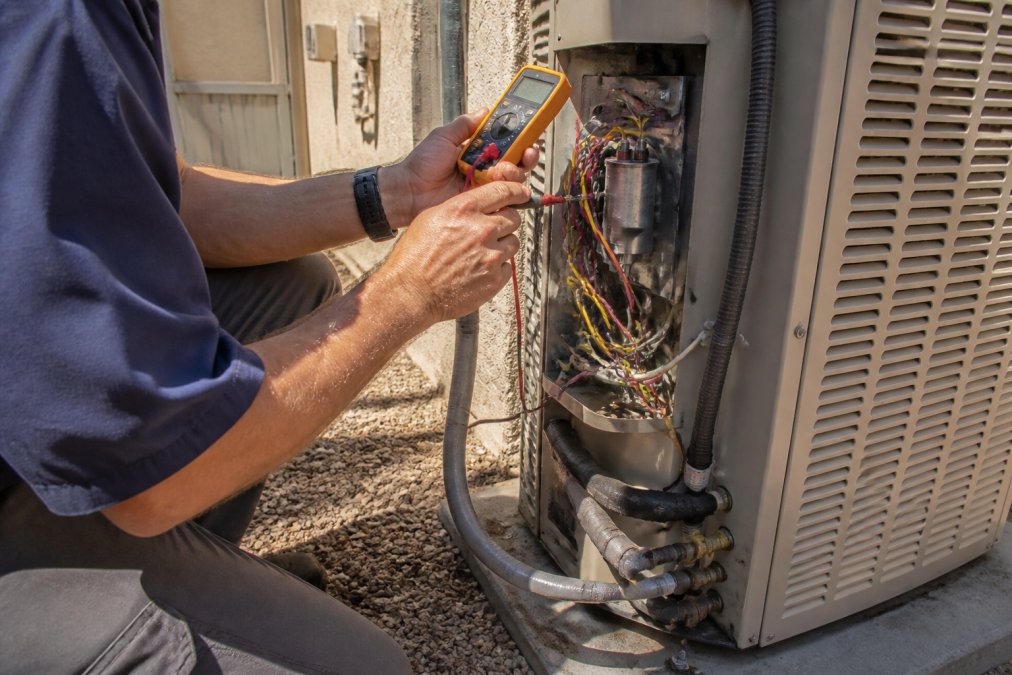
Step 4: Test Electrical Components
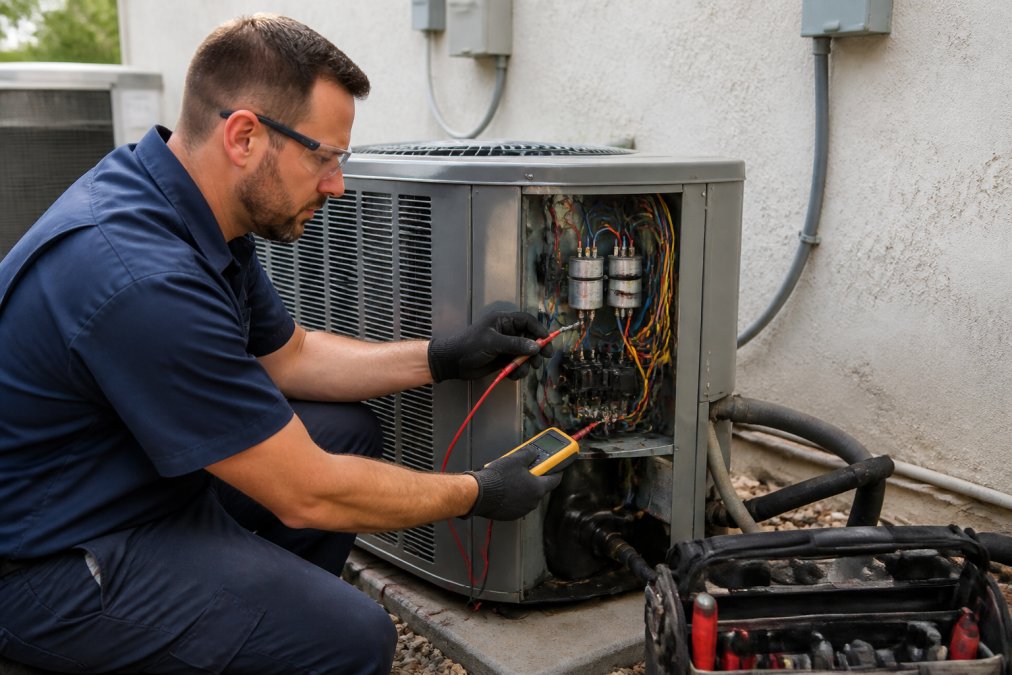
Testing electrical components requires a multimeter and basic understanding of electrical safety. If you're uncomfortable working with electricity, skip this step and call a professional.
Turn off power to the system at the breaker before beginning. Set your multimeter to the voltage setting and test the breaker itself by checking for voltage across its terminals. If voltage is present even after switching it off, do not proceed.
Once you've confirmed the breaker is off, check the capacitor if you can access it safely. A failed capacitor often has a bulged or leaking top. Never touch a capacitor directly; it can hold a charge even when power is off. Check continuity on the blower motor using your multimeter's continuity setting. No continuity means the motor has failed.
Essential Diagnostic Tools for Homeowners
You don't need a fully equipped HVAC technician's toolkit to perform basic diagnostics. A focused set of tools covers most situations.
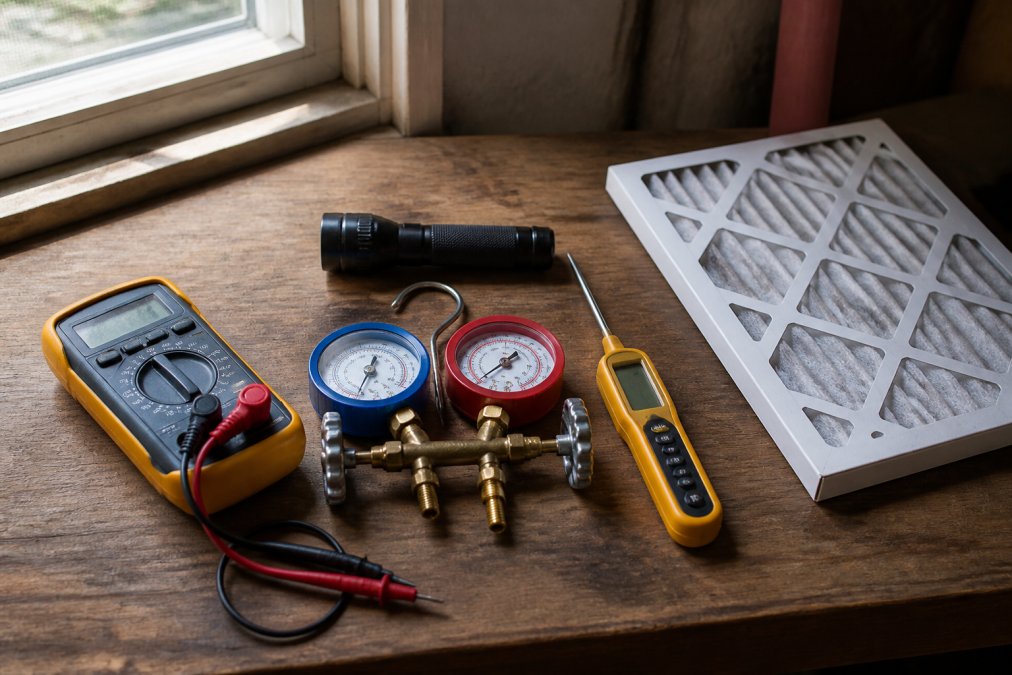
A digital multimeter is essential for testing voltage, continuity, and resistance. A thermometer helps you measure temperature differences across your system. During cooling, the air from supply vents should be about 15-20 degrees colder than the return air (peer-reviewed research). This temperature differential tells you whether the cooling cycle is working efficiently.
Pressure gauges measure refrigerant pressure in your system. They're more specialized and not typically necessary for basic diagnostics unless you're checking refrigerant levels, which most homeowners shouldn't do without certification. A flashlight or headlamp makes inspecting components much easier, as HVAC equipment is often in dark basements, attics, or outdoor corners.
Signs Your AC Needs Refrigerant
Refrigerant doesn't deplete through normal use; if levels are low, your system has a leak. Recognizing the signs of low refrigerant helps you catch problems before they cause additional damage.
The most obvious sign is warm air coming from your AC vents when the system is running. Hissing or bubbling sounds from the indoor air handler or outdoor condenser indicate refrigerant escaping through a leak. You might also see frost or ice buildup on the refrigerant lines or evaporator coil, which happens because low refrigerant causes the evaporator coil temperature to drop below freezing.
Higher than normal electricity bills combined with reduced cooling capacity suggest the compressor is working overtime to compensate for low refrigerant. If you suspect low refrigerant, call a professional immediately. Refrigerant handling requires EPA 608 certification, and adding refrigerant without finding and fixing the leak is only a temporary solution. At Home Tech, our EPA 608-certified technicians can locate leaks using specialized equipment, repair them, and recharge your system with the correct refrigerant type for your unit, whether that's R410A, R404a, R407a, R32a, or R454B.
When to Call an HVAC Technician
Knowing your limits is as important as knowing what you can diagnose yourself. Several situations require professional attention immediately.
If your system won't start at all, call a technician. This could indicate a failed capacitor, compressor, or electrical issue beyond safe DIY troubleshooting. If you suspect a refrigerant leak, stop here. Refrigerant handling is illegal without proper certification, and attempting to repair sealed-system components can be dangerous.
If you've tested electrical components and found a failed motor, capacitor, or compressor, professional replacement is necessary. If your system is cycling on and off constantly (short cycling), the cause could be a refrigerant leak, electrical issue, or thermostat problem. If your diagnostics show normal operation but you're still not getting adequate cooling or heating, the problem may be ductwork-related or more complex.
Home Tech provides same-day and next-day appointments for HVAC diagnostics and repair throughout the Phoenix metro area. When you call, describe what you've already checked; that information helps our EPA 608-certified technicians prioritize and arrive prepared.
Common Mistakes to Avoid During Diagnostics
The most common mistake homeowners make is assuming a system failure without checking simple things first. A clogged air filter or tripped breaker often solves the entire problem.
Don't ignore safety protocols. Turning off power at the breaker isn't optional. Avoid touching refrigerant lines or attempting to check refrigerant pressure yourself. Don't replace parts based on assumptions; verify suspected failures with a multimeter before replacing anything.
Avoid running your system if you suspect a serious problem. If you've identified a refrigerant leak, electrical issue, or mechanical failure, shut the system down and call a professional. Don't confuse "diagnosing the problem" with "fixing the problem." Your job as a homeowner is to gather information and recognize when professional help is needed.
Preventative Maintenance to Reduce Future Issues
The best HVAC system diagnostics strategy is preventing problems before they occur. Regular maintenance extends system life, maintains efficiency, and catches small issues before they become expensive failures.
Replace your air filter every 1-3 months, depending on usage and filter type (the EPA). Clean the outdoor condenser unit at the start of cooling season by removing debris and trimming vegetation around it. Have your system professionally serviced annually, ideally before the cooling season starts. A technician will check refrigerant levels, test electrical components, clean coils, and verify system performance.
Check your thermostat batteries twice a year and replace them if needed. Listen to your system for unusual sounds like grinding, squealing, or hissing, which are early warning signs. Keep records of service visits and repairs to help technicians understand your system's maintenance pattern.
Regular HVAC system diagnostics and maintenance prevent emergency breakdowns and extend your equipment's lifespan. When you've completed your own basic checks and identified a problem beyond your skill level, Home Tech is ready to help. Our EPA 608-certified technicians provide same-day service throughout the Phoenix metro area, including Chandler, Gilbert, Tempe, Scottsdale, and surrounding communities. We handle everything from condenser service and refrigerant recharge to full system diagnostics for Goodman, York, Carrier, and Amana units. Call (602) 486-1901 or visit hometechappliancerepair.com to schedule your appointment.
Frequently Asked Questions
Can I perform my own HVAC system diagnostics safely?
Basic diagnostics like checking your thermostat, inspecting air filters, and verifying airflow are safe for homeowners. However, avoid opening sealed components, working with refrigerant, or testing high-voltage electrical connections. These tasks require EPA 608 certification and professional training. Stick to visual inspections and simple continuity tests with a multimeter on low-voltage components only. If you're unsure, contact a licensed technician.
What are the signs your AC needs refrigerant?
Your system needs refrigerant if you notice reduced cooling output, ice buildup on the evaporator coil, hissing sounds near the compressor, or higher-than-normal energy bills. The system will also run longer without reaching your set temperature. Low refrigerant indicates a leak, simply adding more refrigerant is a temporary fix. A licensed technician must locate and repair the leak, then recharge the system with the correct refrigerant type (R410A, R32, or R454B for modern units).
When should I call a professional HVAC technician instead of diagnosing myself?
Call a technician immediately if you detect refrigerant leaks, smell burning odors, hear grinding or unusual compressor noise, or if your system won't power on despite correct thermostat settings. Also contact a professional if electrical testing reveals no continuity, if the condenser fan won't spin, or if you discover loose electrical wiring. Any work involving refrigerant, high-voltage components, or sealed systems must be handled by an EPA 608-certified technician to ensure safety and warranty compliance.
What diagnostic tools do homeowners actually need for HVAC troubleshooting?
Start with a multimeter to test voltage and continuity on low-voltage thermostat wiring and capacitors. A flashlight helps inspect coils and airflow paths. An air filter gauge or visual inspection tells you if the filter is clogged, restricting airflow. A thermometer lets you measure temperature differences (delta T) across the evaporator coil. Pressure gauges are useful but require training, leave refrigerant pressure diagnostics to professionals. Most homeowners can accomplish basic troubleshooting with just a multimeter, flashlight, and thermometer.


