 how-to
How to Flush an Electric Water Heater Step by Step
Table of Contents
- Water Heater Flushing Tools and Safety Prep
- Step 1: Shut Off Power and Cold Water Supply
- Step 2: Connect the Drain Hose and Open the Pressure Relief Valve
- Step 3: Drain the Tank and Flush Out Sediment
- Step 4: Refill the Water Heater and Restore Power
- Signs of Sediment in Water Heater You Should Not Ignore
- How Often to Flush Water Heater Sediment
- Conclusion
- Frequently Asked Questions
Last Updated: September 15, 2026
Water Heater Flushing Tools and Safety Prep
Learning how to flush electric water heater sediment step by step starts with two things: cutting the power and gathering the right gear. Skip either one and you risk a scalded hand or a flooded utility room. The jobs that go smoothly are the ones where the homeowner spent ten minutes prepping before touching a single valve.
Here's what you need on hand before you start:
- Adjustable wrench or channel-lock pliers
- Flathead and Phillips screwdrivers
- Standard garden hose (rated for hot water) or a dedicated discharge hose
- Bucket or shallow pan
- Towels and a floor drain or safe drainage area
- Safety glasses and rubber gloves
Total time: 45-90 minutes Difficulty: Beginner to intermediate
A common mistake is using a cheap, thin hose that kinks under hot water. Use a hose rated for the job, and make sure the far end sits somewhere the hot water and sediment can safely go, like a floor drain, driveway, or utility sink. The Consumer Product Safety Commission guidance on scald prevention is worth a quick read, since water leaving a tank can be hot enough to burn within seconds.
Step 1: Shut Off Power and Cold Water Supply
The first real step is isolating the tank: kill the power at the breaker, then close the cold water inlet valve on top of the unit. This is the single most important safety move in the whole process.
For electric water heaters, go to your electrical panel and switch off the dedicated circuit breaker labeled for the water heater. Don't rely on a wall switch, and don't assume the tank is off because the water feels cool. Once the breaker is off, close the cold water inlet valve, which is the valve on the pipe feeding cold water into the tank. Turn it clockwise until it stops.
If your tank has a gas pilot light instead, you'd turn the gas control to "pilot" or "off" rather than flip a breaker, but the rest of the process is the same. For electric units, the breaker is your only power cutoff.
Expected result: The tank is fully de-energized and no new water can enter.
Step 2: Connect the Drain Hose and Open the Pressure Relief Valve
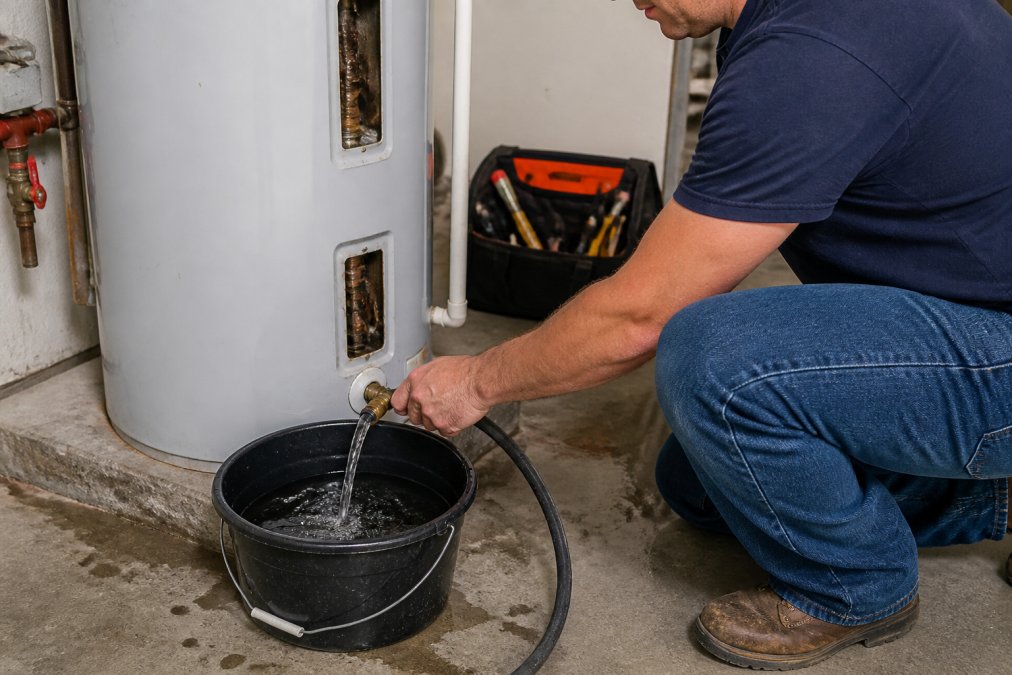
Attach the garden hose to the drain valve at the bottom of the tank, then open the pressure relief valve to let air in so water can flow out. Without that pressure relief step, the tank glugs and drains painfully slowly.
Screw the female end of your hose onto the drain valve threads and hand-tighten, then give it a quarter turn with pliers. Run the other end to your drain or outside. Now lift the tab on the pressure relief valve, the lever near the top of the tank, and hold it open. You'll hear air hiss into the tank.
A common mistake is forgetting this step entirely, then standing there wondering why nothing comes out. The relief valve breaks the vacuum seal so gravity can do its job.
Expected result: The hose is secured, the outlet is positioned, and air is entering the tank.
Step 3: Drain the Tank and Flush Out Sediment
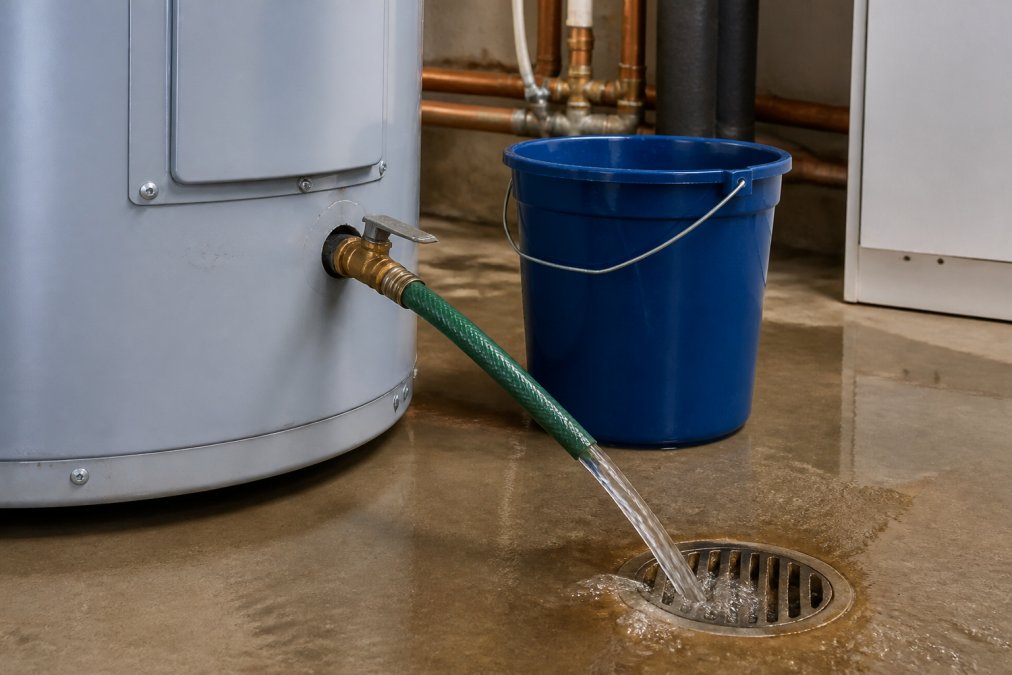
Open the drain valve and let the tank empty completely, then run fresh water through it until the discharge turns clear. This is where the actual sediment removal happens, and where most jobs either finish cleanly or stall out on a valve that won't cooperate.
With the relief valve still open, turn the drain valve counterclockwise and let the water flow. The first few gallons often look cloudy or gritty, which is normal (energy.gov). Once the tank is empty, close the drain valve, briefly reopen the cold water inlet to refill a few gallons, then drain again. Repeat this flush cycle until the water runs clear and free of grit. Two or three cycles is typical; heavily scaled tanks in hard-water areas can take five or more.
Reading what comes out
Sediment type matters here. In hard-water areas, you'll mostly see white, chalky calcium carbonate scale. Rust-colored flakes point to a corroding anode rod, which is a separate repair. Dark, sandy grit is usually just mineral deposits that settled out of the supply. Knowing which one you're looking at tells you whether a flush is enough or whether a component needs attention.
- White or cream-colored flakes: calcium and magnesium scale. Flushing handles it; a descaler or softener slows the return.
- Rust-colored water or orange flakes: the anode rod is likely spent and the tank interior may be corroding. Flushing won't fix this, plan on an anode rod inspection.
- Black or dark brown grit: usually manganese or iron bacteria residue from the supply. Harmless to the tank but worth noting if it recurs.
- Sand or gravel-like particles: these can come from a private well or from a failing dip tube. If they keep appearing after a flush, the dip tube is the suspect.
When the drain valve clogs or sticks
A drain valve that won't open, won't close, or weeps after the job is the single most common failure point in this process. The valve sits at the lowest point of the tank, so it collects the thickest scale and the largest chunks of sediment. Plastic valves on many residential tanks are especially prone to seizing after a few years of mineral buildup.
If the valve is stuck closed, don't force the handle. Apply a penetrating lubricant at the stem, wait a few minutes, and try again with steady, not jerky, pressure. If it still won't budge, the valve needs replacement, which means draining the tank through the pressure relief valve port or calling a plumber.
If the valve is clogged mid-drain, close it, let the tank refill a few gallons, and reopen. The rush of water often clears the obstruction. Repeat as needed.
If the valve leaks after you close it, the seat is likely damaged or grit is trapped in it. Open and close the valve a few times to flush the seat. If it still drips, a replacement valve is a cheap part and a straightforward swap once the tank is drained.
Expected result: Clear water exits the hose, the tank interior is free of loose sediment, and the drain valve closes without leaking.
Step 4: Refill the Water Heater and Restore Power
Close the drain valve, refill the tank completely, and only then restore power at the breaker. Refilling before restoring power is non-negotiable for electric units.
Close the drain valve firmly, then reopen the cold water inlet valve. Open a hot water faucet somewhere in the house, like a kitchen or bathroom sink, to let air escape as the tank fills. You'll hear sputtering, then steady flow. Once water runs smoothly with no air, close the faucet. Now, and only now, flip the breaker back on.
If you restore power to a half-empty tank, the exposed heating element can overheat and fail. That's the most expensive mistake in this whole job.
Signs of Sediment in Water Heater You Should Not Ignore
How Often to Flush Water Heater Sediment
Match frequency to your water hardness
Other factors that shorten the interval
The rest of the maintenance schedule
Flush frequency isn't a fixed rule, it's a function of your water hardness, tank age, and household demand. Test your water, set a schedule, and log your flush dates so you can spot when sediment is returning faster than expected.
Conclusion
Frequently Asked Questions
Does flushing remove all sediment from a water heater?
Flushing removes most loose sediment, but hardened mineral deposits like calcium carbonate scale can cling to the tank floor and heating element. If you hear popping sounds after a flush, the buildup is likely calcified. A vinegar soak or professional descaling may be needed. In hard water areas, annual flushing prevents scale from hardening in the first place.
How long does it take to flush a 40 gallon water heater?
Draining a 40 gallon tank typically takes 20 to 40 minutes depending on water pressure and sediment volume. If the drain valve clogs with debris, it can take longer. Plan about an hour total, including refilling and restoring power. Never power the unit back on until the tank is completely full, or the heating element will burn out.
What tools do I need to flush an electric water heater?
You need a garden hose long enough to reach a floor drain or outside, a flathead screwdriver for the drain valve, and a bucket for residual water. A hose bibb adapter helps if your drain valve has odd threads. For stubborn sediment, a professional flush with a pump or descaling solution may be necessary. Wear gloves and eye protection.
Should you flush a 20 year old water heater?
A 20 year old tank is past its typical lifespan of 8 to 12 years. Flushing can dislodge rust and sediment that was sealing small leaks, causing the tank to fail completely. If the unit shows rust, moisture around the base, or rumbling noises, replacement is the safer choice. A licensed technician can assess whether flushing is worth the risk.


