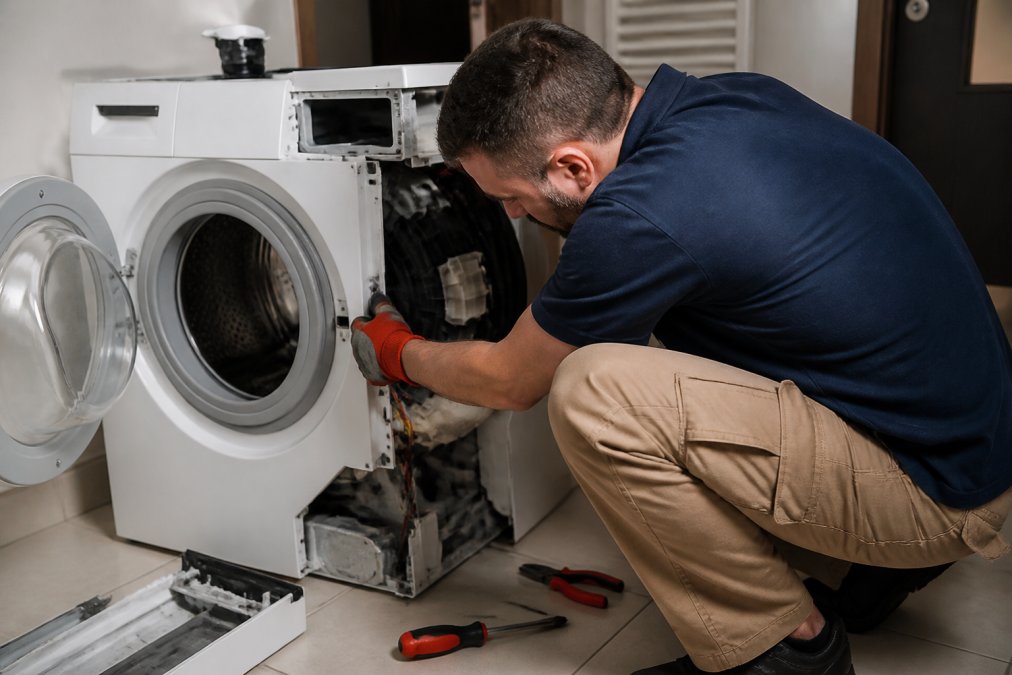
 how-to
How to Fix a Washing Machine: Step-by-Step Guide
Table of Contents
- What You'll Need Before Starting
- Common Washing Machine Problems and Diagnostics
- Step-by-Step Troubleshooting for Fixing Laundry Machine Issues
- Common Washing Machine Problems You Can Address
- Washing Machine Repair Cost: DIY vs. Professional Service
- When to Replace a Washing Machine Instead of Repairing
- Preventative Maintenance to Avoid Future Repairs
- Frequently Asked Questions
Last Updated: September 21, 2026
What You'll Need Before Starting
Before you start to fix washing machine issues, gather the right tools. You won't need much, but having everything ready saves time and frustration.
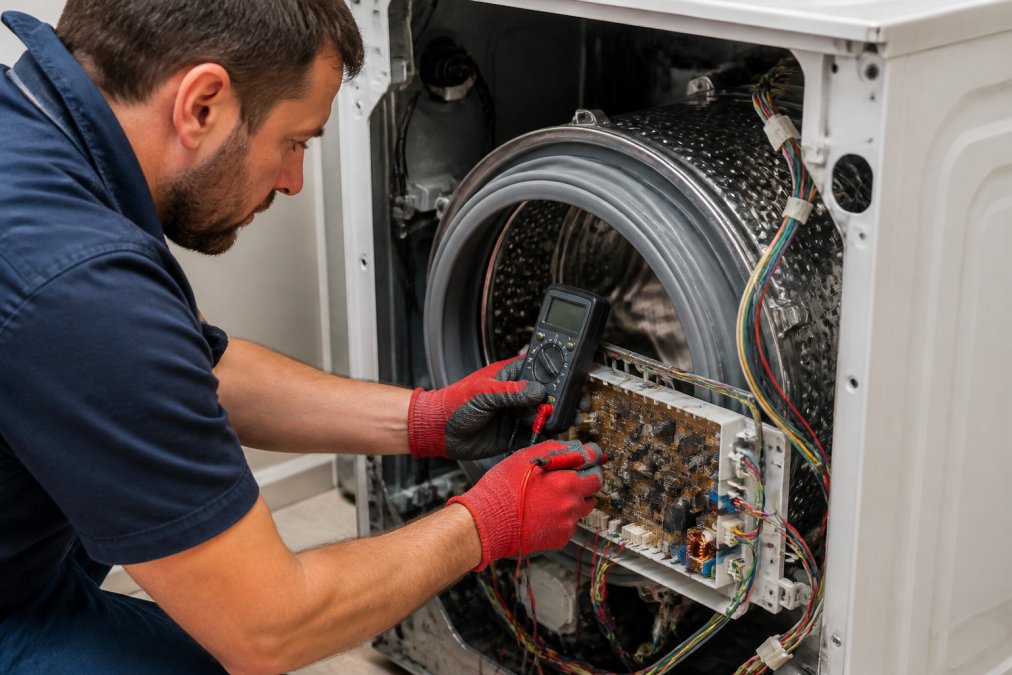
Basic tools for washing machine troubleshooting include a flathead screwdriver, Phillips head screwdriver, adjustable wrench, and flashlight. A multimeter helps test electrical connections. Bucket or towels catch water spills during inspection. Work gloves protect your hands from sharp edges.
Most washing machines sit in tight spaces. Clear the area around your machine before you begin. Unplug the power cord first, always. This prevents electrical shock and keeps you safe.
Check your machine's manual if you have it. The manual shows you where key parts sit and how to access them safely. If you lost the manual, search online for your model number. Many manufacturers post manuals on their websites.
Common Washing Machine Problems and Diagnostics
Most washing machine issues fall into a few categories. Identifying which problem you have helps you fix it faster and more accurately.
The most common problems are drainage issues, spinning failures, and error codes. Water leaks also happen frequently. Unusual noises during cycles can signal mechanical problems inside the drum.
Start by describing what happens. Does water stay in the tub after the cycle ends? Does the drum refuse to spin? Does the machine show an error code on the display? Your answer narrows down the cause quickly.
Washer Not Draining
A washer not draining is one of the most frequent issues homeowners face. Water sits in the tub after the wash or rinse cycle completes. This prevents the next cycle from starting and leaves wet clothes inside.
Several parts can cause drainage problems. The drain hose might be clogged with lint, hair, or detergent buildup. The drain pump could fail mechanically. A clogged filter traps debris that blocks water flow.
Check for visible blockages first. Look at the drain hose connection at the back of the machine. Is the hose kinked or bent? Straighten any kinks. Does water flow when you disconnect the hose? If yes, the hose itself is fine. If no, the hose is clogged.
Listen for the drain pump motor. During a drain cycle, you should hear the pump running. No sound means the pump may have failed. A grinding noise suggests internal damage.
Washer Not Spinning
When your washer won't spin, clothes stay soaking wet. The drum stays still even after the wash cycle finishes. This usually points to mechanical or electrical problems with the drive system.
The drive belt often causes spinning failures. This rubber belt connects the motor to the drum. Over time, it wears out, stretches, or breaks. A broken belt stops the drum completely.
The motor coupling can also fail. This part transfers power from the motor to the drum. When it breaks, the drum won't turn no matter how hard the motor tries.
Check if you hear the motor running. If the motor runs but the drum doesn't move, a belt or coupling problem is likely. If the motor doesn't run at all, an electrical issue may exist.
Error Codes and What They Mean
Modern washing machines display error codes when something goes wrong. These codes tell you exactly what the machine detected.
Common error codes vary by brand and model. An "E1" or "F1" code often signals a water inlet valve problem. Water won't enter the tub properly. An "E2" or "F2" code typically means a drain issue. The machine can't remove water.
"E3" or "F3" codes point to temperature sensor failures. The machine can't read water temperature. "E4" or "F4" codes usually indicate door lock assembly problems. The door won't lock, so the cycle won't start.
Check your manual for your specific model's error codes. Search online if you don't have the manual. Write down the exact code and search "[Your Brand] [Model] [Error Code]" for precise guidance.
Step-by-Step Troubleshooting for Fixing Laundry Machine Issues
Follow these steps to diagnose and fix washing machine problems systematically. Work through them in order, testing after each step.
Step 1: Check the Drain Hose
The drain hose is the first place to look when fixing laundry machine drainage problems. This rubber tube carries water out of the machine.
Locate the drain hose at the back of your machine. It connects to a wall drain or utility sink. Disconnect the hose carefully. Place a bucket underneath to catch water.
Straighten the hose and hold it over a sink. Run water through it. If water flows freely, the hose is clear. If water barely trickles, the hose is clogged.
For clogs, try flushing with hot water first. If that doesn't work, use a plumbing snake or wire to push the blockage through. Never use harsh chemicals that could damage the rubber hose.
Reconnect the hose firmly after clearing it. Make sure it sits above the drain line to prevent backflow. Run a test cycle to check if drainage improves.
Step 2: Inspect the Clogged Filter
The filter catches lint, hair, and debris before water drains. A clogged filter blocks water flow completely.
Most filters sit at the bottom of the washing machine drum or inside the pump housing. Consult your manual to find yours. You may need to remove the front panel to access it.
Open the filter cover. Debris often builds up visibly. Remove loose lint and hair by hand. Rinse the filter under running water to clear fine debris.
Some filters are disposable and must be replaced. Others are reusable and just need cleaning. Check your manual to see which type you have.
Replace the filter and close the cover securely. Run a short test cycle. The machine should drain normally now.
Step 3: Test the Drive Belt and Motor Coupling
The drive belt connects the motor to the drum. When it breaks or wears out, the drum won't spin. Testing this requires accessing the machine's interior.
Unplug the machine first. Remove the front or rear panel depending on your model. Look for the drive belt. It's a rubber loop connecting the motor to the drum pulley.
Inspect the belt carefully. Cracks, fraying, or missing sections mean replacement is needed. A belt that looks intact but is very loose may have stretched beyond use.
The motor coupling sits between the motor and transmission. It looks like a rubber or plastic connector. Cracks or missing teeth mean it needs replacement.
If either part is damaged, you'll need to replace it. This requires removing the drum in some models. Consider calling a professional if you're uncomfortable with this level of disassembly.
Step 4: Examine the Door Lock Assembly
The door lock assembly prevents the machine from running when the door is open. A faulty lock triggers error codes and stops all cycles.
Close the door gently and listen for a click.
Common Washing Machine Problems You Can Address
Many washing machine issues are fixable without calling a repair service. Start with these common problems and solutions.
Washing Machine Repair Cost: DIY vs. Professional Service
Deciding whether to fix it yourself or call a professional depends on the problem and your comfort level.
When to Replace a Washing Machine Instead of Repairing
Sometimes fixing laundry machine problems costs more than buying a new one. Knowing when to replace rather than repair saves money and frustration.
Preventative Maintenance to Avoid Future Repairs
Regular maintenance prevents most washing machine problems. Simple steps keep your machine running smoothly for years.
| Maintenance Task | Frequency | Why It Matters |
|---|---|---|
| Clean drain filter | Monthly | Prevents clogs and drainage problems |
| Run cleaning cycle | Monthly | Removes mold and buildup |
| Check hose connections | Every 3 months | Prevents leaks and water damage |
| Replace hoses | Every 5 years | Prevents ruptures and flooding |
| Check door seal | Every 6 months | Prevents leaks and mold growth |
| Verify machine level | Every 6 months | Reduces vibration and wear |
Frequently Asked Questions
Is it worth fixing a washing machine?
Fixing a washing machine is usually worth the cost if the machine is less than 8 years old and the repair is under half the price of a replacement. Older machines or major component failures (drum, motor) may justify replacement instead. Consider the machine's brand reputation, parts availability, and how often it breaks down. If repairs keep recurring, replacement becomes more economical.
What is the most common problem with a washing machine?
The most common washing machine problem is failure to drain, usually caused by a clogged drain filter, kinked drain hose, or pump blockage. This accounts for a large portion of service calls. The second most frequent issue is the washer not spinning, typically due to a worn drive belt or faulty motor coupling. Both problems are often fixable with basic troubleshooting and component replacement.
Can I fix my washing machine myself?
Many washing machine repairs are DIY-friendly if you have basic mechanical skills and the right tools. Drain filter cleaning, drain hose inspection, and simple component replacement (like a thermal fuse) are manageable for homeowners. However, sealed-system repairs, motor work, and control board issues require professional expertise. Always unplug the machine and consult the manual before attempting repairs to avoid safety hazards.
How do I know if my washing machine motor is burnt out?
Signs of a burnt-out motor include a burning smell during operation, the drum not spinning even when the cycle runs, humming sounds with no movement, or visible scorch marks inside the motor housing. The washer may also fail to start entirely or trip a circuit breaker repeatedly. If the motor is burnt out, replacement is typically the only solution, as repair is not cost-effective. Professional diagnosis using multimeter testing and continuity checks confirms motor failure.


