 ultimate-guide
How to Fix Refrigerator Sealed System: DIY vs. Professional
Table of Contents
- What Is a Refrigerator Sealed System and How It Works
- Signs of Sealed System Failure: Recognizing Refrigerator Sealed System Leak Symptoms
- Diagnostic Checks Before You Decide to Fix
- Tools Required for Refrigerant Recharge and Sealed System Repair
- How to Braze Refrigerator Copper Tubing: Leak Repair Fundamentals
- DIY vs. Professional Risk Assessment: Why EPA Certification Matters
- Cost-Benefit Calculator: Repair vs. Replacement Decision Framework
- How to Fix Refrigerator Sealed System: Step-by-Step Repair Overview
- Frequently Asked Questions
Last Updated: July 10, 2026
What Is a Refrigerator Sealed System and How It Works
A sealed system is a closed loop of copper tubing designed to circulate refrigerant continuously without requiring maintenance or refilling under normal conditions. Factory-charged and brazed shut, it should never need refrigerant added, if it does, there's a leak. The compressor pressurizes low-pressure refrigerant vapor into high-pressure vapor that flows through copper tubing to the condenser coils on the back or bottom of the refrigerator, where the vapor releases heat and condenses into liquid.
The Refrigeration Cycle: Compressor, Condenser, Evaporator, and Filter Drier
The compressor pumps refrigerant by compressing low-pressure vapor into high-pressure vapor. This vapor travels through the condenser, where it releases heat and transforms into liquid. The liquid then flows through a filter drier, which removes moisture and particulates, moisture is dangerous because it combines with refrigerant to form acids that corrode internal components. The refrigerant passes through a capillary tube that drops pressure and temperature, then enters the evaporator coils inside the cabinet, where it absorbs heat from food and evaporates into vapor, returning to the compressor to complete the cycle. Any breach in the copper tubing allows refrigerant to escape, breaking the cycle and stopping cooling.
Signs of Sealed System Failure: Recognizing Refrigerator Sealed System Leak Symptoms
The most obvious sign is warm food or a refrigerator that runs continuously but never reaches the target temperature. The compressor runs constantly without cycling off, sounding noticeably louder and more frequent than normal.
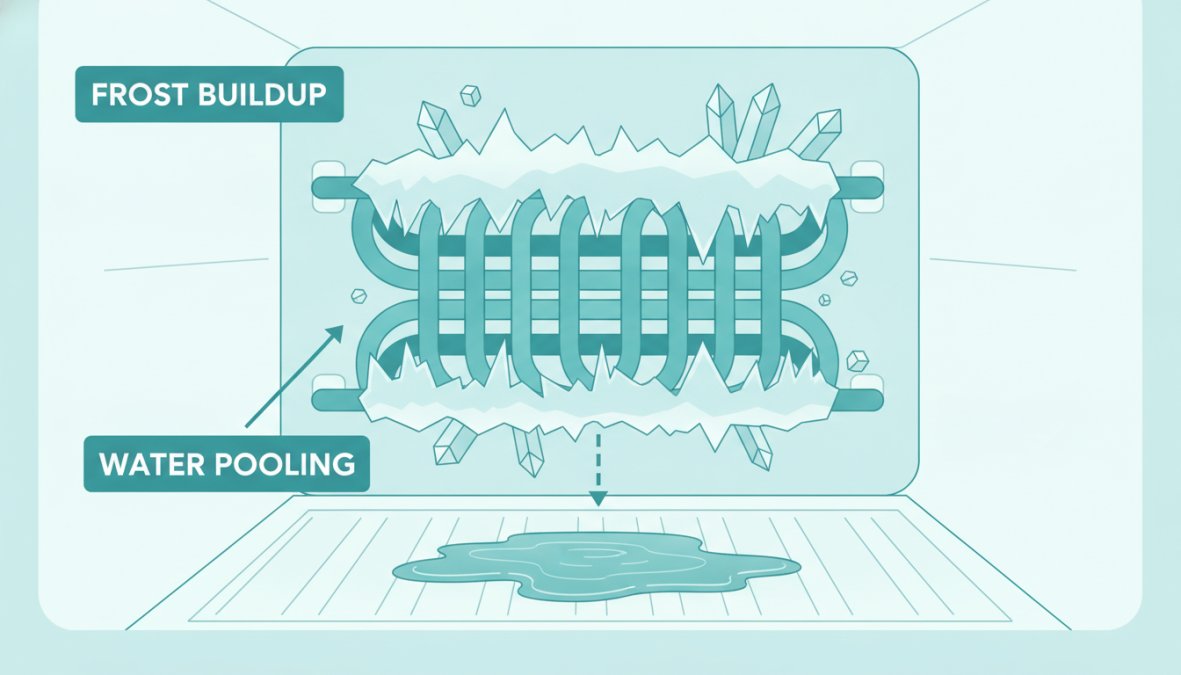
Other indicators include visible frost or ice on the evaporator coils, moisture pooling at the bottom of the cabinet, or error codes like "1E" or "FF." A hissing sound when the compressor starts can indicate a leak. If the system has lost refrigerant, the compressor overheats because refrigerant normally cools the motor, and a thermal overload switch may trip, shutting the unit down to prevent permanent damage.
Visual Identification Guide to Common Leak Indicators
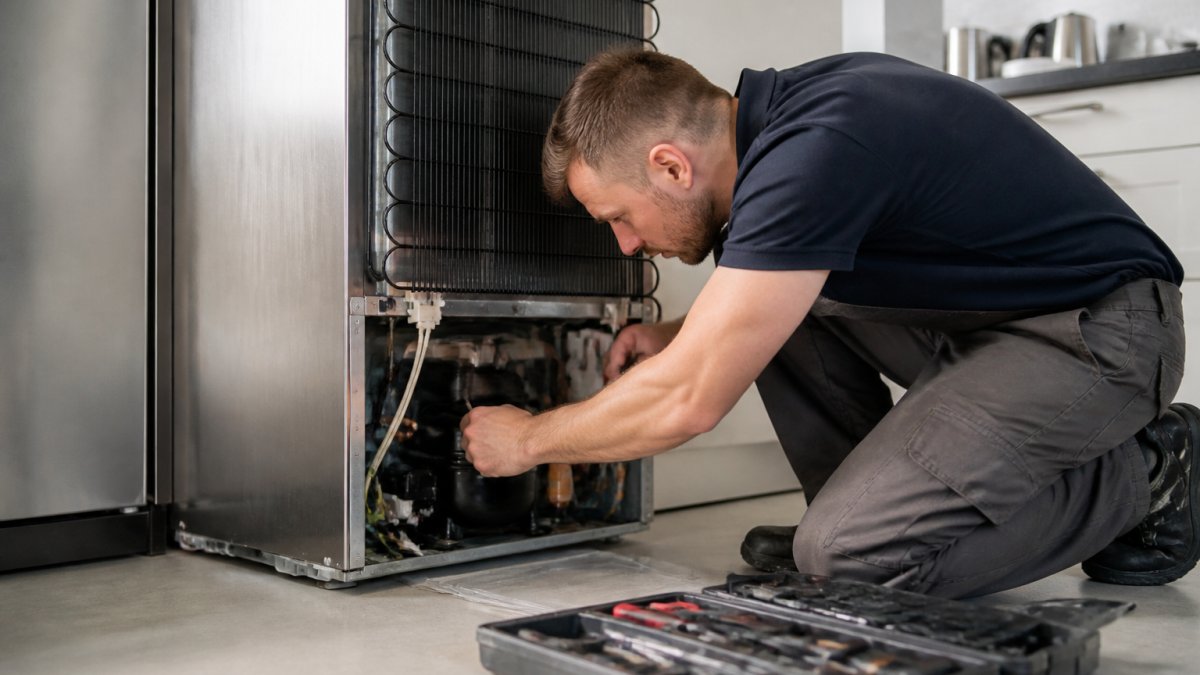
The most common leak points are solder joints, connections between copper tubing sections brazed during manufacturing. Over 10-15 years, vibration and thermal cycling cause solder joints to crack or corrode, especially at the compressor-to-condenser connection. Corrosion appears as white, blue, or green oxidation around copper tubing connections, weakening the solder joint and creating pinhole leaks. Oil residue around copper connections also indicates a slow leak. Check the back of the refrigerator and around the compressor mounting area for these signs.
Diagnostic Checks Before You Decide to Fix
Verify the compressor is running by listening for the motor hum and feeling the tubing near the compressor, it should be warm or hot. Check the condenser coils on the back; they should be warm or hot when the compressor runs. Inspect the evaporator coils inside by removing the back panel (unplug first). Healthy coils should be cold with some frost, not thick ice buildup. A normal compressor cycles on and off every 15-30 minutes; if it runs constantly for hours without cycling, the sealed system has likely lost refrigerant.
Troubleshooting vs. Repair: When Diagnostics Reveal the Real Problem
Not every cooling problem means the sealed system needs repair. Electronic control boards, start relays, and thermostats fail more frequently than sealed systems. If the compressor isn't running, the problem is likely electrical, a failed start relay costs under $100 to replace. If the compressor runs but the refrigerator doesn't cool, feel the condenser coils while the compressor runs. If they're cold or only slightly warm, refrigerant isn't circulating properly, pointing to a sealed system issue. If the condenser coils are hot but evaporator coils inside are cold and frost-covered, the problem may be a capillary tube restriction rather than a leak.
Tools Required for Refrigerant Recharge and Sealed System Repair
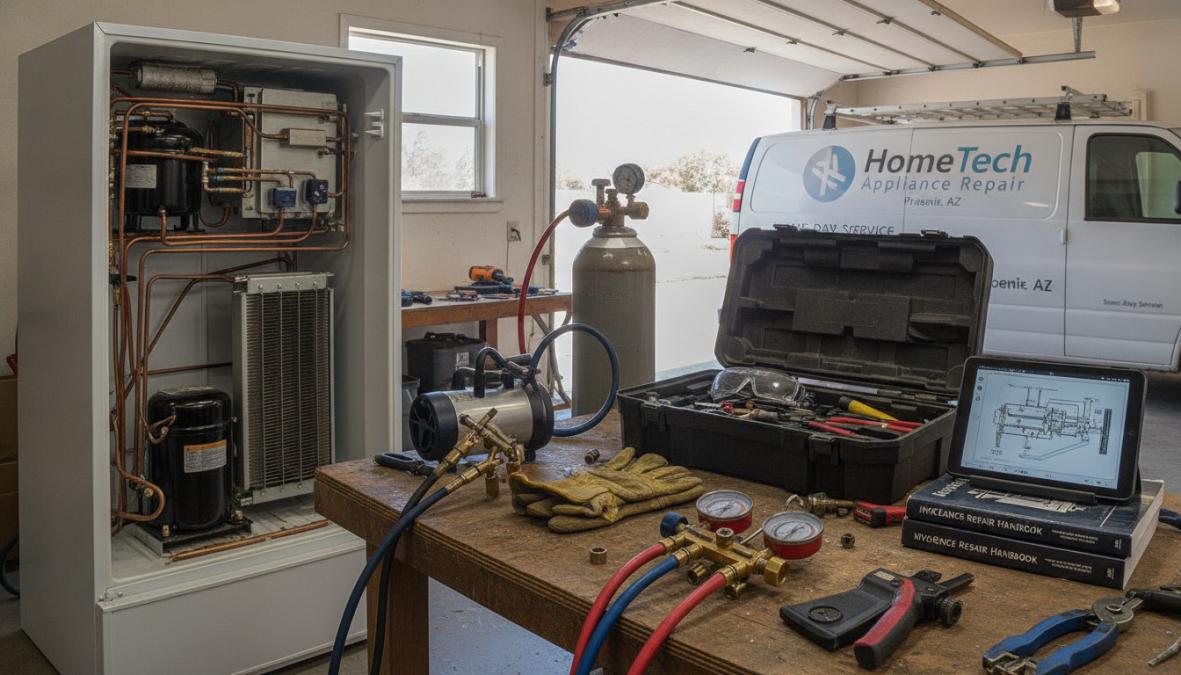
Manifold gauges measure pressure on the high-side and low-side lines, telling you whether the system is properly charged or has lost refrigerant. A basic set costs $100-300. A vacuum pump removes air and moisture before recharging; after brazing or replacing components, the system must be evacuated to a deep vacuum (below 500 microns). A quality pump costs $200-500. A refrigerant recovery machine captures and safely stores refrigerant before repair. The EPA requires refrigerant be recovered, not vented. Recovery machines cost $1,000-3,000 and are typically owned only by professional technicians, which is one reason sealed system repair is expensive.
Manifold Gauges, Vacuum Pump, and Recovery Machine Essentials
Manifold gauges consist of a high-side gauge, low-side gauge, and three hoses. For R134a (common in residential refrigerators), the low side should read 0-30 PSI and the high side 150-250 PSI depending on ambient temperature. A vacuum pump creates negative pressure that pulls air and moisture out through the manifold center port, running for 15-30 minutes until the system reaches 500 microns or lower. A refrigerant recovery machine captures refrigerant vapor and liquid into a storage tank and shuts off when the system pressure equals atmospheric pressure, indicating all refrigerant has been recovered.
How to Braze Refrigerator Copper Tubing: Leak Repair Fundamentals
Brazing joins copper tubing by heating it to high temperature and flowing molten solder into the joint. This requires a torch (typically oxy-acetylene or propane), brazing rod, and considerable skill. The process begins by locating the leak using electronic leak detectors or UV dye. The damaged tubing section is cut out and new copper tubing is fitted in its place. The joint is heated with the torch until the copper glows red, then brazing rod is applied, melting into the gap and forming a strong seal. After brazing, the system is flushed with nitrogen gas to remove oxidation, then evacuated with a vacuum pump before being recharged with refrigerant.
Solder Joints, Capillary Tube Restrictions, and Common Failure Points
Solder joints fail due to vibration, thermal cycling, and corrosion. The compressor vibrates during operation, stressing solder joints, and over 10-15 years this combined with expansion and contraction causes solder to crack. The compressor discharge-to-condenser connection is a common failure point due to high pressure and temperature. Capillary tube restrictions occur when debris, ice, or acid buildup blocks the thin tube. Once restricted, refrigerant can't flow into the evaporator and cooling stops. Restrictions can sometimes be cleared by flushing, but if the tube is damaged, it must be replaced.
DIY vs. Professional Risk Assessment: Why EPA Certification Matters
The EPA regulates all refrigerant work under Section 608 of the Clean Air Act. Venting refrigerant into the atmosphere is illegal and carries fines up to $37,500 per violation. Only EPA-certified technicians are legally allowed to handle refrigerant. Beyond legality, brazing requires years of practice to avoid creating weak joints that leak immediately or fail within months. Improper evacuation, the most common DIY mistake, leaves moisture and air in the system. Moisture reacts with refrigerant to form acids that corrode compressor windings, causing motor failure within weeks.
Refrigerant Handling and Safety Regulations
Residential refrigerators typically use R134a, R600a (isobutane), or R290a (propane). Each has different pressure characteristics, so using the wrong refrigerant or mixing them causes system failure. R134a is non-toxic but can cause frostbite; R600a and R290a are flammable and require extra precautions. All refrigerants should be handled in well-ventilated areas with proper safety equipment. The EPA requires all recovered refrigerant be stored in DOT-certified cylinders and either recycled or disposed of by a certified recycler.
Cost-Benefit Calculator: Repair vs. Replacement Decision Framework
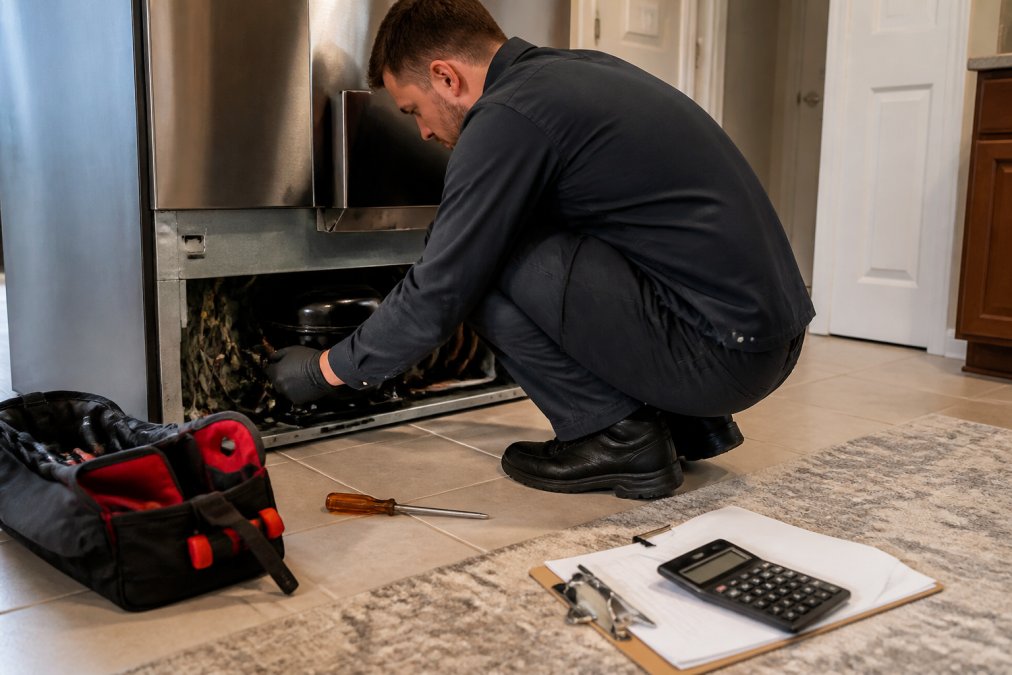
A sealed system repair typically costs $400-800 for a simple leak repair plus labor, or $600-1,200 if it requires replacing the compressor. A new refrigerator ranges from $800 to $3,000+. If your refrigerator is 7 years old or younger, repair usually makes financial sense. If it's 12+ years old, replacement often makes more sense as repair costs approach new unit prices. Consider efficiency: older refrigerators use 600-800 watts continuously, while new Energy Star models use 300-400 watts, translating to $30-50 annual savings.
Warranty and Recall Check: Protecting Your Investment
Check whether your refrigerator is still under warranty or subject to recall. Manufacturer warranties typically cover sealed system failures for 1-5 years. Many models have been recalled due to sealed system failures, check the CPSC website or the manufacturer's site. If your refrigerator is under recall, the manufacturer must repair or replace it at no cost. If out of warranty and not under recall, get a written estimate before work begins.
How to Fix Refrigerator Sealed System: Step-by-Step Repair Overview
Professional repair follows a standardized process. The technician uses manifold gauges to confirm sealed system pressure and verify the compressor is running. An electronic leak detector or UV dye locates the leak. The refrigerant is recovered using a recovery machine. The damaged section or failed component is then removed. The system is flushed with nitrogen gas to remove oxidation, then evacuated to a deep vacuum for 15-30 minutes. Once confirmed, the system is charged with the correct amount of refrigerant per manufacturer specification. The technician tests the system to confirm proper pressure, temperature, and cooling capacity.
| Repair Step | Duration | Key Points |
|---|---|---|
| Pressure diagnosis | 10 minutes | Confirm sealed system failure vs. electrical issue |
| Leak detection | 15-30 minutes | Locate pinhole leaks using electronic detector or dye |
| Refrigerant recovery | 20-40 minutes | Legally required; uses EPA-certified equipment |
| Component removal/replacement | 30-60 minutes | Brazing or component swap depending on failure type |
| System evacuation | 15-30 minutes | Vacuum pump removes air and moisture; critical step |
| Refrigerant recharge | 15-20 minutes | Add precise amount per manufacturer spec |
| Performance testing | 10-15 minutes | Verify pressure, temperature, and cooling capacity |
Common Mistakes to Avoid During Sealed System Repair
The most frequent mistake is skipping or rushing vacuum evacuation. Technicians under time pressure may evacuate for only 5-10 minutes instead of the required 15-30 minutes, leaving moisture and air in the system. This causes acid formation and compressor failure within weeks. Another common error is using the wrong refrigerant type or mixing refrigerants. Always confirm the refrigerant type from the manufacturer's label before charging. Overcharging or undercharging the system is equally problematic. A critical mistake is failing to replace the filter drier after opening the sealed system. Once opened, the filter drier has absorbed moisture from the air. Always replace the filter drier as part of any sealed system repair, the cost is $30-50 and the protection is invaluable.
If your refrigerator's sealed system has failed, professional repair is the safest and most reliable solution. At Home Tech, our EPA 608-certified technicians have repaired sealed systems on all major brands, GE, Whirlpool, LG, Samsung, Bosch, and more, across the Phoenix metro area for over a decade. We use proper recovery equipment, perform complete system evacuation, and stand behind our work with a 100% satisfaction guarantee. Call (602) 486-1901 or visit hometechappliancerepair.com to schedule your sealed system diagnostic today.
According to EPA Section 608 Certification Requirements, only certified technicians are legally permitted to handle refrigerant in sealed systems, ensuring proper environmental compliance and system integrity. Research from Association of Home Appliance Manufacturers (AHAM) refrigerator efficiency standards shows that sealed system failures account for approximately 30% of all refrigerator repairs, making this one of the most common failures homeowners face. For detailed guidance on refrigerant types and safety protocols, EPA Refrigerant Management Program documentation provides comprehensive regulations governing all sealed system work.
Frequently Asked Questions
What is a refrigerator sealed system and why is it sealed?
A refrigerator sealed system is a closed loop containing refrigerant that circulates through the compressor, condenser, evaporator, and filter drier to remove heat and cool food. It's sealed to prevent refrigerant leaks, maintain proper system pressure, and ensure the refrigeration cycle operates efficiently. The sealed design protects the refrigerant charge and prevents contamination that would damage the compressor and other components.
Can a DIYer fix a refrigerator sealed system leak safely?
Fixing a sealed system leak requires EPA 608 certification, specialized tools (manifold gauges, vacuum pump, recovery machine), and knowledge of brazing, solder joints, and refrigerant handling. Without certification, you risk legal penalties, system damage, and safety hazards. Most sealed system repairs, especially those involving refrigerant recharge or capillary tube replacement, are best left to professionals. A technician can diagnose whether the leak is at a solder joint, the compressor, or the condenser.
What are the most common signs of sealed system failure in a refrigerator?
Common signs include: refrigerator not cooling or cooling unevenly, frost buildup on the evaporator coils, water pooling in the bottom of the fridge, hissing or bubbling sounds from the compressor, and the compressor running constantly but the fridge staying warm. These symptoms often indicate a refrigerant leak, thermal overload, or restriction in the capillary tube. A diagnostic check using manifold gauges can confirm system pressure and pinpoint the problem.
Is it worth repairing a sealed system or should I replace the refrigerator?
The decision depends on the refrigerator's age, the repair cost, and remaining useful life. A cost-benefit calculator should factor in the repair estimate, warranty coverage, and whether the appliance is still under manufacturer protection. Sealed system repairs can be expensive due to labor, EPA-certified technician requirements, and the need for specialized tools. If your refrigerator is over 10 years old or the repair cost exceeds 50% of replacement value, replacement may be more economical. Always check warranty status and recalls before deciding.