 how-to
How to Fix a Refrigerator Ice Maker Jam: Step-by-Step
Table of Contents
- What Causes an Ice Maker Jam
- Tools and Safety Precautions You'll Need
- Step 1: Check the Power Switch and Reset Button
- Step 2: Inspect the Water Line for Kinks or Freezing
- Step 3: Clear Ice Blockages in the Chute and Bin
- How to Defrost an Ice Maker Frozen Solid
- How to Unjam an Ice Maker Auger and Ejector Arm
- Step 4: Replace the Water Filter
- Frequently Asked Questions
Last Updated: August 13, 2026
What Causes an Ice Maker Jam
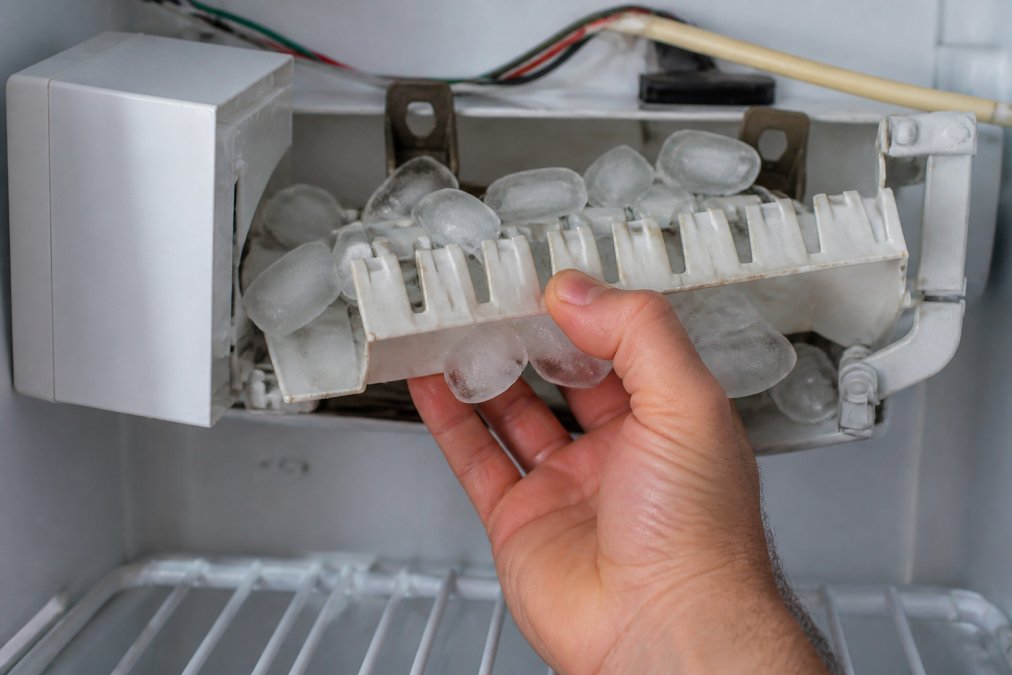
An ice maker jam occurs when ice crystals, mineral deposits, or debris block the mechanical components responsible for dispensing ice. Common culprits include frozen water lines, clumped ice in the bin, a stuck auger (the spiral mechanism that pushes ice forward), or a jammed ejector arm. Temperature fluctuations cause ice to clump instead of staying as individual cubes. A clogged water filter restricts flow, leading to incomplete ice formation and jamming. Mineral buildup from hard water accumulates inside the dispenser chute and water lines, narrowing passages until ice can't move through freely.
Most jams are fixable without calling a technician, though persistent problems may require professional diagnosis.
Tools and Safety Precautions You'll Need
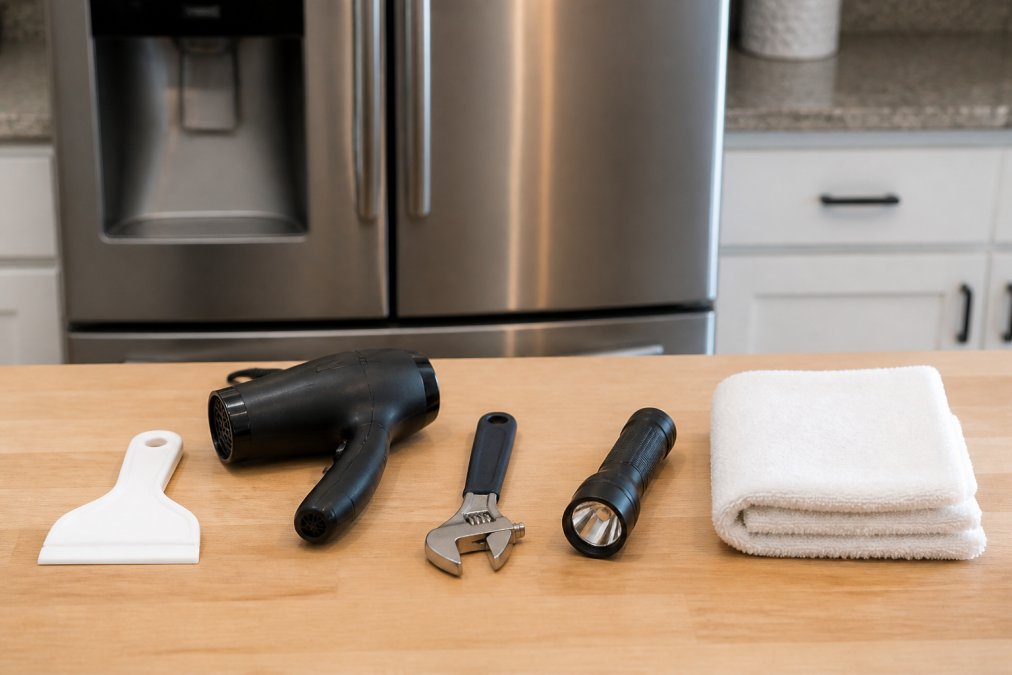
Gather a plastic scraper (never use metal), a hair dryer set to low heat, an adjustable wrench or socket set, a flashlight, and clean towels to catch water and melting ice.
Always unplug the unit before troubleshooting or disassembly to prevent electrical shock. Turn off any power switch on the back or control panel. Wait at least five minutes before opening panels to allow residual electrical charge to dissipate. Never use metal tools inside the freezer, metal conducts electricity and can damage plastic components or cause injury.
When using a hair dryer to defrost, keep it on the lowest heat setting and maintain at least six inches distance from plastic components. High heat can warp or melt refrigerator parts. Wear gloves to protect your hands from sharp ice edges and cold surfaces. Have towels ready to absorb water as ice melts.
Step 1: Check the Power Switch and Reset Button
Verify that your ice maker is powered on. Most refrigerators have a toggle switch or button on the ice maker itself, usually inside the freezer compartment. If it's off, flip it on and wait 24 hours to see if ice production resumes.
If the switch is already on, locate the reset button, usually a small red or black button on the back or underside of the ice maker assembly. Press and hold it for three to five seconds. You should hear a clicking sound or see the motor engage. Wait another 24 hours for the system to cycle through its production sequence.
If the ice maker still isn't producing ice after a full day, move to the next troubleshooting steps.
Step 2: Inspect the Water Line for Kinks or Freezing
Locate the water line running from the back of your refrigerator to the ice maker assembly. Trace it carefully, looking for visible kinks, cracks, or pinched areas. If you find a kink, gently straighten it by hand.
Check whether the water line is frozen by feeling it with your hand. If it's rock hard and cold to the touch, use a hair dryer on low heat to gently warm the line, working from the back toward the ice maker. Move the dryer slowly along the entire length, taking at least five minutes. Once the line feels pliable, check for water flow by disconnecting it at the back and letting water run into a bucket for a few seconds. If no water comes out, the line may be clogged with mineral deposits and typically needs professional flushing or replacement.
Step 3: Clear Ice Blockages in the Chute and Bin
Remove the ice bin if your model allows it. Empty any ice and inspect the inside for clumped ice or mineral buildup. Use a plastic scraper to gently break up clumps, working carefully to avoid cracking the bin.
Look at the chute, where ice falls from the maker into the bin. Shine your flashlight up into the chute and look for ice crystals, mineral deposits, or debris. If you see a blockage, use your plastic scraper to carefully dislodge it, working from top downward. For stubborn blockages, apply warm water with a spray bottle and let it sit for a minute, then scrape again.
Reinstall the ice bin and run a test cycle by pressing the manual advance button. If ice dispenses smoothly, your jam is likely cleared. If ice still won't dispense or you hear grinding sounds, the problem may be a stuck auger or ejector arm.
How to Defrost an Ice Maker Frozen Solid
When your ice maker is frozen solid, set the freezer temperature to the warmest setting (usually around 0°F or slightly above) and leave the freezer door open for 30 minutes to an hour. Place towels on the bottom to absorb water. After 30 to 60 minutes, check the ice maker by pressing the reset button. If it clicks or the motor engages, defrosting is working.
Using a Hair Dryer Safely
Set your dryer to the lowest heat setting and maintain at least six inches distance from the ice maker assembly.
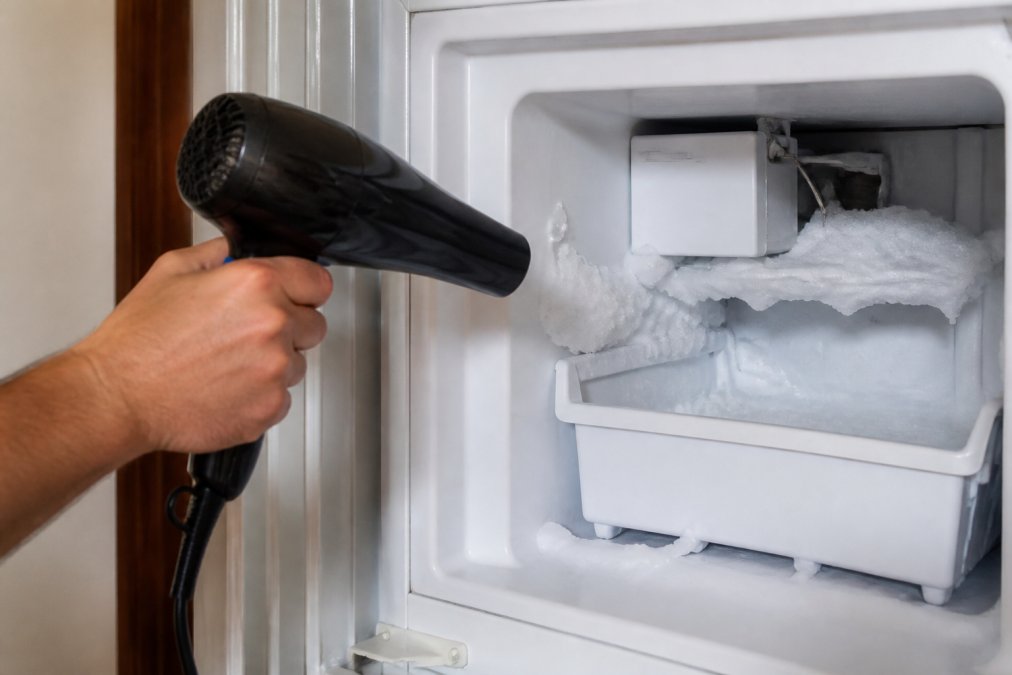
Start with visible areas: the front of the ice maker, the chute, and the ejector arm. Spend two to three minutes on each section, moving the dryer slowly to distribute heat evenly. Do not hold the dryer in one spot for more than a few seconds. Once visible ice has melted, wait 10 minutes, then test the reset button again.
Checking Freezer Temperature Settings
A freezer running too cold can cause an ice maker jam by freezing water in the supply line and inside the mechanism. Check your freezer temperature setting. The ideal range is between 0°F and -10°F. If it's set below -15°F, raise the temperature by one or two degrees and wait 24 hours. Also check that your freezer door closes properly, as a poor seal causes the system to run colder to compensate.
How to Unjam an Ice Maker Auger and Ejector Arm
The auger is a spiral-shaped component that rotates to push ice into the chute. The ejector arm is a flat metal or plastic piece that physically pushes ice out of the mold. When either gets stuck, ice won't dispense.
To access these components, remove the ice maker assembly from your refrigerator by unscrewing three to four bolts that hold it to the freezer wall. Take a photo of the water line and electrical connections before disconnecting them.
Once the ice maker is out, inspect the auger and ejector arm for ice crystals or debris. Use your plastic scraper to gently remove buildup. Rotate the auger by hand to ensure it moves freely. The ejector arm should swing freely without resistance. If either component is stuck, apply warm water to the stuck joint and let it sit for a minute, then work it loose gently. Do not force it. Once both move freely, reinstall the ice maker and test it.
Step 4: Replace the Water Filter
A clogged or old water filter restricts water flow, leading to incomplete ice formation, clumping, and jamming. Most manufacturers recommend replacing the filter every six months.
Locate your water filter, typically in a cartridge under the sink, inside the refrigerator, or on the back of the unit. Turn off the water supply using the shut-off valve behind the unit. Open the filter housing and remove the old cartridge by turning it counterclockwise or pressing a release button. Before installing the new filter, flush the system by running water through the housing into a sink for 30 seconds. Install the new filter by inserting it and turning clockwise until snug. Turn the water supply back on and run water through the dispenser for 30 seconds to prime the new filter.
An ice maker jam is frustrating, but most causes are preventable with basic maintenance. Replacing your water filter regularly, keeping your freezer at the right temperature, and clearing minor blockages as they appear will keep your ice maker running smoothly for years. If you've worked through these steps and your ice maker still isn't producing ice, the problem likely involves a failed motor, solenoid valve, or sealed-system component that requires professional diagnosis.
At Home Tech, our EPA 608-certified technicians handle ice maker repairs on all major brands, including Samsung Bespoke refrigerators and LG compressor systems. If you're in the Phoenix metro area and your ice maker needs professional service, we offer same-day appointments with no hidden fees. Call us at (602) 486-1901 or visit hometechappliancerepair.com to book your appointment. We'll diagnose the problem quickly and get your ice maker working again.
| Troubleshooting Step | What to Check | Time Required | When to Call a Pro |
|---|---|---|---|
| Power and reset | Toggle switch, reset button | 5 minutes | If no response after 24 hours |
| Water line | Kinks, freezing, flow | 15 minutes | If line is cracked or completely blocked |
| Chute and bin | Ice clumps, blockages, mineral buildup | 20 minutes | If blockage won't clear with scraping |
| Defrost mechanism | Frozen components, temperature setting | 30-60 minutes | If ice maker remains frozen after defrosting |
| Auger and ejector arm | Rotation, debris, stuck joints | 30 minutes | If components won't move or motor is silent |
| Water filter | Age, flow restriction, sediment | 10 minutes | If filter is more than 6 months old |
Frequently Asked Questions
What should I do if my ice maker jam doesn't clear after these steps?
If the ice maker jam persists after checking the power, water line, and clearing blockages, the solenoid valve may be faulty or the auger motor could be damaged. A professional technician can diagnose whether the dispenser mechanism needs repair or replacement. Attempting to force stuck components can cause further damage, so it's best to call for service if basic troubleshooting doesn't work.
Can I use a hair dryer to safely defrost a frozen ice maker?
Yes, a hair dryer on low heat is a safe way to defrost an ice maker frozen solid. Keep the dryer 6 inches away from the ice and never use high heat, which can damage plastic components. Work slowly and let the ice melt naturally rather than forcing it. Always unplug the refrigerator before working inside, and place towels underneath to catch melting water.
How often should I replace my refrigerator's water filter?
Most manufacturers recommend replacing the water filter every 6 months or after filtering 300 gallons, whichever comes first. A clogged filter can restrict water flow to the ice maker, causing poor ice production or clumped ice. Check your refrigerator's manual for the exact replacement schedule and filter model number for your specific brand.
Why is my ice maker producing clumped ice instead of individual cubes?
Clumped ice usually results from high humidity, a clogged water filter, or incorrect freezer temperature. If the freezer temperature is above 0°F, the ice maker can't produce separate cubes. A dirty water filter or mineral buildup in the ejector arm can also cause cubes to stick together. Start by checking the freezer temperature, replacing the filter, and ensuring the ice bin isn't overfilled.


