 how-to
How to Fix a Loose Refrigerator Door Gasket
Last Updated: October 24, 2026
Quick Summary
A loose refrigerator door gasket can be fixed by cleaning the seal with warm soapy water, softening it if stiff, and reseating it firmly into its retaining groove around the door frame. If the gasket won't stay in place, apply food-safe silicone adhesive to secure it, or replace the gasket if it's cracked, torn, or severely warped.
- Clean the gasket thoroughly with warm water and washing-up liquid before attempting to reseat it.
- Use a flathead screwdriver to gently tap the gasket into its channel, paying special attention to corners.
- Test the seal with the paper test by inserting paper into the closed door and trying to pull it out.
- Apply only a thin bead of food-safe silicone adhesive if the gasket keeps popping out after reseating.
- Replace the gasket if it has visible tears larger than 1 inch, is brittle, or won't soften with heat.
Table of Contents
- Why a Loose Refrigerator Door Gasket Matters
- Diagnosing a Loose or Damaged Gasket
- Best Tools for Refrigerator Gasket Repair
- Step-by-Step: Cleaning and Reseating Your Gasket
- How to Test Your Fridge Door Seal Suction
- Refrigerator Door Gasket Replacement Cost and When to Replace
- Common Mistakes to Avoid
- Frequently Asked Questions
Why a Loose Refrigerator Door Gasket Matters
A loose refrigerator door gasket is one of the most common problems homeowners face. When the seal fails, cold air escapes. Your fridge has to work harder. Energy bills climb. Food spoils faster.
The gasket is the rubber strip running around your door frame. Its job is simple: create an airtight seal when the door closes. When it comes loose, warps, or tears, that seal breaks. Warm air leaks in.
The stakes are real. A broken seal doesn't just waste energy. It puts your food at risk. Perishables spoil in warmer pockets. For families, that means wasted groceries.
Diagnosing a Loose or Damaged Gasket
Before you grab your tools, you need to know what you're dealing with. Not every door problem is a gasket problem. The door might sag. The hinge might be bent. The gasket might be loose, torn, or just dirty. Diagnosing correctly saves time and prevents unnecessary work.
Inspecting the refrigerator door gasket for visible damage
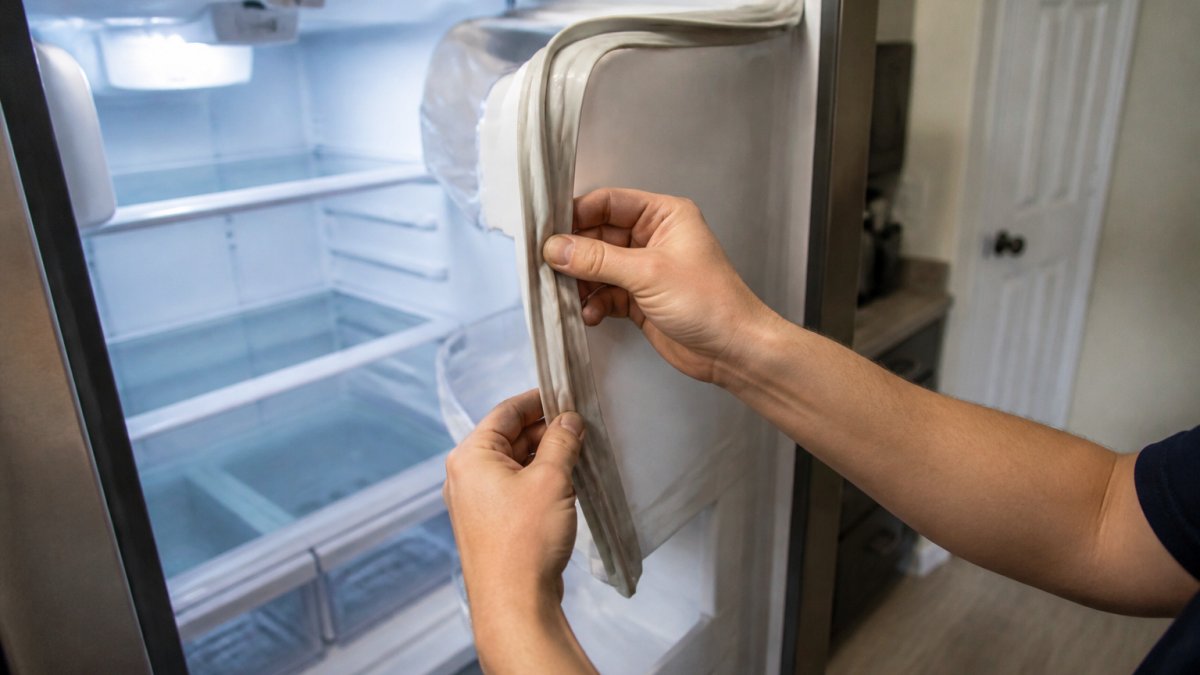
Open your fridge door and look at the rubber seal running around the frame. Run your fingers along it. Feel for obvious tears, cracks, or hardened, brittle spots. A damaged gasket looks visibly worn. You might see:
- Cracked rubber that crumbles when touched
- Tears or splits in the material
- Discoloration or mold growth
- Sections that feel sticky or degraded
If the gasket feels hard and brittle instead of soft and flexible, age has stiffened it. That's a sign replacement may be needed soon.
Clean gaskets often look better than they perform. Dirt and debris can block the seal. Wipe the gasket with a damp cloth. Check if the problem improves. Many loose gasket issues are actually just buildup preventing a proper seal.
Checking for cracks, tears, warping, and separation from the channel
Look closely at where the gasket meets the door frame. This is the retaining groove, a channel that holds the gasket in place. Press gently along the entire length.
A gasket that comes out of its channel is loose. A gasket that stays in place but feels spongy might be warped. Warping happens when the rubber loses its shape. Heat, age, and repeated door openings cause this.
Check for these specific problems:
- Separation from the channel: The gasket edge pulls away from the groove. You can see a gap.
- Warping: The gasket bends inward or outward instead of sitting flat.
- Cracks or tears: Visible splits in the rubber. Small cracks may seal fine. Large tears usually mean replacement.
- Hardening: The rubber feels stiff and inflexible. Warm water can sometimes soften it temporarily, but a hardened gasket often needs replacing.
If you see separation but no visible damage, the gasket is loose but salvageable. If you see cracks, tears, or severe warping, replacement is likely your best option.
Best Tools for Refrigerator Gasket Repair
You don't need much to fix a loose refrigerator door gasket. Most homeowners already have these items. If not, they're inexpensive and worth keeping on hand.
| Tool | Purpose | Cost Range |
|---|---|---|
| Warm water | Soften stiff gaskets and clean | Free |
| Soft cloth or sponge | Clean gasket and door surface | Free |
| Washing-up liquid | Help soften and lubricate the gasket | Free |
| Silicone adhesive (food-safe) | Secure a gasket that won't stay seated | $5-15 |
| Flathead screwdriver | Gently pry gasket into the channel | $5-10 |
| Paper towels | Dry surfaces after cleaning | Free |
Keep these supplies nearby before you start. Having everything ready prevents frustration and keeps the job moving.
Step-by-Step: Cleaning and Reseating Your Gasket
Most loose gaskets can be fixed without replacement. The process involves cleaning, softening, and reseating the seal. This takes 30 minutes to an hour.
Step 1: Unplug the refrigerator and gather your supplies
Safety first. Unplug your fridge before starting any work. This prevents electrical hazard and lets the compressor stop running.
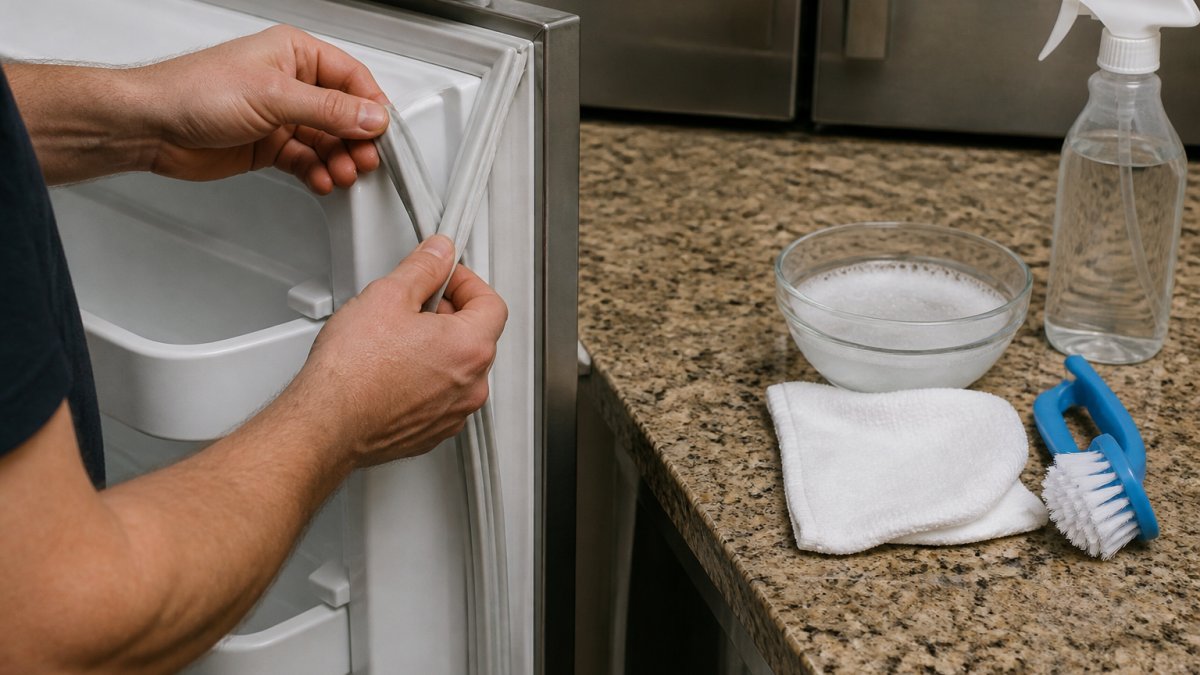
Gather all your tools and supplies on a clean surface near the fridge. Lay out warm water, washing-up liquid, soft cloths, and your screwdriver.
Let the fridge sit unplugged for 5-10 minutes. The compressor will stop. The fridge interior will stabilize at room temperature. This makes the gasket easier to work with.
Step 2: Clean the gasket and door surface with warm water
Dirt and debris are often the real culprit behind a poor seal. Mix warm water with a small amount of washing-up liquid. Dip your soft cloth into the solution.
Wipe the entire gasket thoroughly. Work the cloth into the groove where the gasket sits. Pay special attention to corners and seams where dirt collects. Wipe the door frame surface as well. A clean surface helps the gasket reseat properly.
Rinse the gasket with a cloth dampened in plain warm water. Remove all soap residue. Dry everything with a clean paper towel. A wet gasket is slippery and hard to work with.
Step 3: Use washing-up liquid to soften a stiff or misshapen seal
If the gasket feels hard or warped, warm water with washing-up liquid can help. The soap acts as a lubricant and softens stiff rubber. Soak your cloth in warm soapy water. Wrap it around the gasket for 2-3 minutes.
Work the gasket gently with your hands. Bend it slightly. Flex it in different directions. This helps redistribute the softened material. Don't force it. Aggressive bending can tear weakened rubber.
If the gasket is severely warped or stays hard after warming, it's probably time to replace it. A gasket that won't soften has reached the end of its life.
Step 4: Reseat the gasket in its retaining groove
This is the critical step. The gasket must sit fully in its channel all the way around the door frame.
Start at one corner. Use your fingers to press the gasket edge into the groove. Work slowly around the entire door frame. Push firmly but gently.
If the gasket resists, use your flathead screwdriver. Place the blade gently against the gasket edge and tap it into the groove with your hand. Don't hammer.
Pay extra attention to corners. These spots often pop out first because of the bend in the frame. Make sure the gasket is fully seated at all four corners.
Step 5: Apply silicone adhesive if the gasket won't stay in place
If the gasket keeps popping out after reseating, it may have lost its grip. Silicone adhesive can help. Use a food-safe silicone product.
Don't use too much. Excess adhesive is messy and hard to clean. A thin line is enough. Reseat the gasket into the groove. The adhesive helps hold it in place.
Let the adhesive cure according to the product instructions. Most food-safe silicone takes 24 hours to set fully. Don't use the fridge during this time if possible. If you must use it, close the door gently and avoid slamming.
How to Test Your Fridge Door Seal Suction
After reseating, verify the seal works. A proper seal creates suction when you close the door. Test it before declaring victory.
Close the door normally. Try to open it with just your fingertips. A good seal resists. You should feel resistance.
The paper test is more reliable. Insert a piece of paper halfway into the closed door. Try to pull it out.
Run this test at multiple points around the door frame. Check all four corners and the middle of each side.
Wait 24 hours after applying adhesive before testing. The seal needs time to set.
Refrigerator Door Gasket Replacement Cost and When to Replace
Sometimes fixing isn't enough. If the gasket is cracked, torn, severely warped, or won't soften with heat, replacement is your best option.
Replacement gaskets vary in price depending on your refrigerator model. Exact pricing depends on the brand and where you source the part. Contact Home Tech or check your appliance manual for model-specific information.
Installation is straightforward. New gaskets usually slide into the same retaining groove. Some gaskets require removing the door frame trim first. Your manual will specify.
When to replace instead of repair:
- The gasket has visible tears or cracks larger than 1 inch
- The rubber is brittle and crumbles when touched
- The gasket is severely warped and won't soften
- The gasket has been reseated multiple times and keeps popping out
- The gasket is discolored or shows signs of mold that won't clean away
A new gasket can be a good investment against food spoilage and energy waste. Learn about affordable repair options in your area If you're uncertain whether repair or replacement is right, Home Tech can help you evaluate your options.
Common Mistakes to Avoid
Learning how to fix a loose refrigerator door gasket is simple, but mistakes happen.
Using too much force. Gaskets are rubber.
Skipping the cleaning step. Dirt blocks the seal just as much as a loose gasket does.
Forgetting to unplug the fridge. Working on a running fridge is risky. Unplug it.
Not testing the seal afterward. After reseating, test immediately and again after 24 hours.
Applying adhesive incorrectly. Too much silicone is messy and can prevent proper seating.
Ignoring warning signs. If the gasket is cracked, torn, or severely hardened, repair won't last.
A loose refrigerator door gasket is fixable.
Frequently Asked Questions
How do I know if my refrigerator door gasket is loose or damaged?
A loose refrigerator door gasket often shows visible separation from the retaining groove around the door frame. Look for gaps, cracks, tears, or warping in the rubber seal. You can also perform a paper test: close a piece of paper in the door and try to pull it out. If it slides out easily, the seal isn't tight enough. If the gasket has come out of its channel or feels sticky and misshapen, it needs attention soon to prevent warm air from entering and spoiling food.
What's the best way to test my fridge door seal suction after repair?
Use the paper test to verify your seal works. Insert a piece of paper or dollar bill halfway into the closed refrigerator door, then try to pull it out. A proper seal creates enough suction that the paper resists pulling. Repeat this test at three or four points around the door perimeter. If the paper slides out easily anywhere, the gasket may not be fully seated in its retaining groove, or the door itself may be misaligned. Allow silicone adhesive to cure overnight before testing if you applied it during repair.
How much does a refrigerator door gasket replacement cost, and when should I replace instead of repair?
Replacement gasket costs vary by refrigerator brand and model. If your gasket has deep cracks, large tears, or has hardened beyond softening with warm water, replacement is usually more cost-effective than repeated repair attempts. Reseating and cleaning work well for gaskets that have simply come loose or collected debris. If a repair holds for only a few weeks, replacement is the better choice. Contact Home Tech for a professional assessment to determine whether your specific model warrants repair or replacement.
What tools do I actually need to fix a loose refrigerator door gasket at home?
You need minimal tools: warm water, washing-up liquid, clean towels or rags, and optionally silicone adhesive or caulk rated for food-contact surfaces if reseating alone doesn't hold. A hair dryer on low heat can help soften a stiff gasket. Some gaskets benefit from a gentle push back into the retaining groove by hand. If the door itself is sagging or misaligned, you may need a level and screwdriver to adjust hinges, which is beyond basic repair. For complex cases or sealed-system issues, professional diagnosis ensures you don't cause further damage.



