 how-to
How to Change HVAC Filter Correctly
Table of Contents
- What You'll Need Before Changing Your HVAC Filter
- How to Tell If Your HVAC Filter Is Dirty
- Step-by-Step: How to Change Your HVAC Filter Correctly
- Understanding MERV Ratings and Filter Selection
- How Often to Change Your HVAC Filter
- Common Mistakes to Avoid When Changing Your Filter
- Troubleshooting Stuck or Damaged Filter Housings
- Disposal and Recycling of Used HVAC Filters
- Frequently Asked Questions
Last Updated: August 28, 2026
What You'll Need Before Changing Your HVAC Filter
Gather your replacement filter first, know your system's size before shopping. Most residential systems use standard sizes like 16x25x1, 20x25x1, or 16x25x4 inches, but check your existing filter frame or HVAC documentation to confirm. You'll also need a flashlight for dim spaces like basements or attics, and optionally a vacuum with hose attachment for cleaning dust around the filter area. Understand your MERV rating preference before you start, and locate your system's power switch ahead of time to avoid fumbling during the process.
How to Tell If Your HVAC Filter Is Dirty
Hold the filter up to natural light and look at the pleated material. If you can't see light passing through easily, it's time to replace it. Other signs include reduced airflow from vents, unusual sounds from your furnace, constant system runtime without reaching your set temperature, and thermostat error codes. A simple visual inspection every 30 days is most reliable. Most residential filters need replacement every 1 to 3 months, depending on pets, allergies, and air quality (energy.gov).
Step-by-Step: How to Change Your HVAC Filter Correctly
Step 1: Turn Off Your HVAC System
Shut down the HVAC unit completely by switching your thermostat to OFF. Some systems have a separate power switch on the furnace or air handler, toggle that to OFF as well. Wait 15 to 30 seconds for the blower motor to coast to a complete stop and dust to settle. This prevents dust inhalation and keeps debris from being drawn into the system during the change.
Step 2: Locate Your Filter Compartment
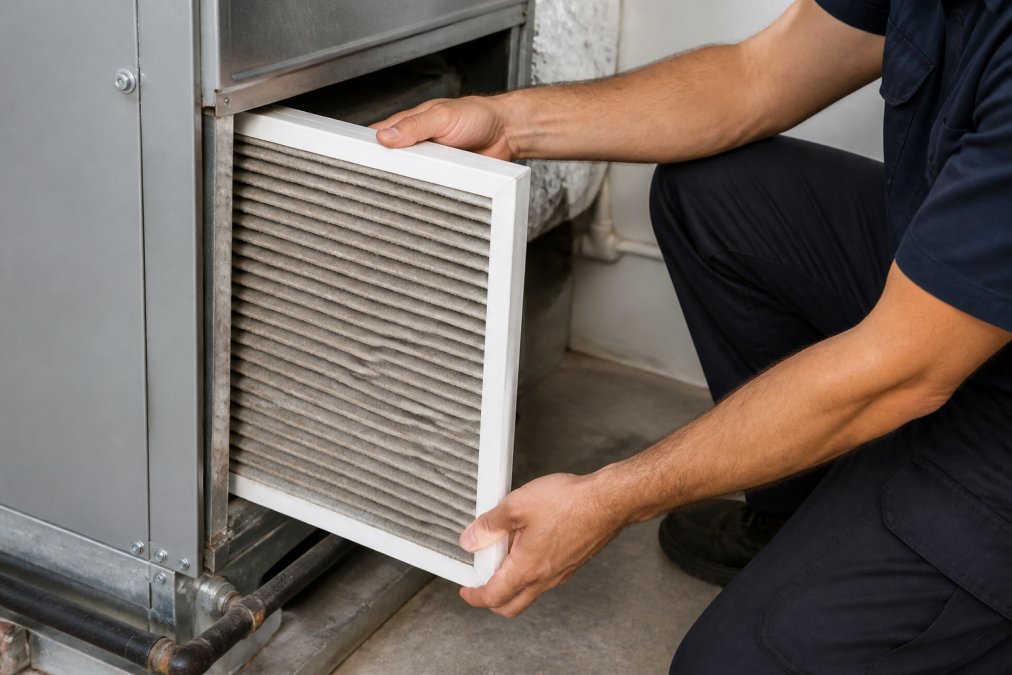
Your filter compartment is typically in the return air vent, inside the furnace compartment, or in a dedicated filter box near the air handler. Check your system's documentation if unsure. Open the access panel carefully, if stuck, gently wiggle it side to side while pulling. Once open, you should see the filter frame with airflow direction arrows printed on it. Take a moment to orient yourself to how air flows through your system.
Step 3: Remove the Old Filter
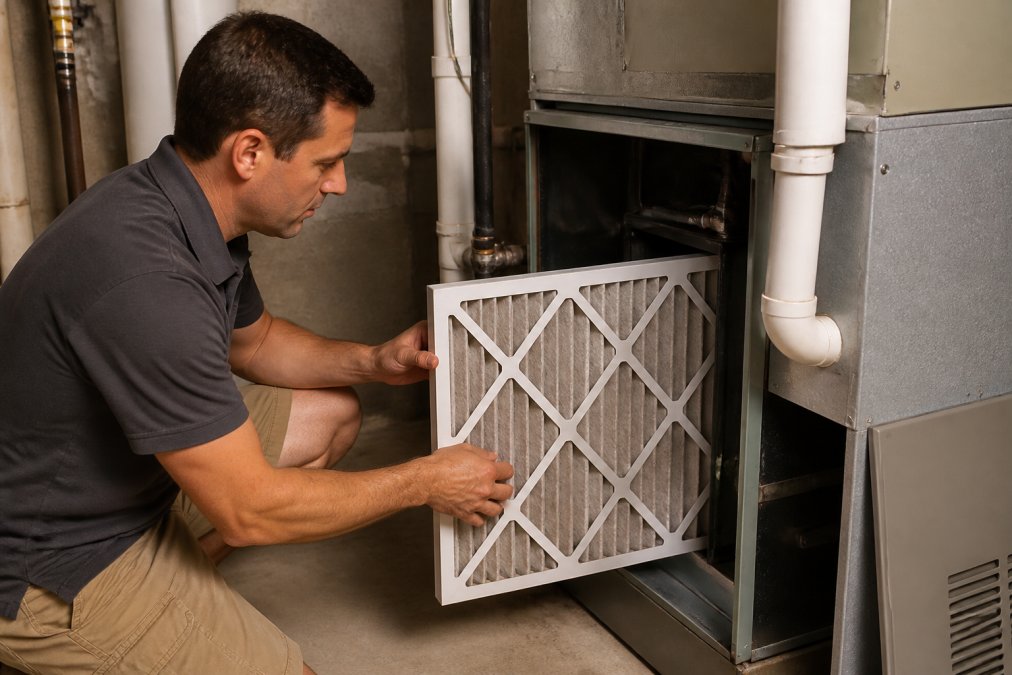
Grasp the filter frame firmly and slide it straight out of the housing with a smooth, steady pull. If stuck, gently wiggle it while pulling or use a putty knife to carefully break the seal around the frame edges. Inspect the old filter closely, gray or brown indicates normal dust, black suggests mold or moisture issues, and falling apart means it's overdue for replacement. Dispose of it in your household trash.
Step 4: Check the Airflow Direction Arrow
Locate the airflow direction arrow printed on the new filter frame. This arrow shows the direction air should flow toward the air handler and furnace, always pointing away from the return air vent. Compare the arrow direction to your filter housing to ensure correct orientation. Installing the filter backward will restrict airflow and reduce system efficiency significantly.
Step 5: Install the New Filter
Align the new filter with the housing opening and slide it straight in, making sure it seats fully against the edges. You should feel slight resistance as the frame makes contact with the housing walls. Check that the filter is flush with the opening and no gaps exist between the frame and housing. The filter should not move when you gently push on it.
Step 6: Secure the Access Panel and Restart
Close the access panel or grill and secure any latches firmly. A loose panel allows air to bypass the filter, reducing efficiency. Turn your system back on by switching the thermostat to your desired setting and returning the furnace power switch to ON if needed. Listen to ensure the blower motor spins smoothly. Mark your calendar for the next inspection date based on your household conditions.
Understanding MERV Ratings and Filter Selection
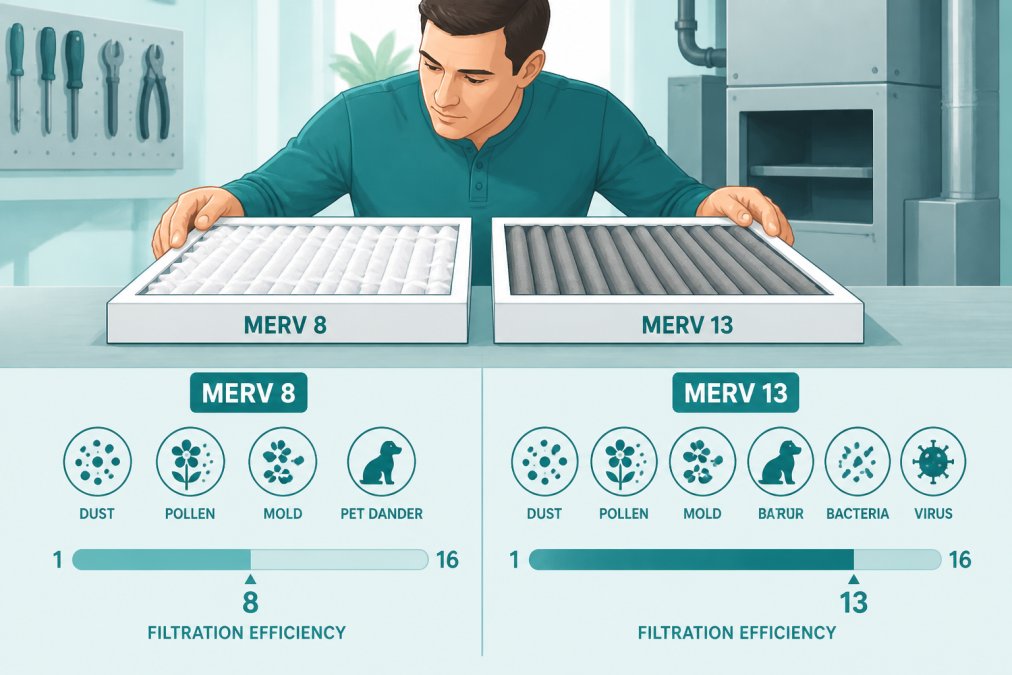
MERV rating measures how effectively a filter traps airborne particles from dust and pollen to bacteria and smoke, on a scale of 1 to 16 (the EPA). MERV 8 traps larger particles like dust and pollen. MERV 11 captures smaller particles including pet dander and mold spores. MERV 13 and above target bacteria, viruses, and fine dust, suitable for households with allergies or respiratory concerns.
Most residential HVAC systems work efficiently with MERV 8 to MERV 11 filters (ashrae.org). Higher MERV ratings create more airflow resistance, forcing your blower motor to work harder and potentially increasing energy consumption. If you have allergies or asthma, MERV 11 is often a good middle ground. For severe respiratory issues, consult an HVAC professional about whether your system can handle MERV 13 safely. Homes with pets benefit from MERV 11 filters for effective pet dander capture.
Filter types include standard fiberglass (MERV 4-6, inexpensive but minimal filtration), pleated filters (MERV 8-13, trap more particles and last longer), and electrostatic filters (use charge to attract particles, washable and reusable but require more maintenance). Frame material also matters, cardboard frames work well in dry climates, while plastic frames resist moisture better in humid environments. Some frames include seals or gaskets to ensure tight fits and prevent air leakage around edges.
How Often to Change Your HVAC Filter
Most residential filters need replacement every 1 to 3 months. Households with no pets can stretch to 3 months. Homes with one or two pets should change every 1 to 2 months. Households with multiple pets, smokers, or high dust levels need monthly replacements. High pollen counts, poor outdoor air quality, and dry, dusty climates accelerate accumulation. Peak heating or cooling season requires more frequent changes as your system runs constantly.
Inspect your filter monthly, if it looks gray or tan with visible light through the pleats, wait another month. If dark or clogged, replace immediately. Set a calendar reminder for the first of each month. A clogged filter forces your blower motor to work harder, consuming more electricity and raising energy bills. Replacing a clogged filter often results in noticeably lower costs. A clean filter reduces static pressure, extending blower motor life and other HVAC components.
Common Mistakes to Avoid When Changing Your Filter
The most frequent error is installing the filter backward, creating excessive resistance and potentially damaging your blower motor. Always check the airflow direction arrow before installation. Buying the wrong filter size wastes time and money, measure twice before shopping. A filter too small allows unfiltered air bypass; one too large won't fit at all.
Neglecting to secure the access panel fully allows air to leak around the filter, reducing efficiency. Using a MERV rating too high for your system strains the blower motor; too low fails to capture allergens effectively. Match your filter choice to household needs and system specifications. Forgetting to turn off your HVAC system before removing the filter is dangerous, always power down completely. Finally, waiting too long between changes reduces efficiency, increases energy costs, and can lead to equipment failure. Establish a regular inspection schedule and replace filters before they become heavily soiled.
Troubleshooting Stuck or Damaged Filter Housings
If a filter becomes stuck due to dust compaction or moisture, gently wiggle it side to side while applying steady pressure. Don't yank aggressively. Use a putty knife or plastic scraper to gently break the seal around frame edges, working slowly around all four sides. A vacuum with hose attachment can help control dust.
If you notice water stains or mold, your system may have a humidity or condensation problem requiring professional attention. Damaged filter housings that are cracked, bent, or warped won't seal properly and need repair or replacement by a qualified HVAC technician. Some older systems have awkward access points, if struggling, don't force it. A professional can show you the most efficient technique for your specific system.
Disposal and Recycling of Used HVAC Filters
Most residential HVAC filters cannot be recycled through standard curbside programs due to fiberglass or synthetic media combined with trapped dust. Place old filters in your household trash, wrapped in a plastic bag to contain dust. Check with your local waste management facility for special programs that may accept HVAC filters.
Consider washable or electrostatic filters as an environmentally conscious alternative. These can be cleaned and reused for years, eliminating frequent replacements. Rinse gently with water and allow complete drying before reinstalling, never use while wet. For commercial or industrial systems, consult your HVAC service provider about proper disposal methods. At Home Tech, we handle filter disposal properly for both residential and commercial clients, including walk-in coolers and packaged rooftop units serving restaurants and food service operations.
Changing your HVAC filter correctly is one of the simplest maintenance tasks that delivers significant returns. A clean filter keeps your system efficient, reduces energy costs, and extends equipment life. If you're unsure about any step or encounter complications, Home Tech's licensed technicians can handle the job for you. We service all major HVAC brands including Goodman, York, Carrier, and Amana, and we're available for same-day appointments throughout the area. Call (602) 486-1901 or visit hometechappliancerepair.com to book your appointment and ensure your system stays running smoothly year-round.
Frequently Asked Questions
Which way is the HVAC filter supposed to go?
The airflow direction arrow printed on the filter frame must point toward the furnace or air handler unit, away from the return air vent. Installing the filter backwards restricts airflow and reduces system efficiency. Always check the arrow before sliding the filter into the housing. If your filter has no visible arrow, contact an HVAC technician to confirm the correct orientation for your specific system.
What happens if you install the HVAC filter backwards?
A backwards filter allows dust and debris to bypass the pleated media, reducing indoor air quality and forcing your blower motor to work harder. This increases energy consumption and can cause the system to overheat. Over time, a reversed filter causes static pressure problems that strain the furnace compartment and shorten equipment life. Always verify the airflow direction arrow before installation to avoid these issues.
How often should you actually change your HVAC filter?
Standard 1-inch fiberglass filters should be replaced every 1 to 3 months, while thicker pleated filters can last longer depending on dust accumulation and MERV rating. Homes with pets, allergies, or high dust levels may need monthly changes. Check your filter monthly and replace it when you see visible dirt buildup. Your thermostat or HVAC system may also provide maintenance reminders.
What does MERV rating mean when choosing an HVAC filter?
MERV (Minimum Efficiency Reporting Value) rates a filter's ability to capture particles between 0.3 and 10 microns. Ratings range from 1 to 16, with higher numbers capturing smaller particles and improving air quality but increasing static pressure. MERV 8 to 11 filters work well for most homes, while MERV 13 or higher suit households with allergies or respiratory concerns. Check your furnace manual to confirm the maximum MERV rating your system supports.


