 how-to
Dryer Drum Turns But No Heat: 7 Solutions That Work
Last Updated: October 23, 2026
Quick Summary
A dryer no heat problem is a break in the heat path, not a motor failure, so the drum spins while the air stays cold. Check the breaker and 240-volt supply first, then clear the vent and test the thermal fuse, heating element, and thermostats with a multimeter.
- A half-tripped double-pole breaker lets the drum spin but cuts power to the heating element.
- The thermal fuse is a one-time safety part that blows when the dryer overheats from lint buildup.
- Disconnect the vent and run a short cycle; if heat returns, the blockage is in the duct.
- Clear the full vent run at least once a year and clean the lint filter every load.
- Call a technician when you smell gas, the breaker will not reset, or a new fuse blows again.
Table of Contents
- Start Here: Why a Dryer Runs but Produces No Heat
- Electric Dryer Not Heating Troubleshooting
- Gas Dryer Not Heating but Runs? Check These First
- Dryer Vent Clogged Symptoms and Airflow Diagnosis
- Dryer Thermal Fuse Symptoms: How to Tell It Blew
- Tools, Repair Difficulty, and When to Call a Technician
- Conclusion: Get Your Dryer Heating Again
- Frequently Asked Questions
Start Here: Why a Dryer Runs but Produces No Heat
A dryer no heat problem almost always traces back to one of two things: the machine is not getting power or gas to its heat source, or a safety part has shut the heat off on purpose. At Home Tech, we see this call constantly, and the good news is that most causes are diagnosable at home with a screwdriver and a multimeter.
Here is the core idea. A dryer has two separate systems. The motor turns the drum. The heat system warms the air.
A dryer no heat problem is a break in the heat path, not a motor failure. That distinction saves you from replacing parts you do not need.
Before you touch anything, unplug the dryer or shut off the gas valve. Then work through the checks below in order.
U.S. Consumer Product Safety Commission dryer safety guidance
Electric Dryer Not Heating Troubleshooting
Electric dryer not heating troubleshooting starts at the wall, not inside the machine.
If half the breaker trips, the drum still spins but the element gets no power. So the dryer runs cold. This is the single most common cause we find on electric units.
Work through these checks in order. The sequence is deliberate: external supply first, then safety parts, then the heat element and controls.
- Confirm the breaker is fully on, not tripped halfway.
- Test the outlet for full voltage with a multimeter.
- Inspect the power cord and terminal block for loose or burned wires.
- Check the door switch and the thermal fuse.
- Test the heating element and each thermostat for continuity.
- Test the thermistor and the control board only after the simple parts pass.
Check the Breaker and 240-Volt Supply
Start at the household circuit panel. Find the double-pole breaker feeding the dryer. Flip it fully off, then fully on.
Next, unplug the dryer and check the cord connections at the terminal block on the back panel. Look for scorched wire ends or a loose screw.
If the cord and breaker look fine, test the outlet. Anything less points to a supply problem, and that is an electrician's job, not an appliance repair.
Test the Thermal Fuse, Heating Element, and Thermostats
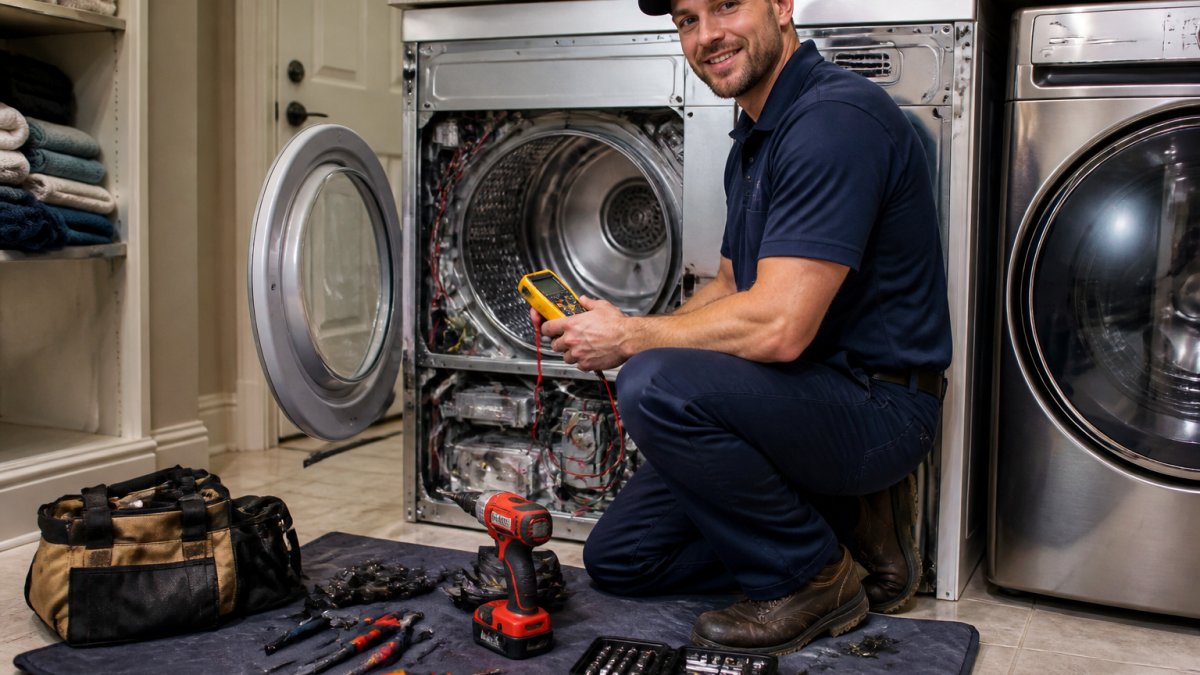
With the dryer unplugged, remove the rear panel or the access panel to reach the heat components.
Set your multimeter to continuity (or the lowest resistance range) and touch the probes to the terminals of each part.
- Thermal fuse: no continuity means it blew. Replace it, but find the airflow cause first.
- Heating element: check for continuity across the terminals. A broken coil reads open. On some models the element has multiple terminals; test each pair the wiring diagram shows.
- High-limit thermostat: should show continuity at room temperature. If it reads open when cool, it failed.
If the element reads open, it failed. If the thermal fuse reads open, it did its job and saved the dryer from a fire.
Electric vs. Gas: Which Checks Apply
Use this quick decision path before you open any panel:
- Electric dryer: the heat path is breaker, outlet, cord, thermal fuse, element, thermostats, thermistor, control board. All checks are electrical and can be done with a multimeter.
- Gas dryer: the drum and controls are electric, but the heat comes from a burner. The heat path is gas valve, ignitor, gas valve coils, thermal fuse, and flame sensor. Electrical checks cover the ignitor and coils; gas-side work carries real safety risk.
If your dryer is electric, stay with the checks above. If it is gas, switch to the gas section. Do not test gas components with a multimeter unless you are qualified to work around gas.
Gas Dryer Not Heating but Runs? Check These First
Gas dryer not heating but runs points to the gas side or the ignition system, not the electrical heat path. A gas dryer still needs power for the drum and controls, so a spinning drum tells you the motor is fine.
The heat comes from a burner lit by an ignitor. If the gas is off or the ignitor never glows, you get a cold drum. Two checks cover most gas no-heat calls.
Confirm the Gas Valve Is Open and the Ignitor Glows
Find the gas shutoff valve behind the dryer. The handle should run parallel to the gas line. If it is perpendicular, the gas is off.
Next, watch the burner through the small window or with the front panel off. Start a cycle and look for the ignitor.
No glow means the ignitor or its circuit failed. A glow with no flame points to the gas valve coils.
Test the Gas Valve Coils and Thermal Fuse
The gas valve coils open the valve once the ignitor heats up. When they fail, the ignitor glows but no flame appears. Test each coil for continuity and replace the set if one reads open.
Also check the thermal fuse on gas models. It sits on the blower housing or exhaust path and cuts power to the burner if the dryer overheats. No continuity means it blew.
Dryer Vent Clogged Symptoms and Airflow Diagnosis
Dryer vent clogged symptoms show up before the heat fails completely. Restricted airflow is the root cause behind many thermal fuse failures, so treat it as the first suspect, not the last.
Watch for these signs:
- Clothes take two cycles to dry
- The dryer body feels hot to the touch
- The laundry room feels humid after a load
To diagnose, disconnect the vent from the back of the dryer and run a short cycle. If heat returns, the blockage is in the duct or the outside hood.
A clogged vent traps heat. That heat trips the thermal fuse, and the fuse cuts the burner or element.
U.S. Fire Administration clothes dryer fire safety
Dryer Thermal Fuse Symptoms: How to Tell It Blew
Dryer thermal fuse symptoms are easy to miss because the fuse does not announce itself. The dryer simply stops heating while everything else works. There is no error code on most models, and the drum keeps turning.
Here is what points to a blown fuse:
- The drum spins but the air stays cold
- The dryer worked fine, then stopped heating all at once
- The vent or lint screen was recently clogged
The thermal fuse is a safety cutoff, not a wear part. It blows for a reason. Replace it, then fix the airflow problem that caused it, or the new fuse will blow too.
Tools, Repair Difficulty, and When to Call a Technician
Most no-heat checks need only a few tools and basic comfort with a multimeter. Here is how the jobs stack up, with realistic part-cost ranges and a clear line between DIY and professional work.
| Task | Difficulty | Tools Needed | Typical Time | Typical Part Cost (USD) |
|---|---|---|---|---|
| Reset breaker, check cord | Easy | Screwdriver | 10 min | $0 |
| Clean lint filter and vent | Easy | Vacuum, vent brush | 30-60 min | $0-$30 |
| Test thermal fuse | Moderate | Multimeter, screwdriver | 20 min | $10-$25 |
| Replace heating element | Moderate | Multimeter, nut drivers | 45-60 min | $30-$80 |
| Test or replace gas valve coils | Moderate to hard | Multimeter, hand tools | 45 min | $20-$50 |
| Diagnose sealed gas components | Hard | Pro tools, gas knowledge | Call a pro | Varies |
Part costs vary by brand and model, so treat these ranges as a planning guide, not a quote. A premium brand element can cost more than a budget model's entire fuse-and-thermostat kit.
A Simple DIY-vs-Pro Decision Framework
Use these questions to decide whether to tackle the repair yourself:
- Do you own a multimeter and know how to use continuity mode? If not, the diagnostic checks will be guesswork. Buy an inexpensive meter and practice on a known-good part first.
- Is the dryer electric or gas? Electric checks are within reach for a careful homeowner. Gas work is different. The gas valve, burner, and ignition system carry real safety risk, and a wrong step can cause a leak or a fire.
- Have you cleared the vent and replaced the fuse, and the dryer still runs cold? That points to a deeper fault, such as a control board or a sealed gas component, where professional diagnosis is faster and safer.
When to Stop and Call a Technician
Call a technician when you smell gas, when the breaker will not reset, or when you have replaced the fuse and the element and the dryer still runs cold.
A common pattern is that a homeowner replaces the thermal fuse, the dryer works for a few weeks, and then the fuse blows again. That usually means the vent was never fully cleared or the cycling thermostat is failing.
Conclusion: Get Your Dryer Heating Again
A cold drum is frustrating, but the path to heat is usually clear: check the power or gas supply, clear the vent, then test the fuse and heat parts in order.
If the diagnosis points to gas components, a failed element, or a repair you would rather not tackle, Home Tech can help.
Book an appointment with Home Tech and get your dryer heating again.
Frequently Asked Questions
Why does my dryer drum turn but the dryer does not heat?
The drum motor and the heating circuit are separate systems, so a dryer can tumble with no heat. On an electric dryer, the usual culprits are a tripped breaker, a blown thermal fuse, a broken heating element, or a failed thermostat. On a gas dryer, check the shutoff valve, ignitor, and gas valve coils first. A clogged vent can also cause overheating that trips the thermal fuse, so inspect the exhaust path before replacing parts.
Can a clogged dryer vent cause the dryer to stop heating?
Yes. Restricted airflow makes the dryer overheat, and the thermal fuse blows to prevent a fire. Common dryer vent clogged symptoms include clothes that take two or more cycles to dry, a drum that feels hot but the load stays damp, a burning smell, and lint visible around the outdoor vent flap. Clean the lint filter every load, and have the full vent run cleaned if airflow is weak.
How can I tell if my dryer thermal fuse is bad?
A blown thermal fuse cuts power to the heat circuit, so the drum turns but no heat develops. Unplug the dryer, locate the fuse on the blower housing or exhaust duct, and test it with a multimeter set to continuity. A good fuse shows near-zero resistance; a bad one reads open. Dryer thermal fuse symptoms often appear right after a vent clog, so fix the airflow problem before installing a new fuse.
When should I call an appliance repair technician for a dryer that will not heat?
Call a technician if you are not comfortable working with 240-volt power, if you have a gas dryer and smell gas, or if you have replaced the thermal fuse and it blows again. Repeated fuse failures point to a deeper airflow or component problem. A licensed tech can test the heating element, thermostats, and gas valve coils, confirm the vent is clear, and verify the repair with a full drying cycle.



